Have you ever discovered a fascinating object covered in dirt, mud, or grime, only to hesitate at the thought of cleaning it for fear of causing damage? Whether you’re a hobbyist treasure hunter, metal detecting enthusiast, antique collector, or simply someone who enjoys uncovering hidden gems at flea markets or estate sales, knowing how to properly clean your finds is essential. This comprehensive guide will walk you through proven cleaning techniques—from gentle soap and water methods to more advanced restoration approaches—so you can preserve the beauty, integrity, and value of your discoveries.
Why Proper Cleaning Matters for Your Discoveries
Understanding the importance of correct cleaning techniques is fundamental to maintaining the value and integrity of any item you’ve found. Improper cleaning can irreversibly damage historical artifacts, reduce the monetary value of collectibles, or destroy the very features that make an item unique and desirable.
- Preservation: Appropriate cleaning methods help maintain the item’s original condition, preventing further deterioration while removing harmful contaminants that could cause long-term damage.
- Aesthetic Appeal: A properly cleaned item reveals its true beauty, showcasing details, craftsmanship, and design elements that were hidden beneath layers of dirt and oxidation.
- Value Protection: Many collectibles, antiques, and historical items can lose significant value if cleaned incorrectly. Understanding proper techniques helps preserve both sentimental and monetary worth.
- Restoration and Discovery: Careful cleaning can reveal maker’s marks, inscriptions, dates, and other identifying features that help determine an item’s origin, age, and historical significance.
- Prevention of Further Damage: Removing corrosive materials and environmental contaminants stops ongoing deterioration processes that could destroy the item over time.
Essential Cleaning Methods: From Gentle to Advanced
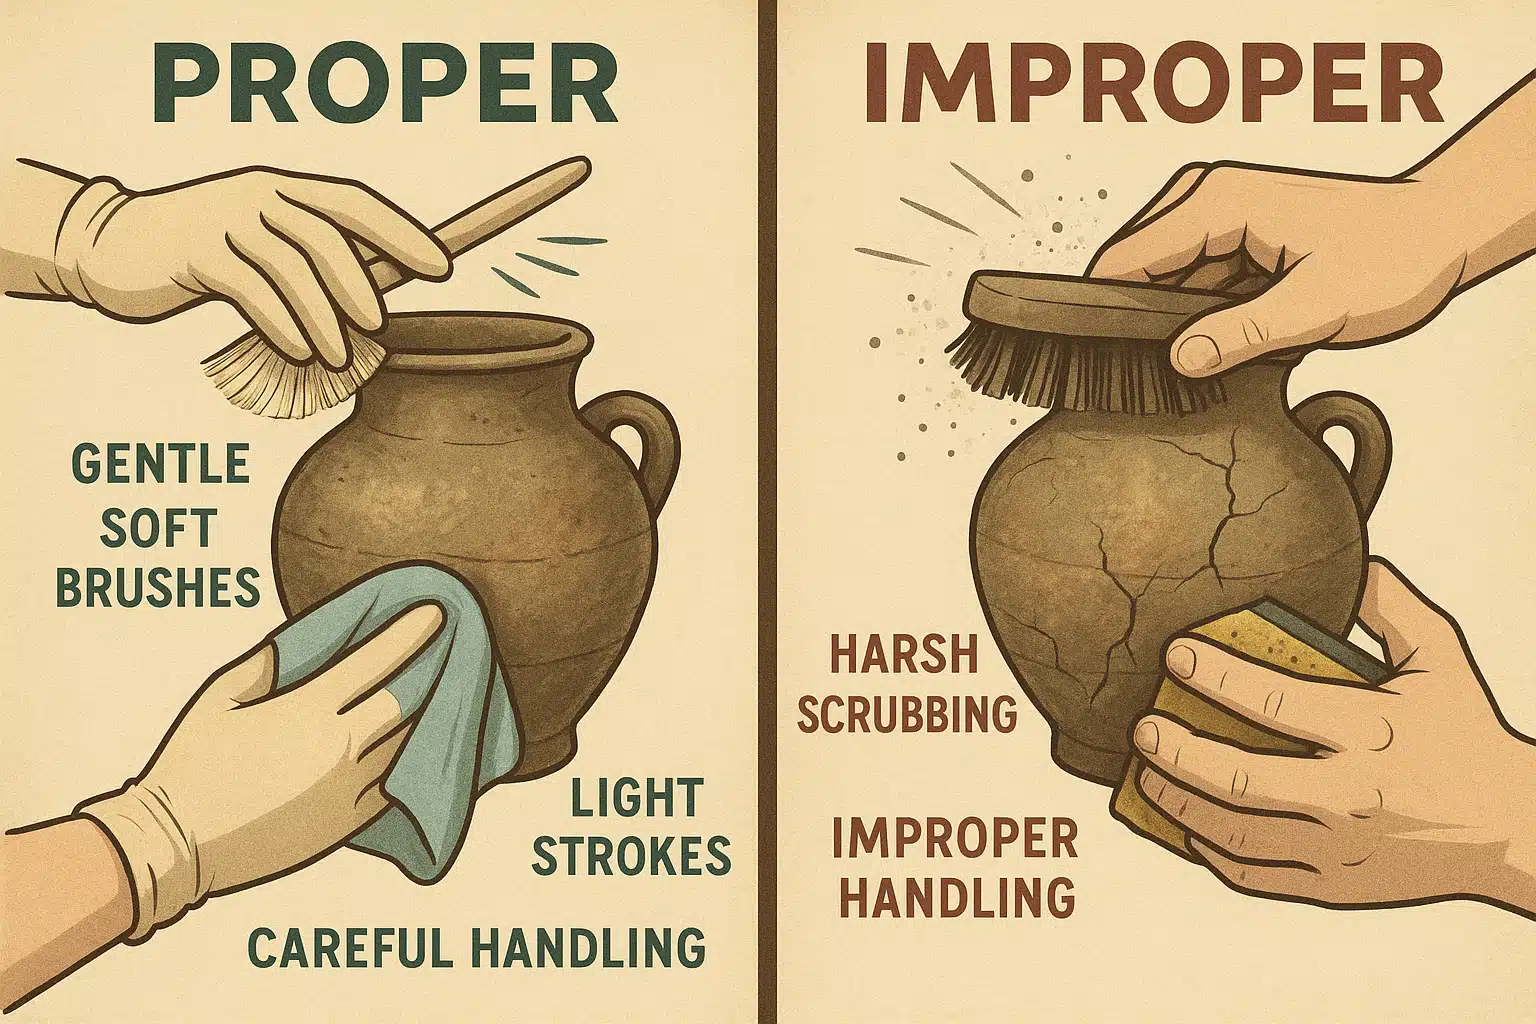
Different items require different approaches. Always start with the gentlest method possible and progress to more intensive techniques only when necessary. The golden rule of artifact and collectible cleaning is: you can always clean more, but you cannot undo damage caused by aggressive cleaning.
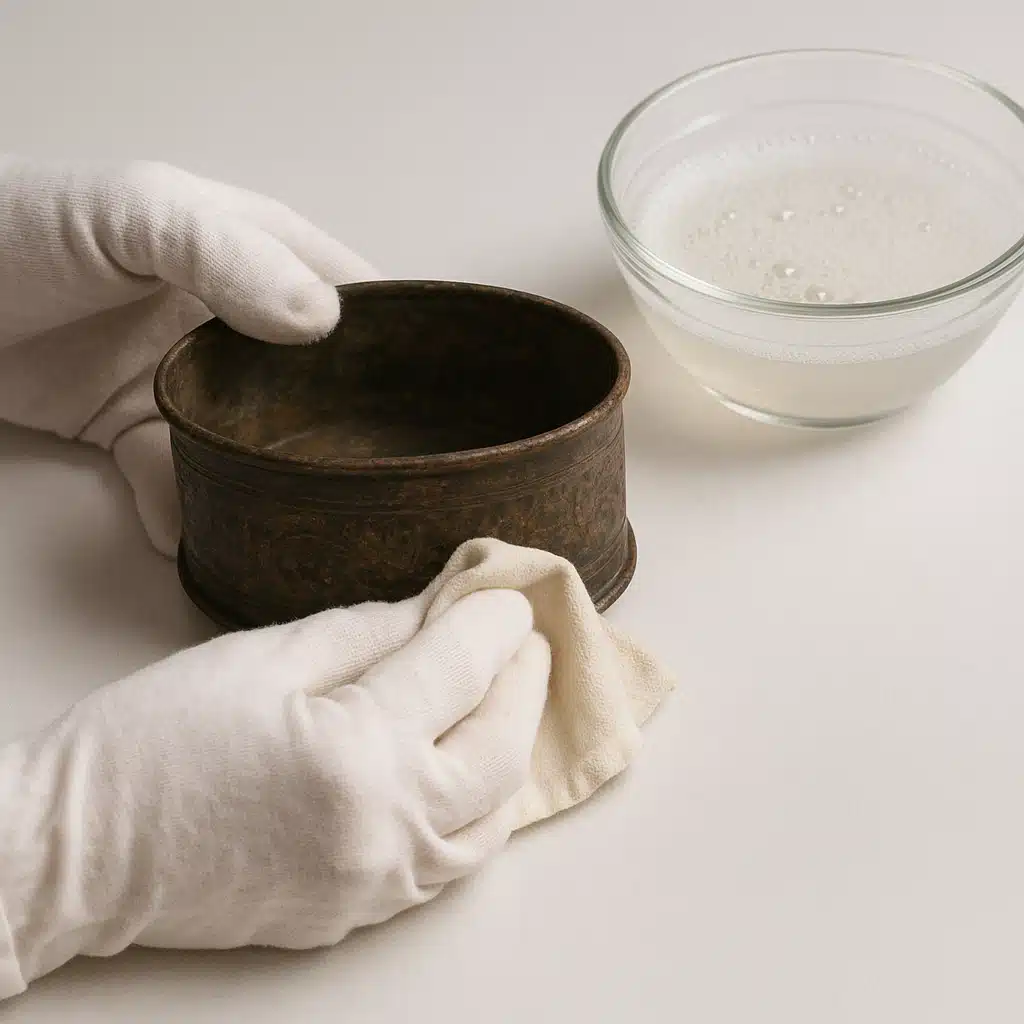
Method 1: Gentle Soap and Water Cleaning
This is the safest, most universally applicable cleaning method for the majority of found items. It’s particularly effective for removing surface dirt, mud, and loose debris without risking damage to the underlying material. This method works well for ceramics, glass, some metals, and many other materials.
Step-by-Step Process:
- Gather Your Supplies: Collect a soft, lint-free cloth or natural sponge, pH-neutral or mild dish soap (avoid harsh detergents with degreasers or antibacterial agents), and lukewarm distilled water (tap water can contain minerals that leave deposits).
- Prepare Your Solution: In a clean bowl or container, mix just a few drops of mild soap with lukewarm water. The solution should be barely sudsy—too much soap can leave residue.
- Test First: Before cleaning the entire item, test the solution on a small, inconspicuous area to ensure it doesn’t cause discoloration or damage.
- Gentle Cleaning: Dip your cloth or sponge into the soapy water, wring out excess liquid, and gently wipe the item’s surface. Use light, circular motions and avoid applying pressure.
- Thorough Rinsing: Rinse the item with clean, lukewarm water to remove all soap residue. Soap left on the surface can attract dirt or cause cloudiness over time.
- Proper Drying: Pat the item dry with a soft, clean towel, then allow it to air dry completely in a dust-free environment before handling or storing.
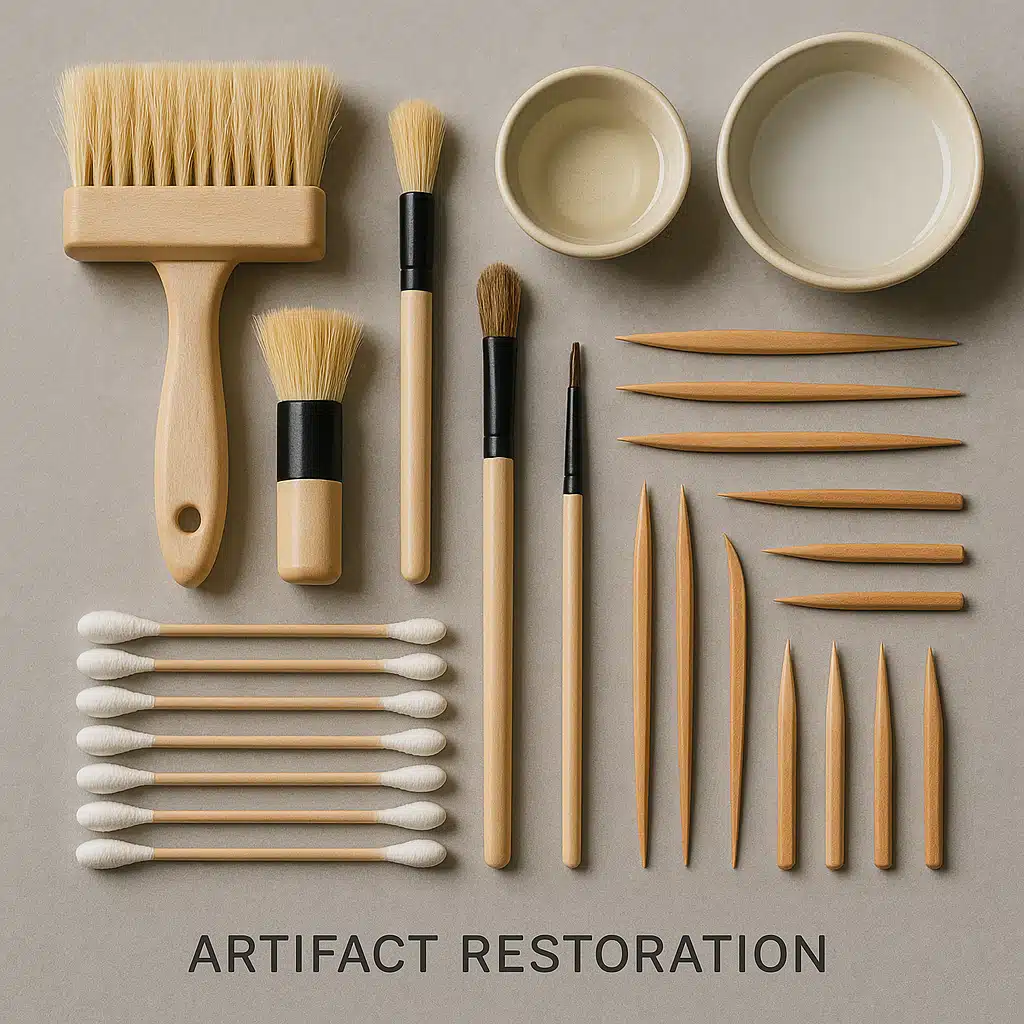
Method 2: Advanced Scrubbing Techniques
When items have stubborn dirt, encrusted grime, corrosion, or oxidation that doesn’t respond to simple soap and water, more advanced techniques may be necessary. However, these methods require greater caution and should only be used when gentler approaches have proven insufficient.
Advanced Cleaning Process:
- Select Appropriate Tools: Choose soft-bristled brushes specifically designed for delicate cleaning (natural bristle brushes, soft toothbrushes, or specialized conservation brushes). Never use wire brushes or abrasive pads on valuable items.
- Prepare Cleaning Solutions: Depending on the material and type of dirt, prepare appropriate solutions:
- White vinegar diluted with water (1:1 ratio) for mineral deposits and light corrosion on some metals
- Baking soda paste (baking soda mixed with small amount of water) for gentle abrasive cleaning
- Specialized conservation-grade cleaners for specific materials
- Test Extensively: Test your chosen solution and method on the least visible area first. Wait 24 hours to observe any delayed reactions before proceeding.
- Controlled Scrubbing: Apply the cleaning solution sparingly and work in small sections. Use gentle, circular motions with your soft brush, applying minimal pressure. Let the solution do the work rather than relying on mechanical action.
- Monitor Progress: Stop frequently to assess your progress. If you’re not seeing improvement or if you notice any surface changes, stop immediately and reconsider your approach.
- Rinse Thoroughly: Remove all traces of cleaning solution with clean water. Some solutions (particularly vinegar) can cause ongoing damage if left on the surface.
- Complete Drying: Ensure the item is completely dry before storage. Trapped moisture can lead to corrosion or mold growth.
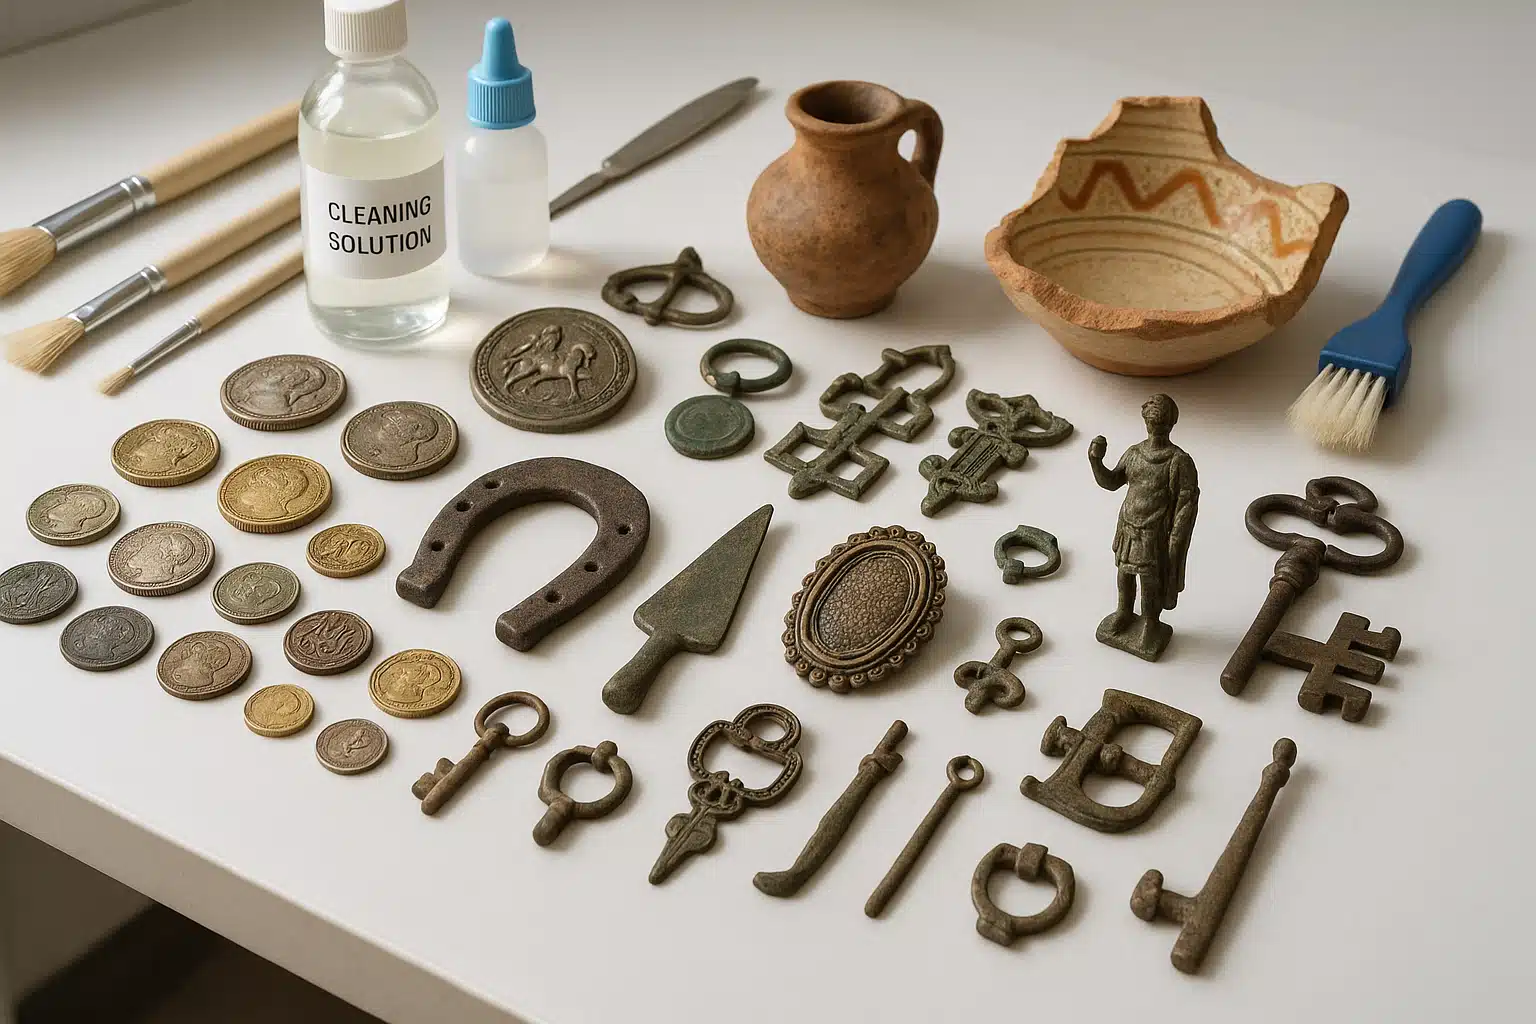
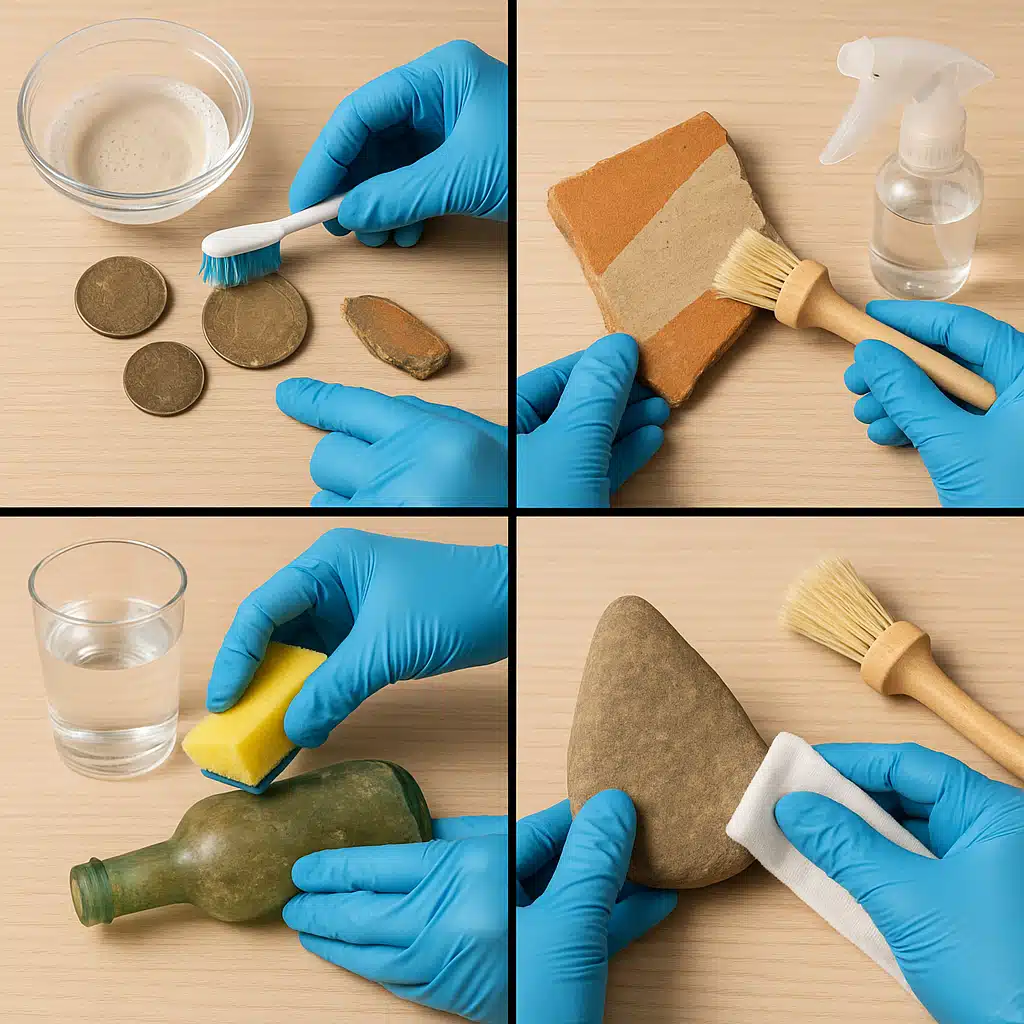
Material-Specific Cleaning Considerations
Different materials require tailored approaches to cleaning. What works safely on one material may be destructive to another. Here are guidelines for common materials:
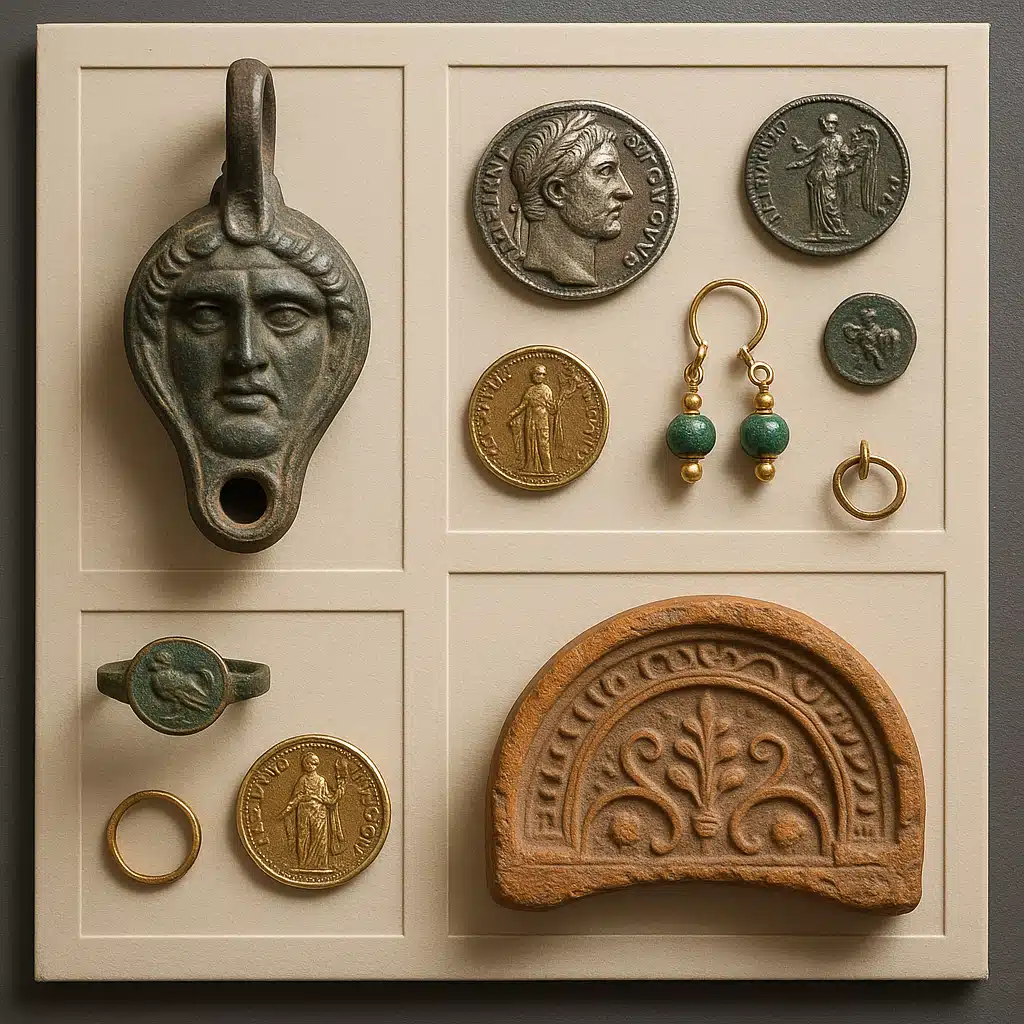
Metals (Coins, Jewelry, Tools, Artifacts)
- Important Note: For valuable or potentially valuable coins, never clean them before consulting a numismatic expert. Cleaning can drastically reduce collector value.
- Remove only loose dirt with distilled water and soft cloth
- For base metals (iron, copper alloys), light cleaning with soap and water is generally safe
- Precious metals (gold, silver) may benefit from specialized metal cleaning solutions
- Preserve patina on bronze and copper items—it often adds value and character
- Never use abrasive cleaners or polishes on antique metals
Ceramics and Pottery
- Gentle soap and water works well for most ceramic items
- Avoid soaking porous or damaged ceramics—water absorption can cause further deterioration
- Use soft brushes for textured surfaces
- Be cautious around painted or glazed areas—these can be fragile
- Never put antique ceramics in dishwashers
Glass Items
- Glass generally tolerates mild soap and water well
- Use soft cloths to prevent scratching
- For cloudy glass, try vinegar solution (may indicate glass disease—consult expert)
- Dry thoroughly to prevent water spots
- Handle antique glass with extreme care—it may be brittle
Stone and Mineral Specimens
- Water and soft brushing usually sufficient for most minerals
- Avoid acids unless you’re certain of the mineral composition
- Some stones are porous and can be stained by cleaning solutions
- Ultrasonic cleaners can be effective for certain specimens (but dangerous for others)
Practical Examples and Real-World Applications
Understanding theory is important, but seeing how these principles apply to real situations helps solidify your knowledge and build confidence in your cleaning approach.
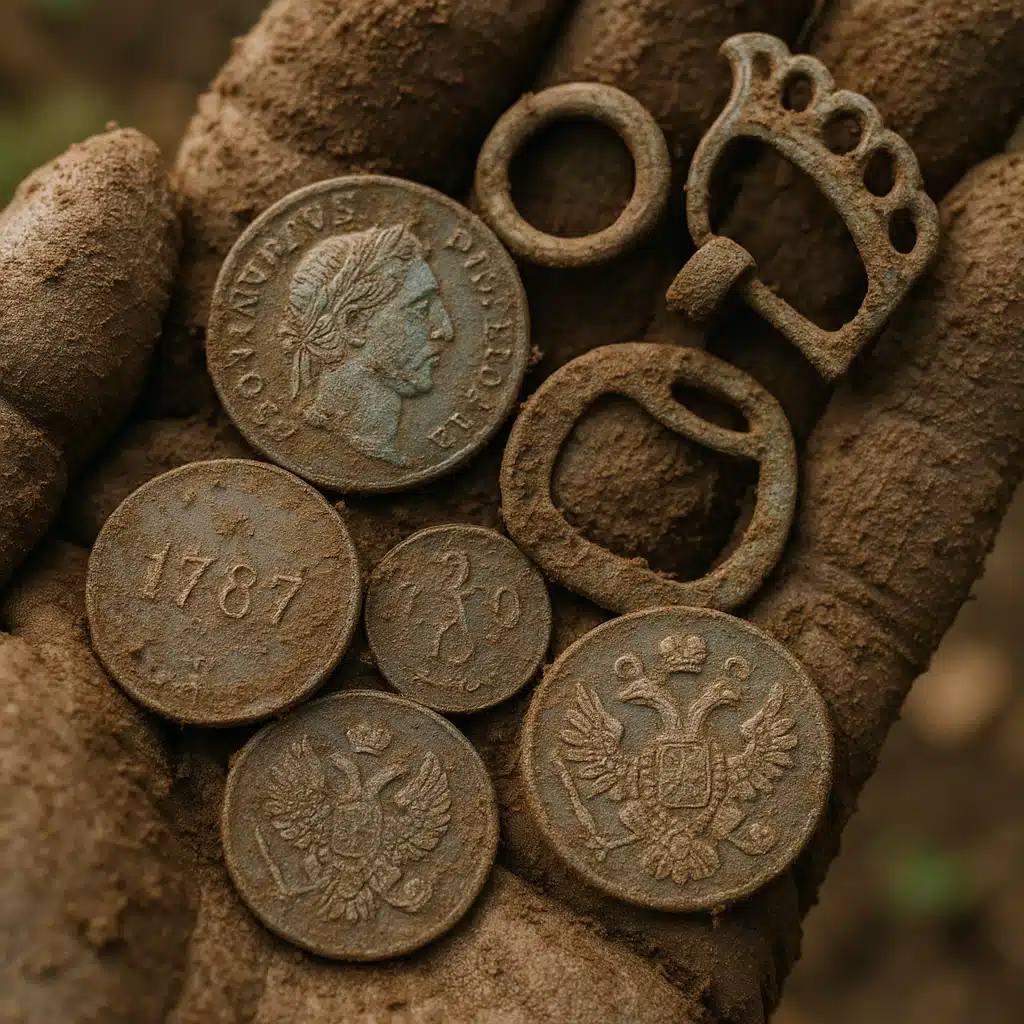
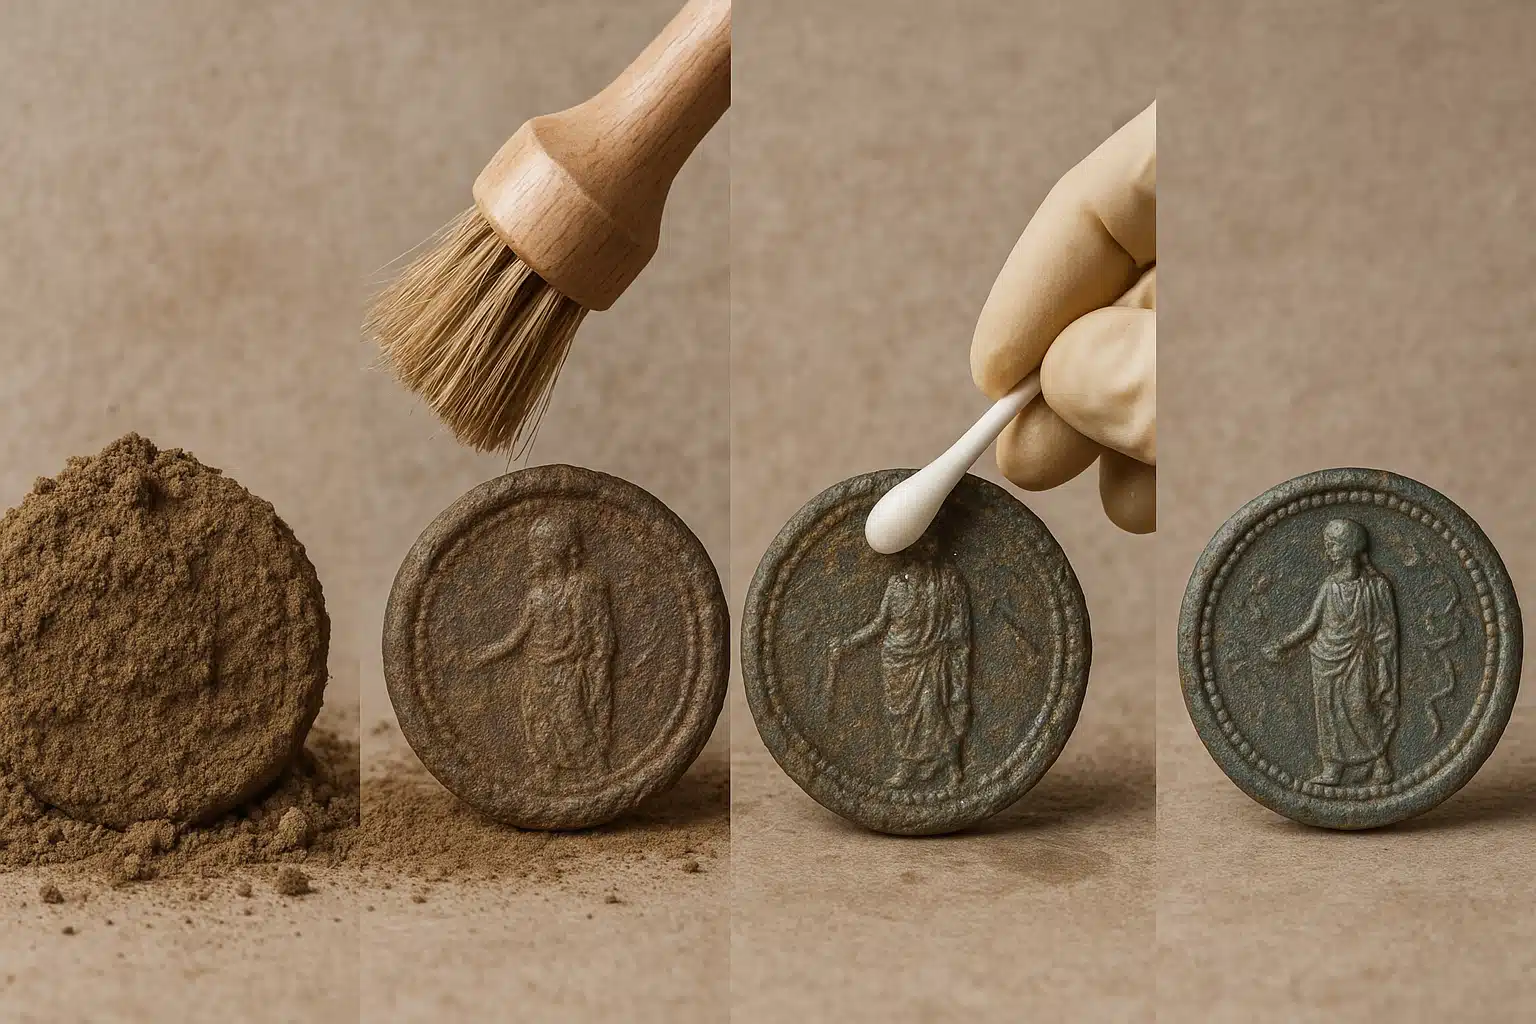
Example 1: Muddy Metal Coin
You’ve discovered what appears to be an old coin embedded in dried mud. Here’s the proper approach:
- Do not attempt to scrape or pry the mud off while it’s dry—you risk scratching the coin’s surface
- Soak the coin in room-temperature distilled water for 24-48 hours to soften the mud
- Gently agitate the water periodically to help loosen debris
- Once mud is softened, use a soft brush to carefully remove remaining dirt
- Rinse with clean distilled water
- Pat dry and allow to air dry completely
- If valuable or old, consult a coin expert before any further cleaning
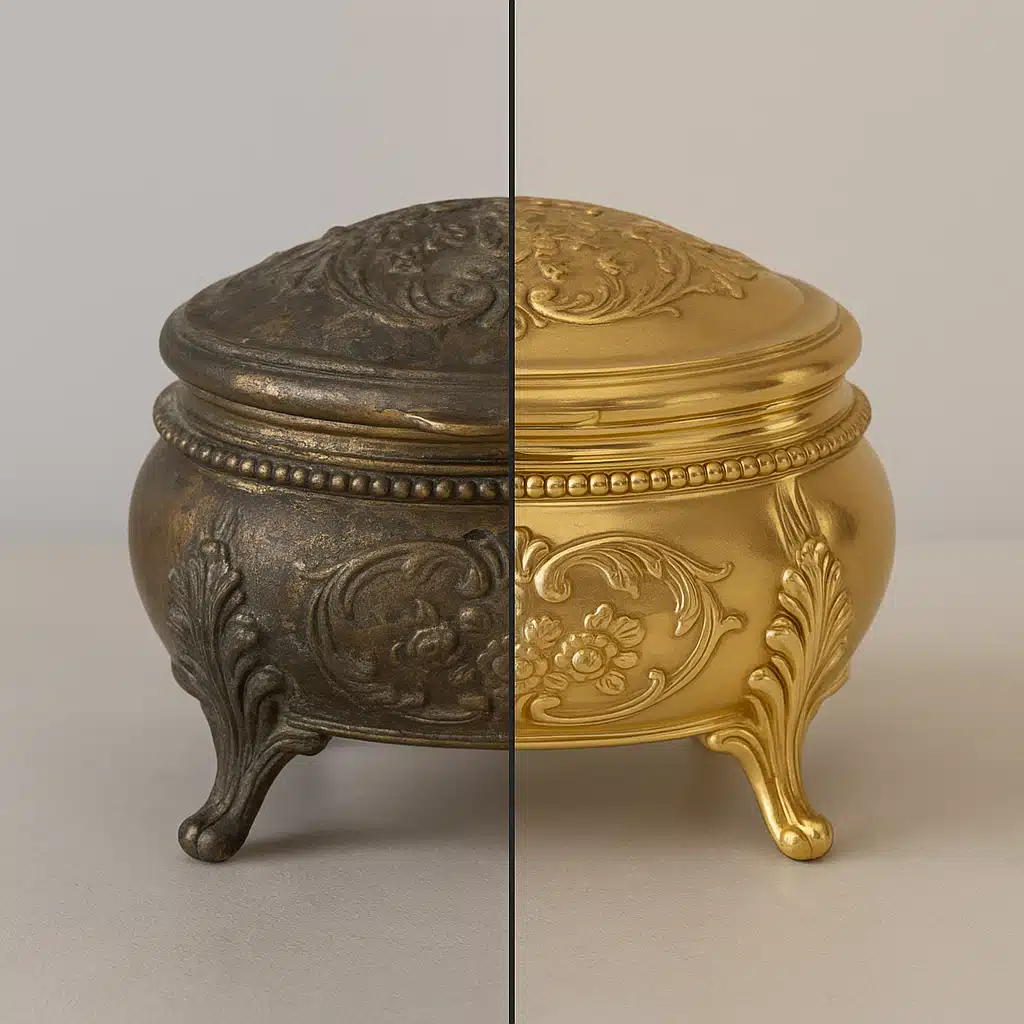
Example 2: Tarnished Metal Artifact
You’ve found a decorative metal object with heavy tarnish or green oxidation:
- Identify the metal type if possible (brass, bronze, copper, silver, etc.)
- Research whether the patina or tarnish adds historical value—some should be preserved
- Start with gentle soap and water to remove surface dirt
- If deeper cleaning is needed and appropriate, prepare a mild vinegar solution
- Apply solution with soft cloth or brush to small test area
- Monitor for 5-10 minutes for adverse reactions
- If safe, proceed with gentle cleaning, working in small sections
- Rinse immediately and thoroughly after cleaning each section
- Dry completely and consider applying protective coating if appropriate
Example 3: Delicate Ceramic Fragment
You’ve discovered a piece of pottery or ceramic with intricate details:
- Examine the piece carefully for cracks, flaking glaze, or weak areas
- Do not soak—instead, use a slightly dampened soft cloth
- Gently wipe the surface with the damp cloth and mild soap solution
- Use cotton swabs for detailed areas and crevices
- Immediately dry each cleaned area before moving to the next
- Never apply pressure to painted or decorated areas
- Allow to air dry in a stable environment
Common Questions, Mistakes, and Expert Tips
Learning from common errors and frequently asked questions can save you from costly mistakes and help you achieve better results with your cleaning efforts.
Frequently Asked Questions
- Q: Can I use any soap I have at home?
A: No. Use only mild, pH-neutral dish soap without additives like moisturizers, antibacterial agents, or degreasers. These additives can damage delicate surfaces or leave residue. Specialized conservation soaps are even better for valuable items. - Q: How can I tell if an item is too valuable to clean myself?
A: If the item appears very old, has historical significance, shows maker’s marks or signatures, is made from precious materials, or you’re simply uncertain, consult an expert before cleaning. Professional appraisal is worthwhile for potentially valuable finds. - Q: Is scrubbing always necessary?
A: Absolutely not. Many items only need gentle wiping or soaking. Scrubbing should be reserved for stubborn dirt that doesn’t respond to gentler methods, and even then should be done with minimal pressure. - Q: Can I use a pressure washer or high-pressure water to remove dirt?
A: Never use high-pressure water on collectibles, antiques, or delicate items. The force can cause irreparable damage, remove desirable patina, or drive water into areas where it can cause deterioration. - Q: How do I know when to stop cleaning?
A: Stop when you’ve removed the dirt and grime but before you begin affecting the item’s surface, patina, or original finish. Remember: less is more. You can always clean further later, but you cannot undo over-cleaning. - Q: Should I use commercial cleaning products advertised for antiques?
A: Be cautious. Research products thoroughly and read reviews from conservation professionals. Some commercial “antique cleaners” are too harsh and can cause damage. When in doubt, stick with simple soap and water. - Q: What water temperature should I use?
A: Use lukewarm water (room temperature to slightly warm). Hot water can cause thermal shock to ceramics and glass, loosen adhesives, or accelerate chemical reactions that damage metal surfaces.
Common Mistakes to Avoid
- Using Abrasive Materials: Steel wool, scouring pads, rough brushes, and abrasive cleaners can permanently scratch surfaces and remove valuable patina. This is one of the most common and damaging errors.
- Over-Cleaning: Attempting to make an antique look “like new” often destroys its historical character and reduces its value. Some aging, wear, and patina are desirable and should be preserved.
- Soaking Without Research: Extended soaking can damage porous materials, loosen adhesives, penetrate cracks, or cause corrosion in certain metals. Always research before soaking any item.
- Mixing Cleaning Chemicals: Never mix different cleaning products. Chemical reactions can produce dangerous fumes or create solutions that damage your items.
- Rushing the Process: Patience is essential. Gentle, repeated cleaning over time is safer than aggressive single-session cleaning. Allow cleaning solutions time to work rather than increasing mechanical action.
- Ignoring Environmental Factors: Cleaning in dusty areas, direct sunlight, or extreme temperatures can cause problems. Work in a clean, temperature-controlled environment when possible.
- Not Testing First: Always test cleaning methods on inconspicuous areas before applying them to visible surfaces. This simple step prevents many disasters.
- Improper Drying: Leaving items damp or drying them in inappropriate conditions can cause water stains, corrosion, or mold growth. Ensure complete, proper drying.
- Using Tap Water: Minerals in tap water can leave deposits on cleaned items. Distilled water is better for rinsing, especially for metals and glass.
Expert Tips for Success
- Document your finds with photographs before, during, and after cleaning to track the process and results
- Keep detailed records of what cleaning methods and solutions you used on each item
- Invest in a magnifying glass or jeweler’s loupe to examine items closely and monitor cleaning effects
- Join online communities of collectors, metal detectorists, or artifact enthusiasts to learn from experienced members
- Build a reference library of cleaning guides specific to your areas of interest
- Create a dedicated cleaning workspace with good lighting and proper tools
- When uncertain, consult before cleaning—professional conservation advice can save irreplaceable items
- Consider taking a workshop or course in artifact conservation if you frequently find valuable items
After Cleaning: Storage and Preservation
Proper cleaning is only the first step in preserving your finds. How you store and maintain cleaned items is equally important for long-term preservation.
- Controlled Environment: Store items in stable temperature and humidity conditions. Avoid basements, attics, or other areas with fluctuating environmental conditions.
- Appropriate Containers: Use acid-free boxes, archival-quality bags, or specialized storage containers. Avoid newspaper, regular cardboard, or PVC plastics that can emit damaging chemicals.
- Individual Protection: Store items separately to prevent scratching or chemical reactions between different materials.
- Regular Inspection: Periodically check stored items for signs of deterioration, corrosion, or pest damage.
- Minimal Handling: Handle cleaned items as little as possible, and always with clean hands or cotton gloves to prevent oil transfer.
- Documentation: Keep records of where items were found, when they were cleaned, and any observations about their condition.
Conclusion: Transform Your Finds While Preserving Their Story
Cleaning found objects, whether they’re artifacts, collectibles, or treasured discoveries, doesn’t have to be an intimidating process. By understanding the fundamental principles—starting gentle, being patient, testing first, and knowing when to seek expert help—you can confidently reveal the beauty hidden beneath layers of dirt and grime while preserving the integrity and value of your finds.
Remember that every item has a story to tell, and that story is often written in the patina, wear patterns, and aging that the item displays. Your goal isn’t to make old things look brand new, but rather to carefully remove the accumulated dirt and damage of burial or neglect while respecting the item’s history and character. The most successful cleaning preserves both the physical object and the historical narrative it carries.
Whether you’re cleaning a mud-encrusted coin from your garden, a tarnished piece of jewelry from an estate sale, or a ceramic fragment discovered on a beach, approach each item with curiosity, respect, and patience. Invest in quality cleaning tools and materials, educate yourself about the specific requirements of different materials, and never hesitate to consult experts when dealing with potentially valuable or historically significant items.
The next time you uncover a hidden treasure, you’ll have the knowledge and confidence to transform it from mud-covered mystery to cleaned masterpiece—all while preserving its unique character and value for future generations to appreciate and enjoy.