Understanding Rust Stains on Quartz Surfaces
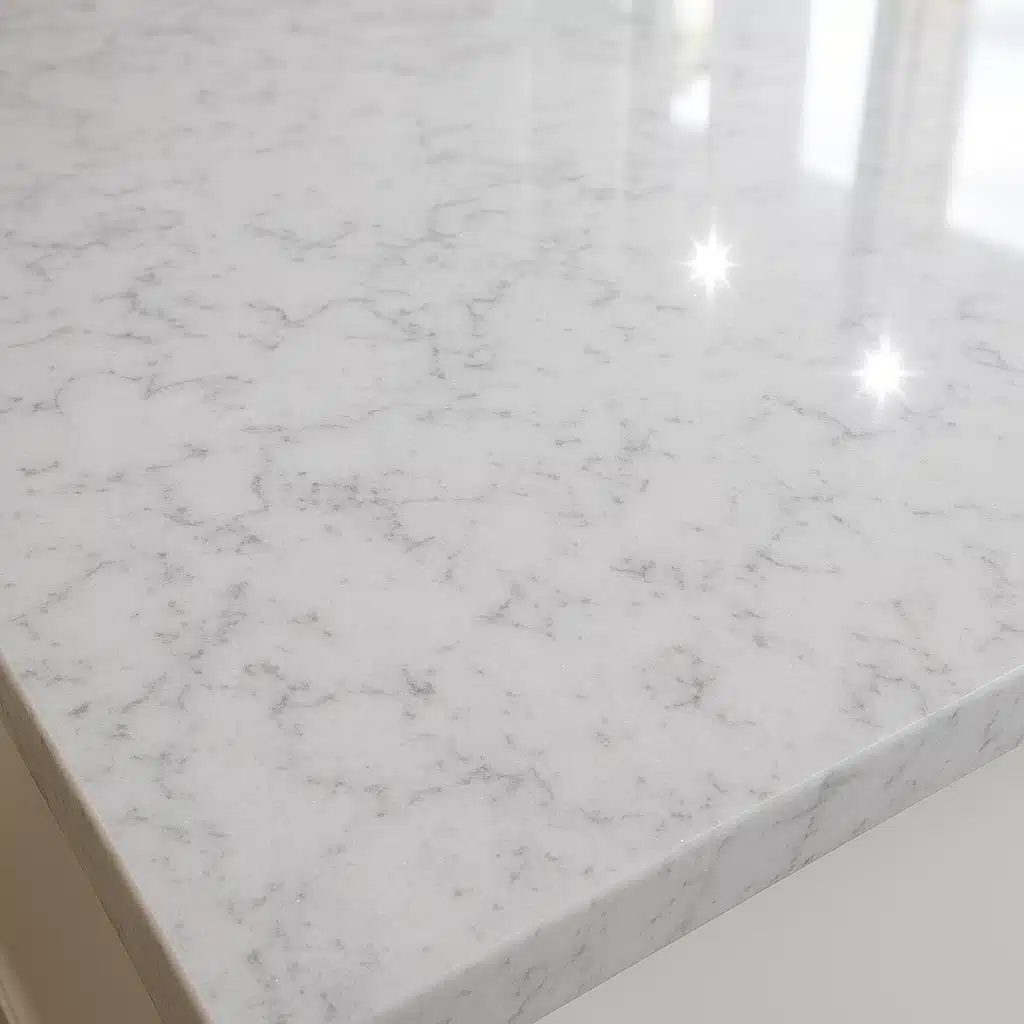
Quartz surfaces are celebrated worldwide for their exceptional beauty, durability, and low-maintenance requirements. Whether used as kitchen countertops, bathroom vanities, or decorative surfaces, engineered quartz has become a popular choice in homes and commercial spaces globally. However, even the most resilient surfaces can fall victim to unsightly rust stains that compromise their pristine appearance.
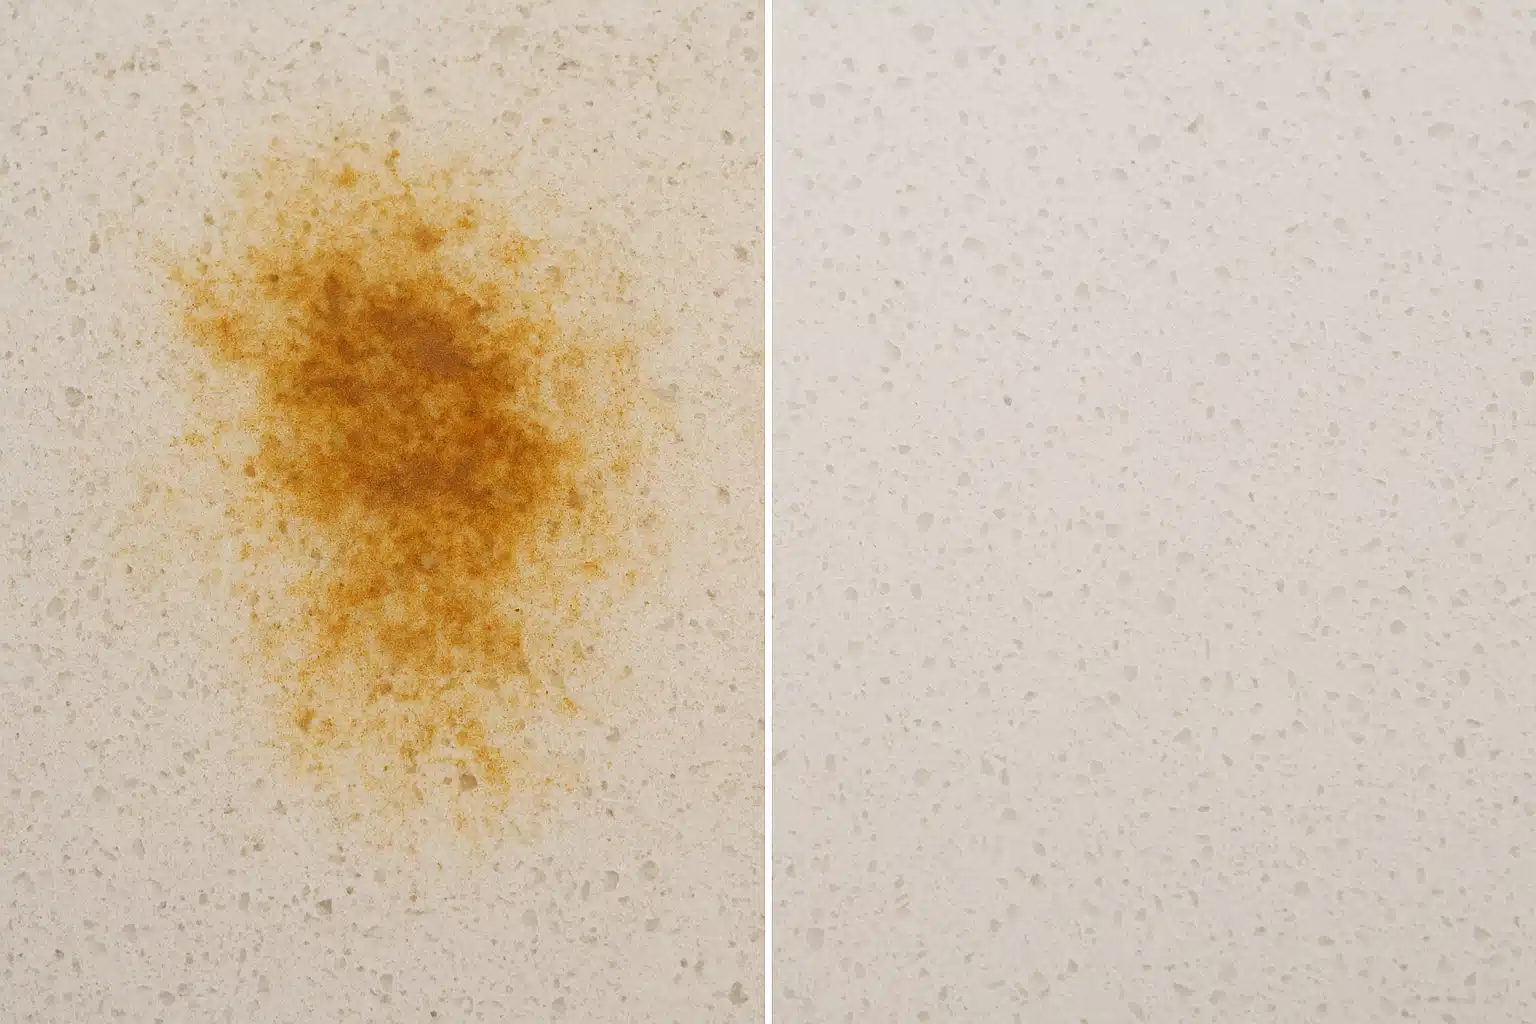
Rust stains on quartz typically occur when iron-containing materials come into contact with the surface. This can happen through various means: metal cookware left wet on countertops, iron-rich water deposits, rusty decorative items, or even mineral content in cleaning water. These reddish-brown marks can quickly transform a stunning surface into an eyesore, diminishing both the aesthetic appeal and perceived value of your investment.
The good news is that rust stains on quartz are not permanent. With the right approach, appropriate cleaning agents, and careful technique, you can effectively restore your quartz surfaces to their original brilliance. This comprehensive guide will walk you through a proven method using oxalic acid-based rust removers to safely eliminate these stubborn stains without damaging your valuable surfaces.
Why Addressing Rust Stains Promptly Is Important
Understanding why rust removal matters goes beyond simple aesthetics. While quartz is an engineered stone composed primarily of natural quartz crystals bound with polymer resins, it’s not completely impervious to staining. When iron oxidizes on the surface, the resulting rust can bond with the resin components, making removal increasingly difficult over time.
Prompt attention to rust stains offers several important benefits. First, fresh stains are significantly easier to remove than those that have been left to set for extended periods. The longer rust remains on the surface, the deeper it can penetrate into the microscopic pores of the material. Second, regular maintenance and stain removal help preserve the protective sealant that many quartz surfaces have, ensuring long-term durability and resistance to future staining.
From a practical standpoint, maintaining stain-free quartz surfaces also protects your investment. Quartz installations represent a significant expenditure in any home or commercial setting. Keeping these surfaces in pristine condition maintains property value and prevents the need for costly repairs or replacements down the line. Additionally, clean, well-maintained surfaces contribute to better hygiene, particularly important in food preparation areas and bathrooms.
Essential Materials and Safety Equipment
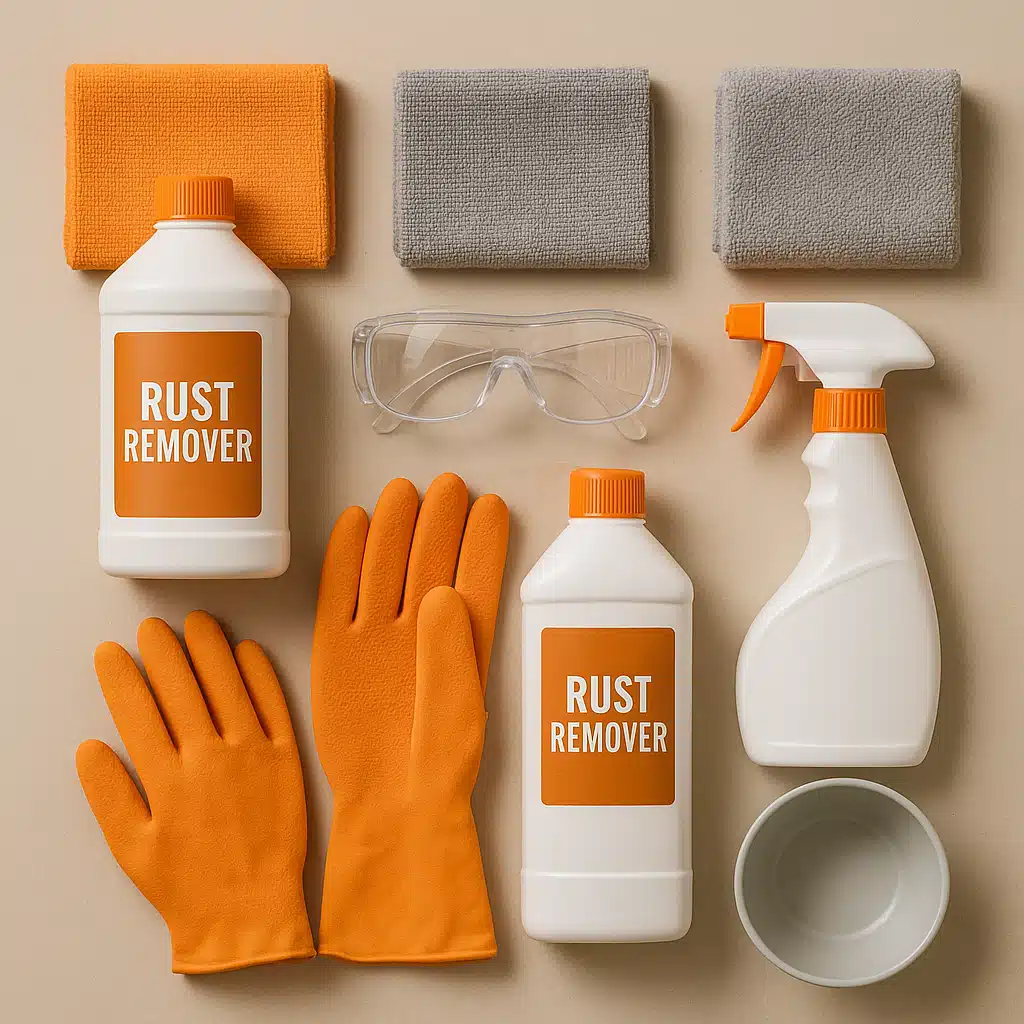
Before beginning any rust removal project, gathering the appropriate materials and safety equipment is crucial for achieving optimal results while protecting yourself and your surfaces. The following items form the foundation of a successful rust removal process:
Cleaning Agents
The primary active ingredient you’ll need is oxalic acid or a commercial rust remover containing this compound. Oxalic acid is a naturally occurring organic compound that effectively breaks down iron oxide (rust) without damaging quartz surfaces when used correctly. Commercial products specifically formulated for rust removal offer the advantage of pre-measured concentrations and often include additional surfactants that improve cleaning effectiveness.
Application Tools
Soft, non-abrasive cloths or sponges are essential for applying cleaning solutions without scratching the polished quartz surface. Microfiber cloths work exceptionally well due to their gentle texture and excellent absorption properties. A small mixing bowl made from glass, ceramic, or plastic (not metal, which could react with the acid) is needed for preparing your cleaning solution. For precise application on small stains, cotton swabs or soft-bristled brushes can be invaluable.
Safety Protection
Personal protective equipment should never be overlooked when working with cleaning chemicals. Chemical-resistant gloves, preferably nitrile or rubber, protect your skin from prolonged exposure to oxalic acid, which can cause irritation. Safety goggles or glasses shield your eyes from accidental splashes, particularly important when working on vertical surfaces or mixing concentrated solutions. If working in an enclosed space, ensure adequate ventilation or consider wearing a basic respirator mask to avoid inhaling any fumes.
Additional Supplies
Clean water for rinsing is absolutely essential—preferably filtered or distilled to avoid introducing additional minerals that could cause new staining. Several clean, dry towels for the final drying stage help prevent water spots and give your quartz a polished finish. A spray bottle can be useful for applying diluted solutions evenly across larger affected areas. Finally, having a timer or watch nearby helps you monitor application times and prevent over-exposure of the surface to cleaning agents.
Comprehensive Step-by-Step Rust Removal Process
Following a systematic approach ensures thorough rust removal while minimizing any risk to your quartz surface. This detailed process has been refined through professional experience and consistently delivers excellent results when executed carefully.
Step 1: Prepare and Assess the Area
Begin by thoroughly cleaning the affected area with a mild dish soap and warm water solution to remove any surface dirt, grease, or debris. This preliminary cleaning ensures that the rust remover can work directly on the stain without interference from other contaminants. Dry the surface completely with a clean cloth.
Carefully examine the rust stains to assess their severity and extent. Light, surface-level stains typically respond quickly to treatment, while deeper, older stains may require extended contact time or multiple applications. Take note of the stain locations and consider taking photographs for reference—this helps you track progress if multiple treatments are needed.
Ensure your workspace has adequate ventilation by opening windows or activating exhaust fans. Remove any items from the immediate area that could be damaged by accidental contact with cleaning solutions. Place protective coverings on adjacent surfaces if working near materials that might be sensitive to oxalic acid, such as certain metals or fabrics.
Step 2: Prepare the Rust Removal Solution
Put on your protective gloves and safety goggles before handling any cleaning chemicals. If using a commercial rust remover, carefully read and follow the manufacturer’s instructions regarding dilution ratios and safety precautions. Different products may have varying concentrations and recommended applications.
For powdered oxalic acid, a typical starting ratio is one part oxalic acid to one part warm (not hot) water, though you may adjust this based on stain severity. Always add acid to water, never water to acid, to prevent dangerous reactions or splashing. Stir the solution gently with a non-metal utensil until the powder is completely dissolved. The warm water helps accelerate dissolution, but avoid using very hot water as this can create excessive fumes.
For initial applications, especially if you’re unfamiliar with how your specific quartz will react, consider starting with a more diluted solution. You can always increase concentration if needed, but starting too strong could potentially cause unintended effects on certain quartz finishes.
Step 3: Test on an Inconspicuous Area
Before treating visible stains, always perform a spot test on a hidden or inconspicuous area of your quartz surface. Apply a small amount of the prepared solution to this test area and allow it to sit for approximately five minutes. Rinse thoroughly and examine the surface for any adverse reactions such as discoloration, dulling, or texture changes.
This crucial step helps you verify that your specific quartz product responds well to the treatment. While oxalic acid is generally safe for quartz, variations in manufacturing, resin composition, and surface treatments mean that individual products may react differently. The few minutes spent on this test can prevent irreversible damage to visible areas.
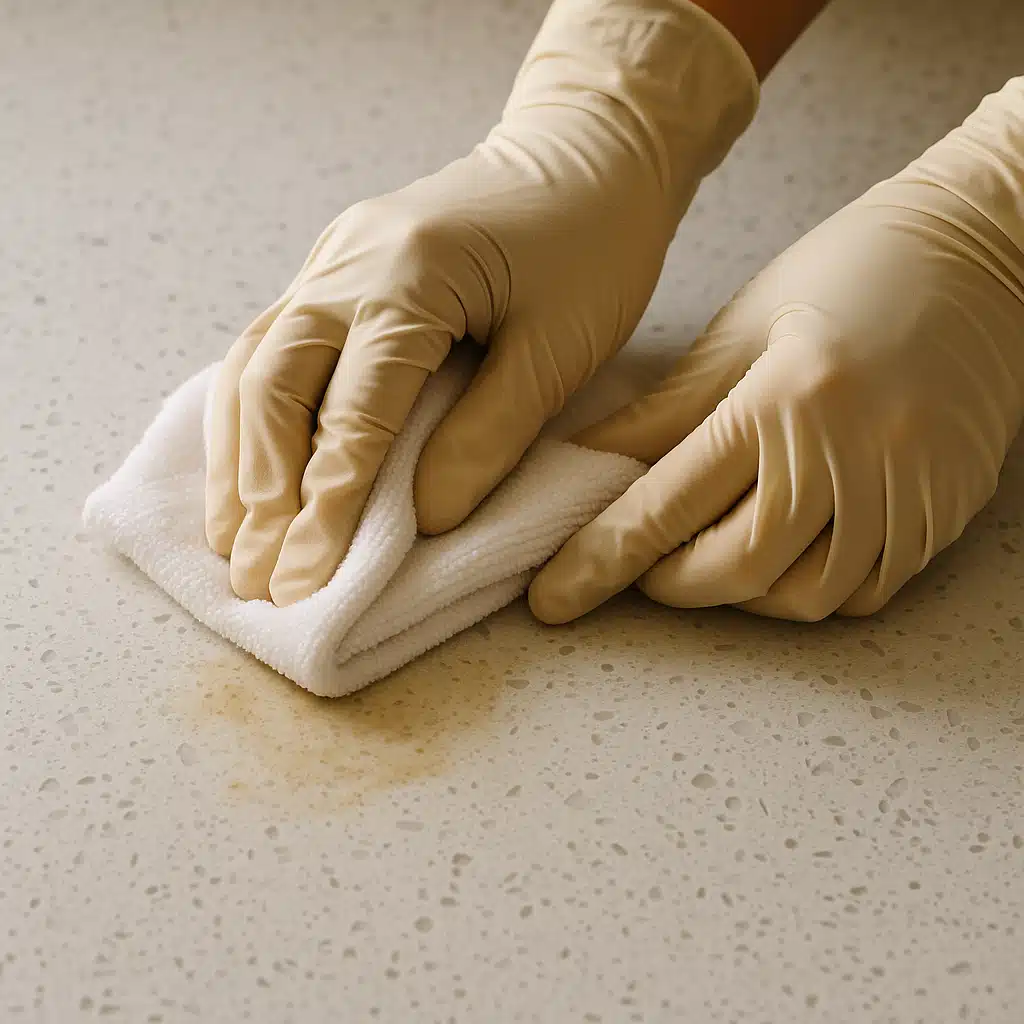
Step 4: Apply the Solution to Rust Stains
Once your spot test confirms safety, proceed with treating the rust stains. Using a soft cloth, sponge, or cotton swab (depending on stain size), apply the oxalic acid solution directly onto the affected areas. For best results, ensure the stain is thoroughly saturated with the solution but avoid excessive spreading to unaffected areas.
Allow the solution to remain on the stain for 5-10 minutes initially. During this time, you should observe the rust beginning to lighten or change color as the oxalic acid breaks down the iron oxide compounds. For stubborn or deeply set stains, you may need to extend the contact time up to 15-20 minutes, but never allow the solution to dry completely on the surface.
Avoid aggressive scrubbing during initial application. The chemical action of the oxalic acid does most of the work in dissolving rust. However, gentle circular motions with a soft cloth can help the solution penetrate and lift the stain more effectively. For textured quartz surfaces, use a very soft brush to work the solution into any recessed patterns or non-polished areas.
Step 5: Gentle Agitation and Treatment
After the initial contact time, gently work the area with your soft cloth or sponge using light, circular motions. This gentle agitation helps lift loosened rust particles from the surface. You should notice the rust transferring onto your cleaning cloth as the iron oxide breaks down and releases from the quartz.
For particularly resistant stains, you may need to reapply the solution and repeat the process. Multiple shorter applications are generally safer and more effective than one prolonged exposure. If the stain remains after the first treatment, rinse the area completely, allow it to dry, assess the improvement, and then apply a fresh solution for another cycle.
Step 6: Thorough Rinsing
Proper rinsing is absolutely critical to prevent residual oxalic acid from remaining on your quartz surface. Use clean, preferably filtered or distilled water to thoroughly rinse the treated area. Wipe the surface multiple times with a clean, damp cloth, refreshing the cloth frequently to ensure all chemical residue is removed.
Pay particular attention to any seams, edges, or textured areas where solution might accumulate. Rinse more extensively than you think necessary—any remaining acid could potentially affect the surface finish over time or create dull spots. Continue rinsing until you’re confident that no trace of the cleaning solution remains.
Step 7: Final Drying and Inspection
Using a clean, dry microfiber cloth, thoroughly dry the treated area. Proper drying prevents water spots and allows you to accurately assess the results of your treatment. Buff the surface gently to restore its natural luster and shine.
Inspect the area under good lighting conditions to evaluate stain removal. Complete elimination should be apparent with the rust stains no longer visible and the quartz returned to its original appearance. If faint traces remain, you can repeat the process after the surface has completely dried, typically after a few hours or the next day.
Once satisfied with the results, clean the entire surface with a standard quartz cleaner or mild soap solution to ensure uniformity of appearance and to remove any remaining traces of the treatment process.
Preventive Maintenance for Rust-Free Quartz Surfaces
Prevention is always easier and more effective than remediation. By implementing a few simple practices into your regular routine, you can significantly reduce the likelihood of rust stains developing on your quartz surfaces and maintain their pristine appearance for years to come.
Immediate Spill Management
The single most important preventive measure is addressing spills and moisture immediately. Water left standing on quartz surfaces, particularly if it contains dissolved iron or comes from metal containers, creates ideal conditions for rust formation. Develop a habit of wiping up any moisture promptly, especially around sinks, faucets, and areas where metal objects are frequently placed.
This is particularly important in areas with hard water, which often contains elevated levels of dissolved minerals including iron. Even clean water can leave iron deposits as it evaporates, creating those telltale rust-colored rings or spots. Regular wiping with a dry cloth prevents this mineral buildup before it becomes problematic.
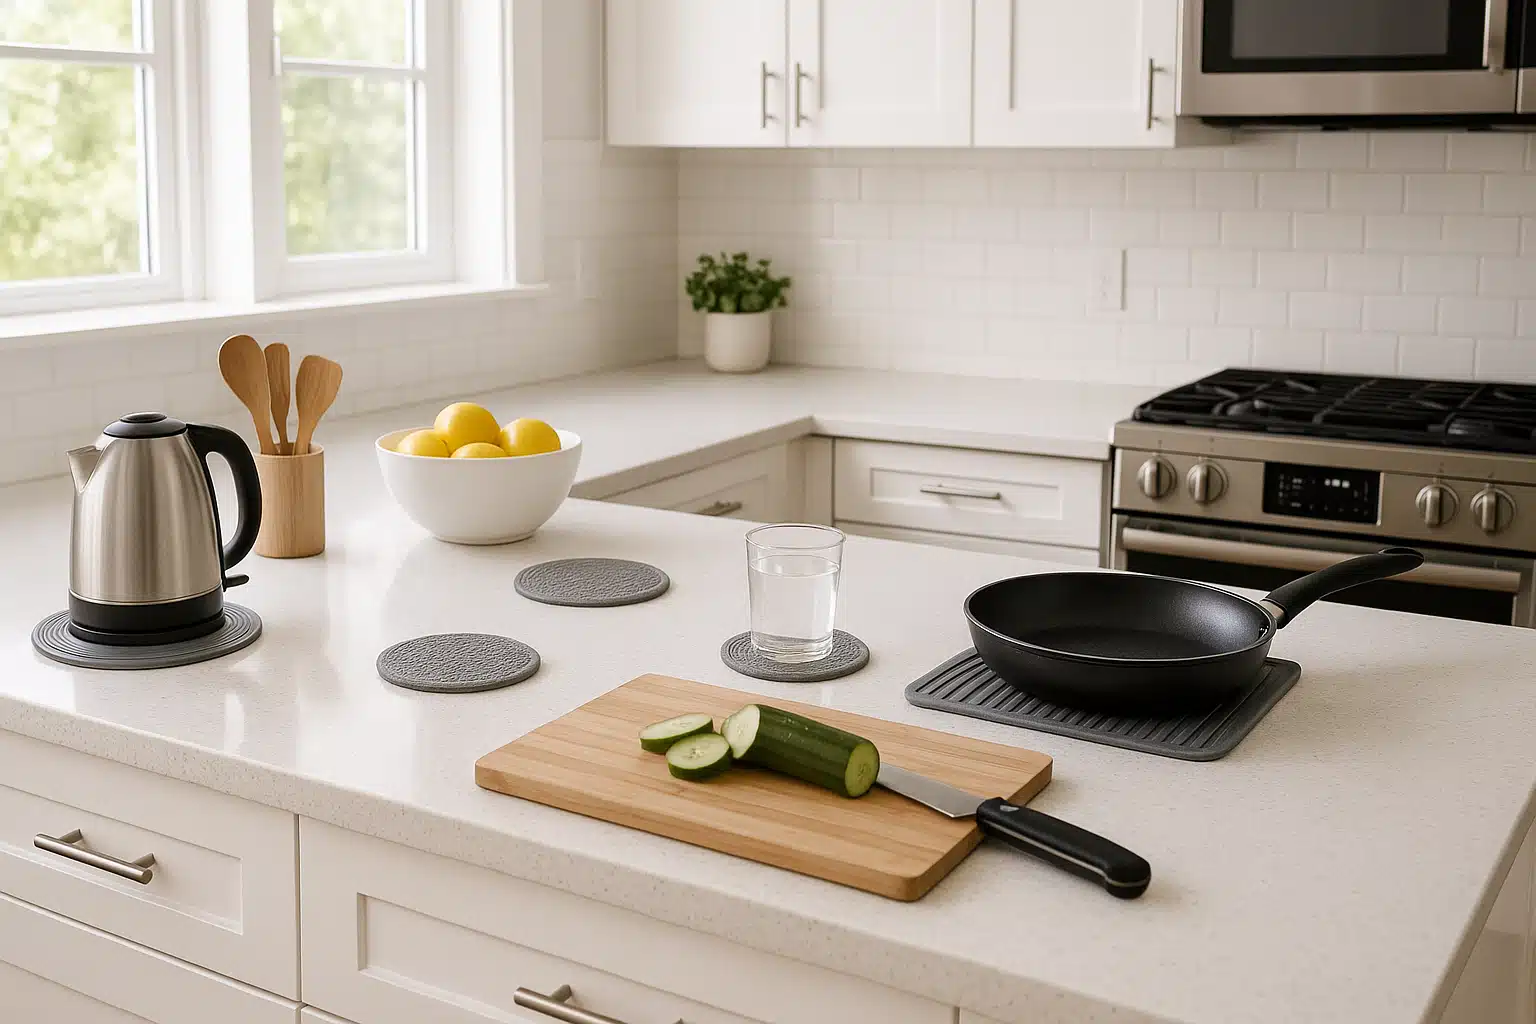
Use Protective Barriers
Implement the use of protective barriers between metal objects and your quartz surfaces. Coasters, trivets, cutting boards, and protective mats create physical separation that prevents direct contact between potentially rust-causing items and your countertops. This is especially important for items like cast iron cookware, metal canisters, tool boxes, or decorative iron objects that may have rough or rusty undersides.
In bathroom settings, avoid leaving metal shaving cream cans, cosmetic containers with metal bases, or bobby pins directly on quartz vanities. Small rubber or silicone pads placed under these items provide effective, inexpensive protection while being virtually invisible.
Regular Cleaning Routine
Establish a consistent cleaning routine using pH-neutral cleaners specifically formulated for quartz surfaces. Daily or frequent cleaning with mild dish soap and water effectively removes surface contaminants before they have an opportunity to cause staining. Avoid harsh, acidic, or alkaline cleaners for regular maintenance as these can gradually degrade the resin components in engineered quartz.
Weekly or bi-weekly, perform a more thorough cleaning that includes examining the surface for any early signs of staining, particularly in high-use areas. Catching potential rust stains in their earliest stages makes removal significantly easier and prevents deep setting.
Water Quality Considerations
If your water supply has high iron content, consider using filtered or treated water for cleaning your quartz surfaces. Water filtration systems that remove iron and other minerals can dramatically reduce the likelihood of rust staining. For those in areas with particularly problematic water quality, installing a whole-house water softener or filtration system provides benefits that extend beyond just countertop maintenance.
When cleaning, use distilled water for the final rinse to prevent mineral deposits. This extra step takes minimal additional time but provides significant protection, especially in regions with hard water issues.
Proper Ventilation and Humidity Control
Excessive humidity can accelerate rust formation on metal objects and increase the transfer of iron oxide to quartz surfaces. Ensure adequate ventilation in kitchens and bathrooms through exhaust fans, open windows, or dehumidifiers. This not only protects your quartz surfaces but also prevents broader moisture-related issues in your home.
Common Questions and Troubleshooting
Is Oxalic Acid Safe for All Quartz Surfaces?
Oxalic acid, when used in appropriate concentrations and with proper technique, is generally safe for engineered quartz surfaces. However, quartz products vary in their exact composition, resin formulations, and surface treatments. This is why performing a spot test on an inconspicuous area is absolutely essential before treating visible stains.
Some specialty quartz products with unique finishes, such as leather or suede textures, may require modified approaches. When in doubt, consult the manufacturer’s care guidelines for your specific quartz product or contact a professional stone care specialist for advice tailored to your situation.
What If the Stain Doesn’t Come Out Completely?
If rust stains persist after your initial treatment attempt, don’t despair. Very deep or old stains may require multiple treatments or slightly stronger concentrations of oxalic acid. Between treatments, allow the surface to dry completely and assess progress in good lighting conditions.
For extremely stubborn stains that resist home treatment, professional stone restoration services have access to specialized equipment and stronger formulations that can address deep-set discoloration. Professional treatment becomes particularly worth considering when dealing with expensive installations or when home methods have proven unsuccessful after several attempts.
Can I Use Other Rust Removers or Household Products?
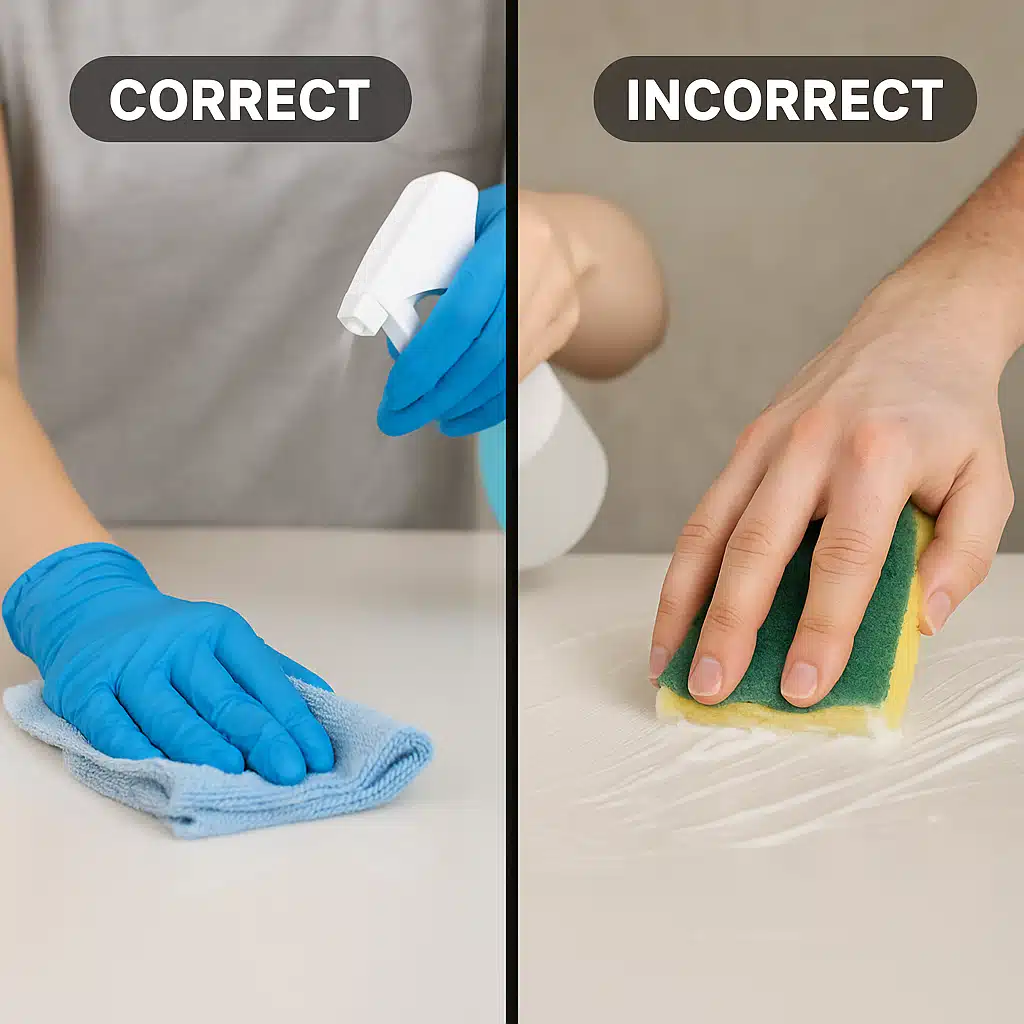
While oxalic acid-based products are the most recommended solution for rust on quartz, some people consider alternatives. Avoid using harsh abrasive cleaners, steel wool, or scouring pads, as these will scratch and dull the polished surface. Bleach and products containing bleach should also be avoided as they can discolor or damage the resin in engineered quartz.
Some household remedies like baking soda paste or vinegar may work on very light, fresh stains, but they lack the effectiveness of oxalic acid for established rust marks. If you choose to experiment with alternative products, always test in an inconspicuous area first and research whether the product is specifically approved for use on quartz surfaces.
How Often Should I Apply Preventive Treatments?
Unlike natural stone surfaces like granite or marble, engineered quartz typically doesn’t require sealing or special preventive treatments beyond regular cleaning. The non-porous nature of quartz provides natural resistance to staining when properly maintained. Focus your efforts on the preventive practices outlined earlier—prompt spill cleanup, protective barriers, and regular cleaning—rather than seeking chemical preventive treatments.
What Are the Most Common Mistakes to Avoid?
Several common errors can compromise your rust removal efforts or damage your quartz surface. Allowing oxalic acid to dry on the surface is a frequent mistake that can create dull spots or residue marks. Always rinse thoroughly before the solution dries completely.
Using excessive concentration or leaving the solution on too long in an attempt to speed up the process often backfires. Patience with proper dilution and contact times yields better, safer results. Aggressive scrubbing with abrasive materials is another common error—the chemical action does the work, not mechanical force.
Finally, neglecting proper safety equipment puts your health at risk unnecessarily. Always use gloves and eye protection when working with any cleaning chemicals, regardless of how mild they may seem.
When to Consider Professional Assistance
While the methods described in this guide effectively handle most rust staining situations, certain circumstances warrant professional intervention. Extensive staining covering large surface areas, particularly if the rust has been present for extended periods, may exceed the practical scope of DIY treatment.
Professional stone restoration specialists possess industrial-grade equipment, stronger cleaning formulations, and expert knowledge of working with various quartz products. They can assess your specific situation and apply targeted treatments that would be impractical or unavailable for home use.
Additionally, if you’ve attempted home treatment without success, or if you notice any adverse reactions to cleaning attempts such as discoloration, dulling, or texture changes, professional evaluation can prevent further damage and potentially restore the affected areas.
For valuable installations, antique or unique quartz pieces, or situations where you’re uncertain about the appropriate approach, the investment in professional service often proves worthwhile compared to the risk of damaging an expensive surface through trial and error.
Conclusion: Maintaining Beautiful, Rust-Free Quartz
Rust stains on quartz surfaces, while frustrating, represent a solvable problem rather than permanent damage. Armed with the right knowledge, appropriate materials, and careful technique, you can effectively remove these unsightly marks and restore your quartz to its original beauty.
The key to success lies in understanding the nature of both the stain and your surface, using appropriate oxalic acid-based treatments with proper safety precautions, and following a systematic approach that prioritizes surface protection alongside stain removal. Remember that patience yields better results than rushing—multiple gentle treatments outperform single aggressive attempts.
Equally important is implementing preventive practices that minimize the likelihood of future staining. Simple habits like immediately wiping up spills, using protective barriers under metal objects, maintaining regular cleaning routines, and being mindful of water quality all contribute to keeping your quartz surfaces looking pristine for years to come.
Whether you’re maintaining quartz countertops in your kitchen, bathroom vanities, or any other quartz installation, the investment of time in proper care pays dividends in the longevity and appearance of these beautiful surfaces. With the comprehensive guidance provided here, you’re now equipped to tackle rust stains confidently and maintain your quartz surfaces in showroom condition.
Should you encounter situations beyond the scope of home treatment, don’t hesitate to consult professional stone care specialists who can provide expert assistance. Your quartz surfaces represent a significant investment in your space—treating them with appropriate care ensures they continue to provide beauty and functionality for many years to come.