Rock tumbling is a captivating hobby that transforms ordinary, rough stones into brilliant, polished gemstones. Whether you’re interested in creating your own jewelry, collecting beautiful specimens, or simply exploring a meditative craft, rock tumbling offers a rewarding creative outlet. However, newcomers often underestimate the time and patience required for this process. Unlike many modern hobbies that offer instant gratification, rock tumbling is a gradual journey that unfolds over weeks or even months. This comprehensive guide will help you understand what to expect as you begin your rock tumbling adventure, ensuring you approach this hobby with realistic expectations and the knowledge needed for success.
What is Rock Tumbling?
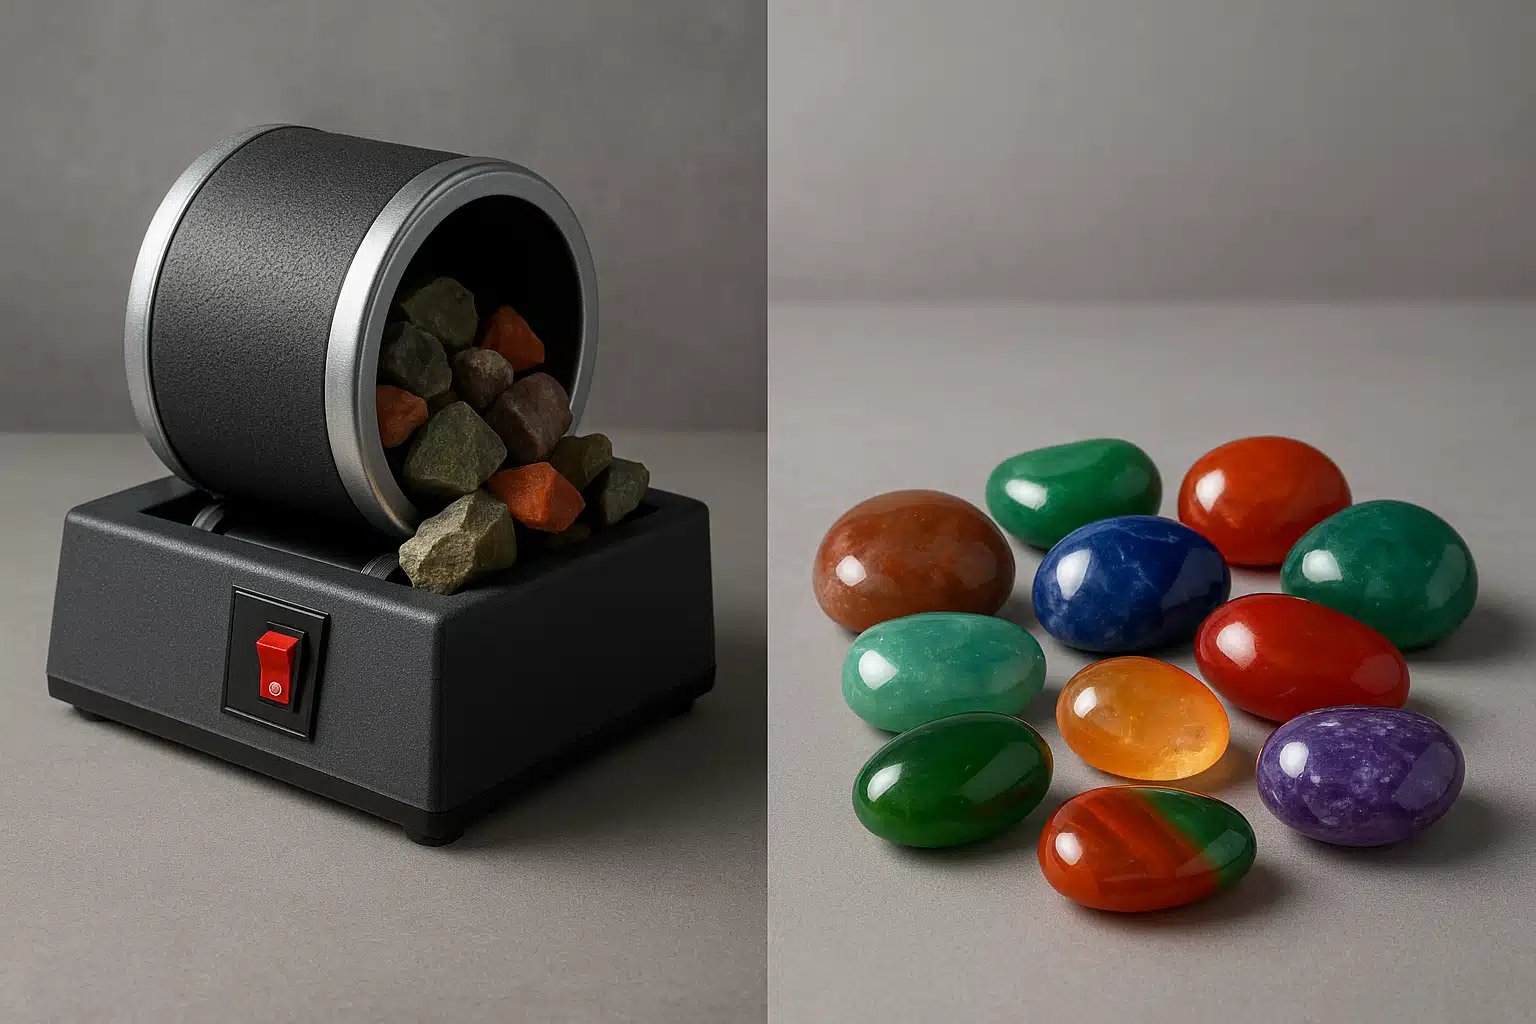
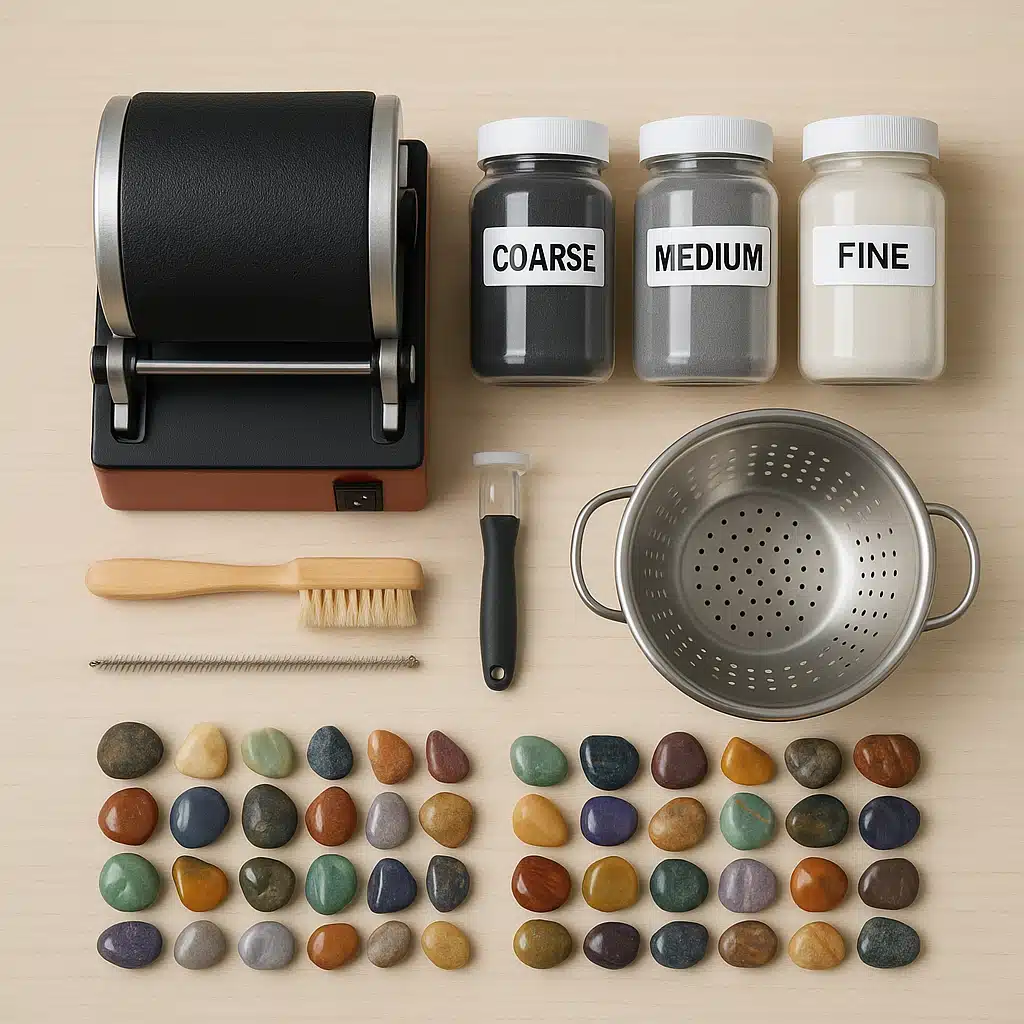
Rock tumbling is the process of smoothing and polishing rough stones using a mechanical tumbler, abrasive grit, and water. The tumbler rotates continuously, causing the stones to rub against each other and the abrasive materials, gradually wearing away rough surfaces and sharp edges. Over time, this friction transforms dull, jagged rocks into smooth, lustrous gemstones that reveal their hidden colors and patterns. The process mimics what happens naturally in rivers and oceans over thousands of years, but accelerates it to just a few weeks. While the concept is straightforward, achieving professional-quality results requires understanding the proper techniques, selecting appropriate materials, and most importantly, exercising patience throughout each stage of the tumbling process.

The Complete Rock Tumbling Process: Stage by Stage
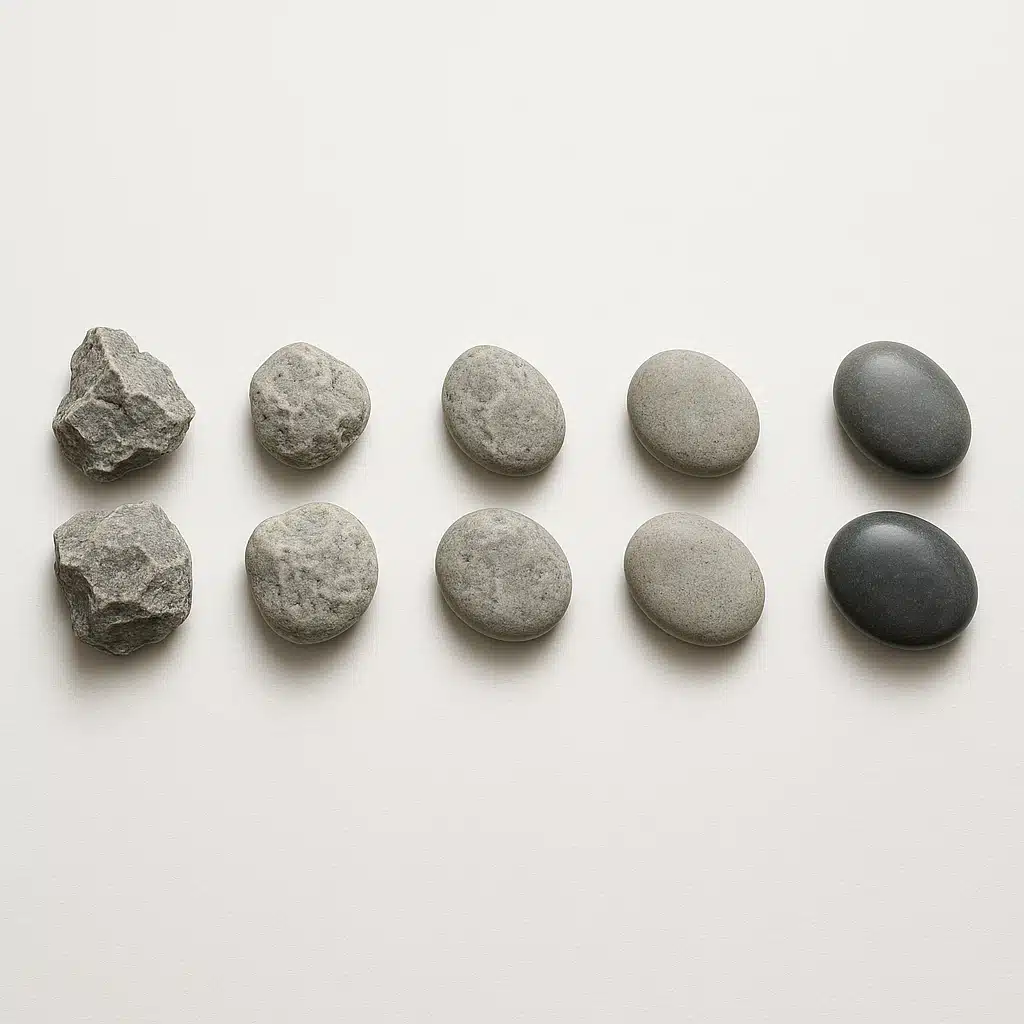
Understanding the multi-stage nature of rock tumbling is essential for managing your expectations and achieving optimal results. Each stage serves a specific purpose and cannot be rushed or skipped without compromising the final outcome. Here’s what happens at each phase:
Stage 1: Coarse Grinding (7-10 Days)
This initial stage removes the bulk of rough material from your stones. Using coarse silicon carbide grit (typically 60/90 mesh), the tumbler works to shape the stones and remove major imperfections, fractures, and sharp edges. During this stage, you’ll notice the water in your tumbler becomes quite muddy as material is ground away. This is the longest and most critical stage, as it determines the basic shape and size of your finished stones. Running this stage for the full duration ensures your stones will have smooth contours without pits or rough patches.
Stage 2: Medium Grinding (7-10 Days)
After thoroughly cleaning your stones and tumbler barrel, the medium grinding stage uses finer grit (typically 120/220 mesh) to smooth away the scratches left by the coarse grinding. The stones begin to develop a more refined surface, though they won’t yet have any shine. This stage is crucial for preparing the stone surface for the polishing stages ahead. Skipping or rushing this stage will result in visible scratches on your finished stones that cannot be removed later.
Stage 3: Fine Grinding (7-10 Days)
Using even finer grit (typically 500 or 600 mesh), this stage creates an ultra-smooth surface free from any visible scratches. The stones will start to show a slight sheen, giving you a preview of their potential beauty. Meticulous cleaning between stages becomes even more important now, as any residual coarser grit can create scratches that will be visible on the polished surface.
Stage 4: Pre-Polish (4-7 Days)
Some rock tumbling enthusiasts include a pre-polish stage using very fine powder (such as aluminum oxide or tin oxide). This optional but recommended stage further refines the surface and creates an ideal foundation for the final polish. The stones will begin to develop a noticeable luster during this phase.
Stage 5: Final Polish (4-7 Days)
The moment you’ve been waiting for! Using polishing compound (such as aluminum oxide, cerium oxide, or tin oxide), this final stage creates the brilliant, reflective surface that makes tumbled stones so attractive. The exact duration depends on the stone type and desired level of shine. When complete, your stones should be smooth, glossy, and reveal their full natural beauty.
Setting Realistic Expectations for Your Rock Tumbling Journey
Success in rock tumbling comes from understanding and accepting the realities of the process. Here’s what you should keep in mind:
Patience is Your Most Important Tool
Unlike many hobbies that offer immediate results, rock tumbling requires genuine patience. The complete process typically takes 4-6 weeks for standard stones, and some harder materials may require even longer. Each stage must run its full course—there are no shortcuts. Attempting to rush the process will only result in disappointing, poorly polished stones with visible flaws. Embrace the slow pace as part of the hobby’s charm. Many rock tumblers run their equipment continuously, checking progress periodically and enjoying the anticipation of the final reveal.
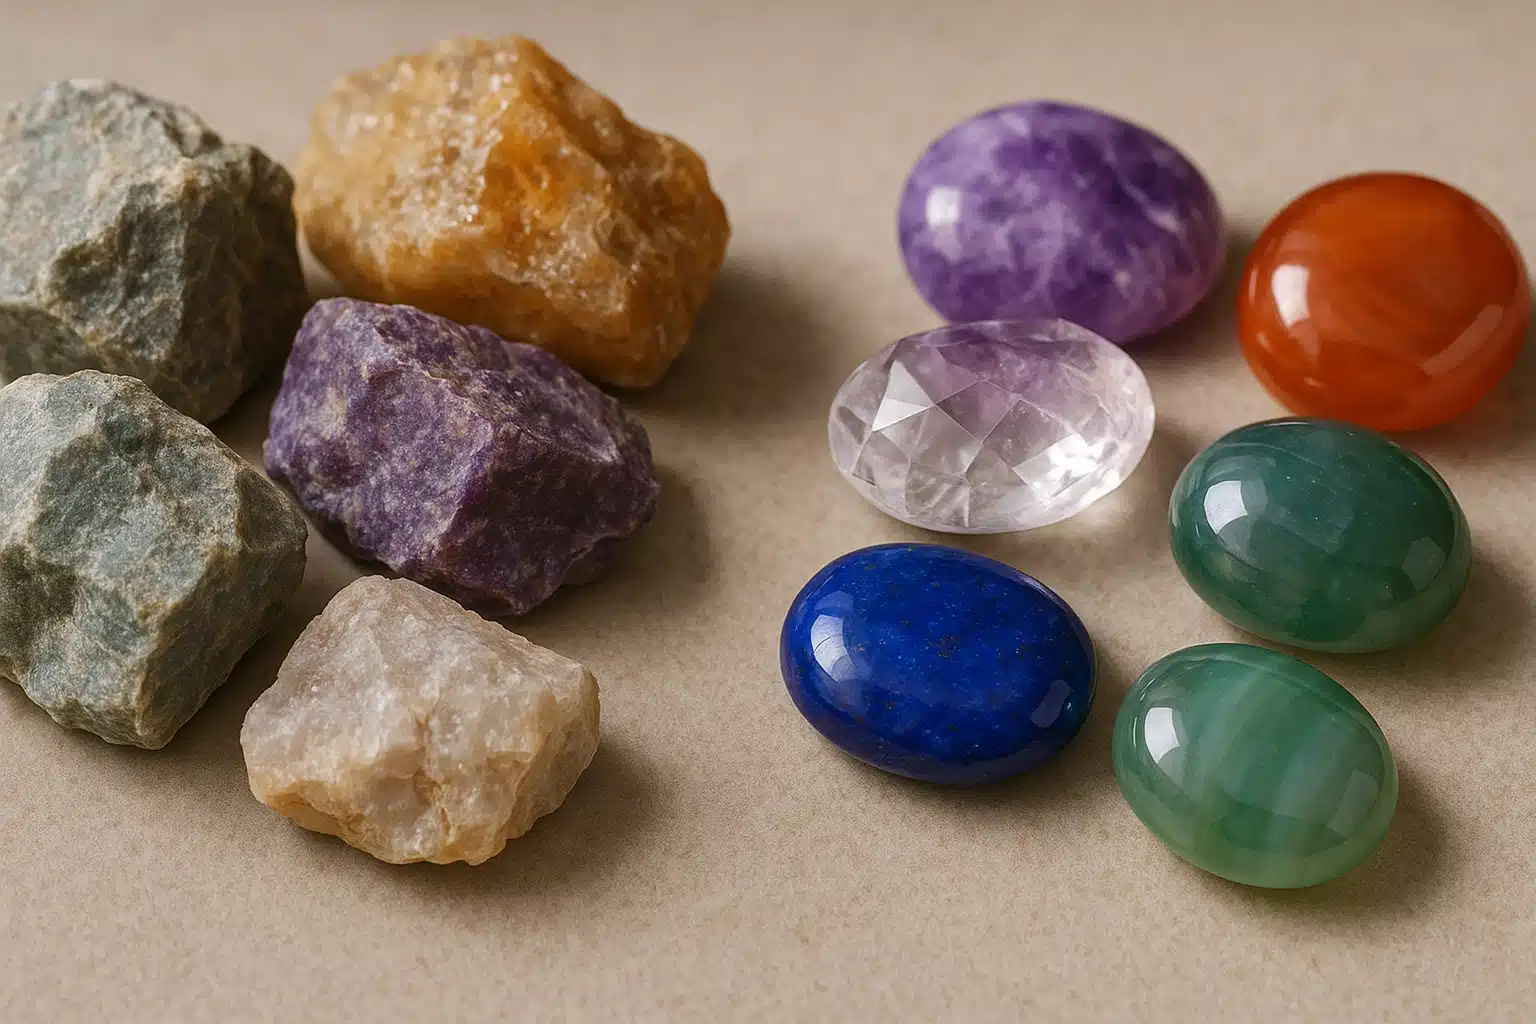
Different Stones, Different Results
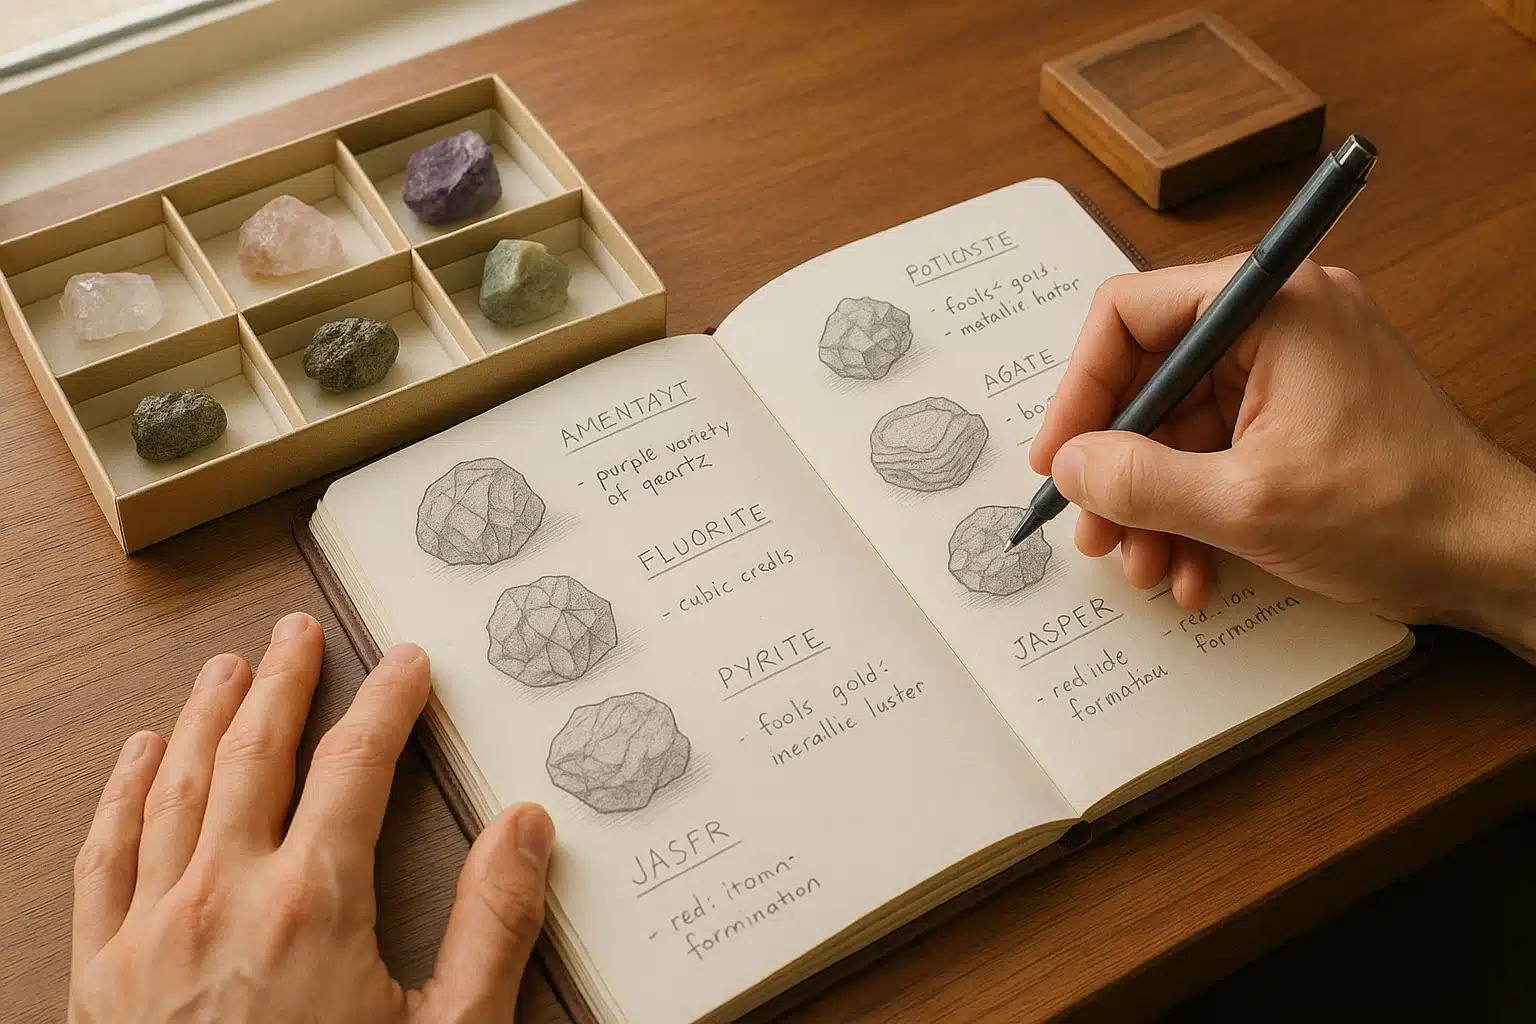
Not all stones are equally suitable for tumbling, and those that are will produce varying results. Harder stones like agate, jasper, and quartz generally produce excellent results with brilliant polish. Softer stones may tumble more quickly but might not achieve the same level of luster. Some stones are too soft, too porous, or too brittle for tumbling altogether. Research the Mohs hardness scale and tumbling characteristics of your stones before beginning. For best results, only tumble stones of similar hardness together, as softer stones will wear away much faster than harder ones.
Expect Some Disappointments
Even with perfect technique, not every stone will turn out beautifully. Some stones may have hidden fractures that cause them to break during tumbling. Others might have inclusions or patterns that don’t become attractive when polished. Some batches may take longer than expected or require repeating certain stages. These disappointments are normal and part of the learning process. Experienced rock tumblers view each batch as an opportunity to refine their skills and better understand different stone materials. Keep detailed notes about each batch—which stones you used, how long each stage took, and what the results were—to improve your outcomes over time.
Size Reduction is Inevitable
Throughout the tumbling process, your stones will lose approximately 20-30% of their original size and weight as material is ground away. Start with stones slightly larger than your desired final size. Very small stones may disappear entirely through the process, so avoid tumbling stones smaller than about 1 centimeter unless you’re specifically creating tiny specimens.
Common Beginner Mistakes and How to Avoid Them
Learning from others’ mistakes can save you time, materials, and frustration. Here are the most common errors beginners make and how to prevent them:
Rushing Through the Stages
The single biggest mistake beginners make is insufficient tumbling time at each stage. When you’re eager to see results, a week can feel like an eternity. However, each stage requires its full duration to properly prepare the stone surface for the next step. Cutting a stage short by even a day or two can result in scratches, pits, or dull areas that cannot be corrected later. Set reminders on your phone or calendar for when to check your tumbler and transition between stages. Remember that the recommended timeframes are minimums—some stones benefit from additional time.
Overloading or Underloading the Tumbler
Your tumbler barrel should be filled to approximately 2/3 to 3/4 of its capacity for optimal results. Overloading prevents stones from tumbling properly, leading to flat spots and poor polishing. Underloading allows stones to slide rather than tumble, which also produces poor results and can damage your equipment. Use ceramic tumbling media or plastic pellets to supplement your load if you don’t have enough stones to reach the proper level.
Inadequate Cleaning Between Stages
Thorough cleaning between each stage is absolutely critical. Even tiny particles of coarser grit carried over to a finer stage will create scratches that become increasingly visible as you approach the final polish. Clean each stone individually under running water, scrubbing with an old toothbrush. Clean the barrel, lid, and any media with equal care. Some experienced tumblers keep separate barrels for different stages to eliminate any possibility of contamination. Never clean your stones or equipment in your kitchen sink, as grit can damage plumbing and is difficult to clean up. Use a bucket or outdoor sink instead.
Mixing Incompatible Stones
Tumbling stones of significantly different hardness levels together is a recipe for disappointment. Softer stones will wear away much faster than harder ones, potentially disappearing entirely or being ground down to smooth, shapeless pebbles. Meanwhile, harder stones won’t polish properly because the softer material creates excessive sludge in the barrel. Group your stones by similar hardness, even if it means running multiple batches separately or waiting until you have enough compatible stones to fill your barrel properly.
Neglecting Equipment Maintenance
Your tumbler runs continuously for weeks at a time, so proper maintenance is essential. Regularly check that your barrel isn’t leaking (which wastes grit and makes a mess). Ensure the motor isn’t overheating or making unusual sounds. Keep the drive belt properly tensioned and replace it when it shows signs of wear. Lubricate moving parts according to the manufacturer’s recommendations. A well-maintained tumbler will last for many years and countless batches of beautiful stones.
Using Inadequate or Incorrect Grit
Quality grit makes a significant difference in your results. Cheap or improperly sized grit won’t cut efficiently and may produce inferior polish. Use silicon carbide grit specifically designed for rock tumbling, and ensure you’re using the correct mesh size for each stage. Using too much grit wastes material and money, while too little extends the processing time and produces poor results. Follow the grit manufacturer’s recommendations for the amount to use based on your barrel size.
Tips for First-Time Rock Tumblers
Starting your rock tumbling journey with the right approach will lead to better results and greater enjoyment of the hobby:
- Start with recommended beginner stones: Agate, jasper, and quartz varieties are forgiving, readily available, and produce beautiful results. Save exotic or expensive materials until you’ve mastered the basic process.
- Keep a tumbling journal: Record which stones you’re tumbling, what grit you’re using, how long each stage takes, and notes about the results. This information becomes invaluable for improving your technique.
- Join online communities: Rock tumbling enthusiasts worldwide share their experiences, troubleshooting advice, and inspiration through online forums and social media groups. Learning from experienced tumblers accelerates your skill development.
- Invest in quality equipment from the start: A reliable tumbler might cost more initially, but it will produce better results and last longer than cheap alternatives. Consider it a long-term investment in your hobby.
- Plan for noise: Tumblers aren’t silent. The constant rolling sound can be soothing to some but annoying to others, especially when running 24/7 for weeks. Place your tumbler in a garage, basement, or other area where the noise won’t disturb household activities or sleep.
- Collect locally and responsibly: Finding your own stones to tumble adds another dimension to the hobby. Research local regulations about collecting stones, respect private property, and practice environmental responsibility. Many beautiful tumbling stones can be found along rivers, beaches, and in areas with exposed geology.
Understanding What Makes a Successful Batch
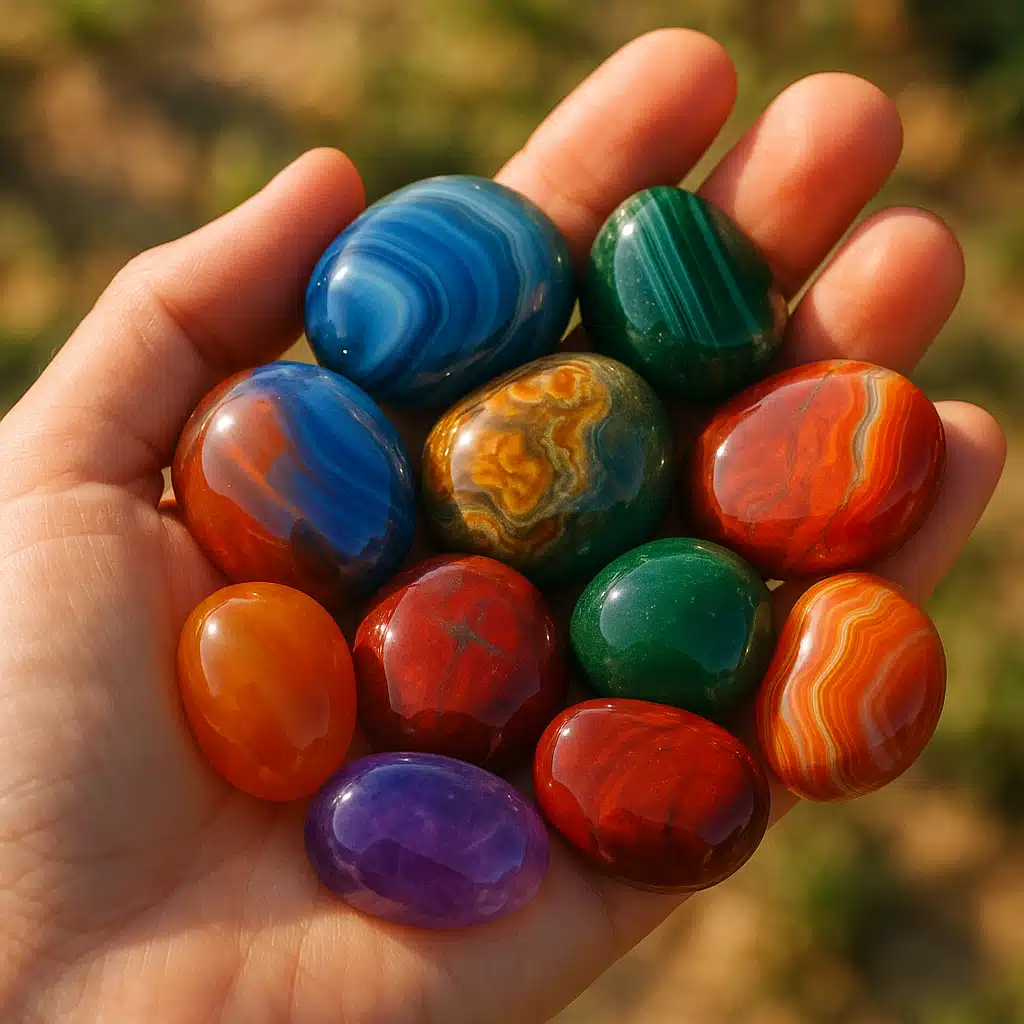
Knowing what to aim for helps you evaluate your progress and results. Successfully tumbled stones should have a smooth, rounded shape without flat spots or sharp edges. The surface should be free from visible scratches, pits, or rough areas. A high-quality polish produces a mirror-like reflective surface on appropriate stones, though the exact level of shine depends on the stone type—some materials naturally achieve higher luster than others. The stones should display their natural colors and patterns clearly, with the polishing process enhancing rather than obscuring these characteristics. Each stone should maintain its structural integrity without cracks or fractures caused by the tumbling process.
Beyond the Basics: What Comes Next
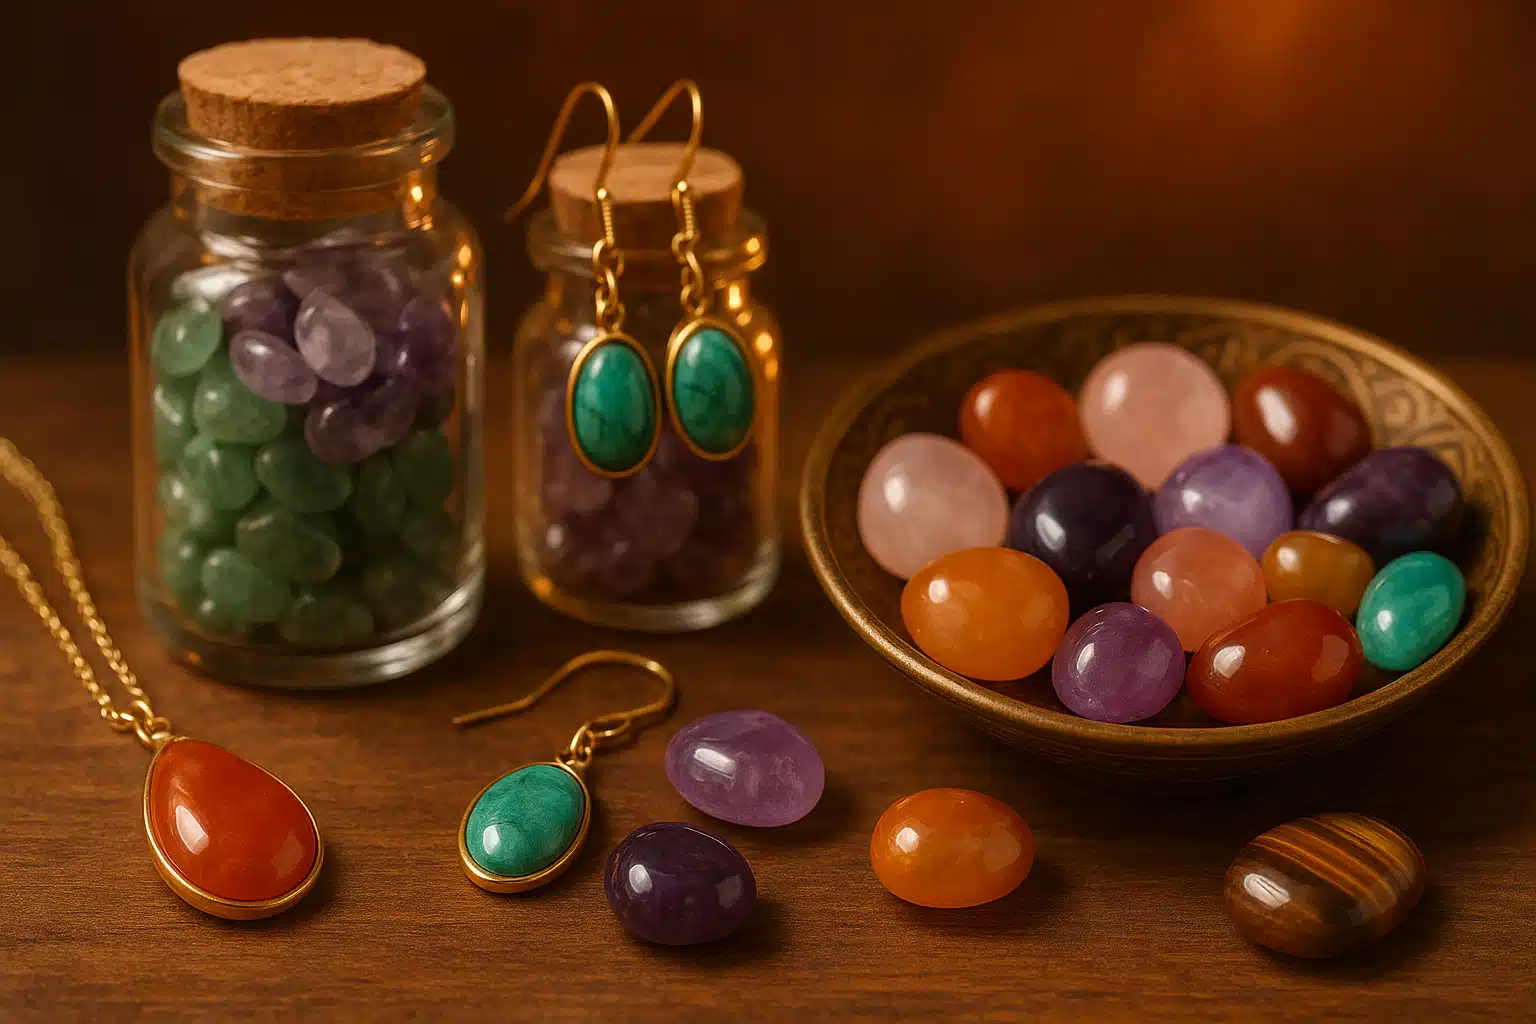
Once you’ve successfully completed your first few batches and mastered the fundamental process, the hobby opens up in exciting directions. Many rock tumblers progress to more challenging stone materials, experiment with different polishing compounds to achieve various finishes, or try vibratory tumblers that can reduce processing time. Some enthusiasts begin creating jewelry or decorative items with their polished stones, combining rock tumbling with other crafts like wire wrapping or resin casting. Others focus on building collections of specific stone types or colors, developing expertise in identifying and sourcing premium tumbling rough. The meditative, patient nature of rock tumbling also appeals to those seeking a screen-free hobby that produces tangible, beautiful results.
Conclusion: Embracing the Rock Tumbling Journey
Rock tumbling is a uniquely rewarding hobby that teaches patience, attention to detail, and appreciation for natural beauty. While the weeks-long process might seem daunting at first, most tumblers find the gradual transformation deeply satisfying. The anticipation builds with each stage, and the moment you finally reveal your polished stones never loses its magic, even after dozens of batches. By understanding what to expect, avoiding common pitfalls, and embracing the slow, methodical nature of the process, you’ll set yourself up for success. Start with simple stones and basic techniques, keep detailed records of your progress, and don’t be discouraged by occasional disappointments. Each batch teaches valuable lessons that improve your results. Before long, you’ll have a growing collection of beautiful polished stones and the skills to transform rough rocks into gleaming treasures. Welcome to the wonderful world of rock tumbling—may your journey be filled with patience, learning, and spectacular results!