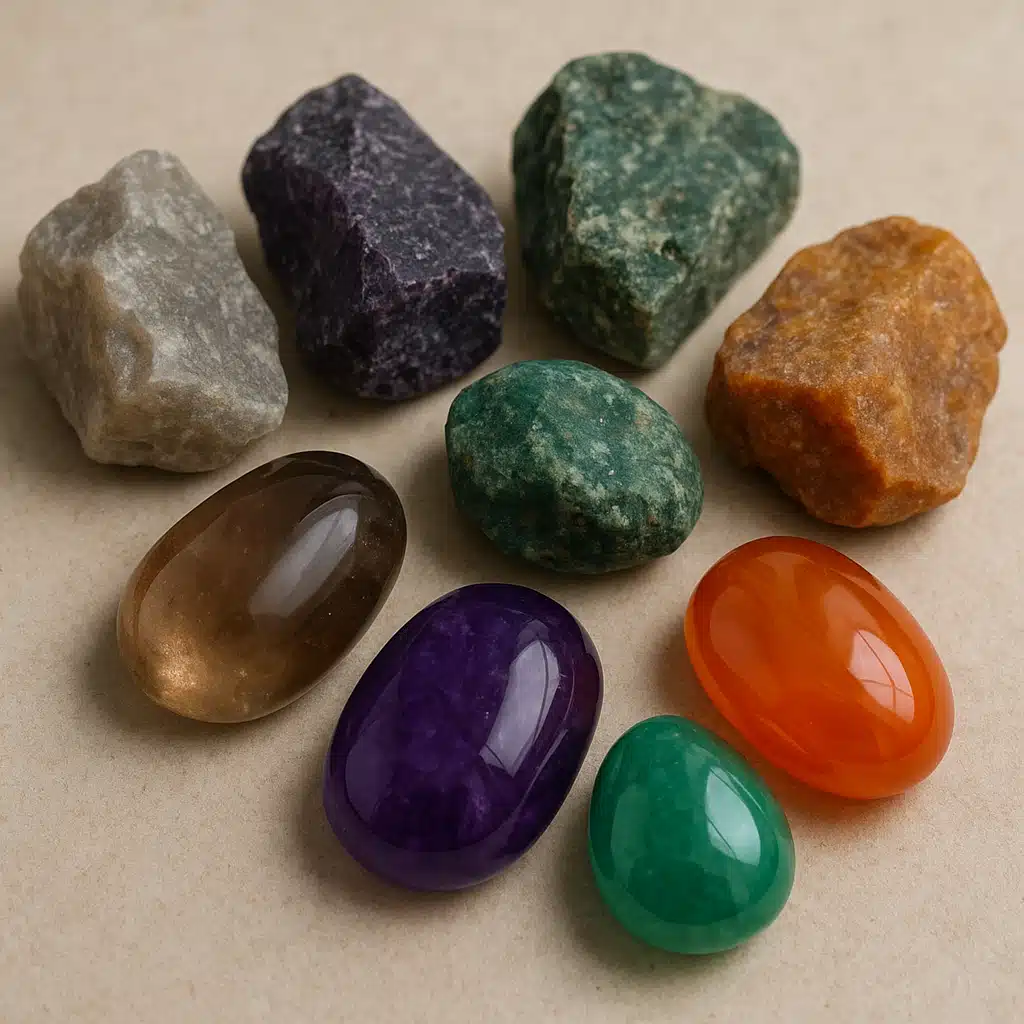
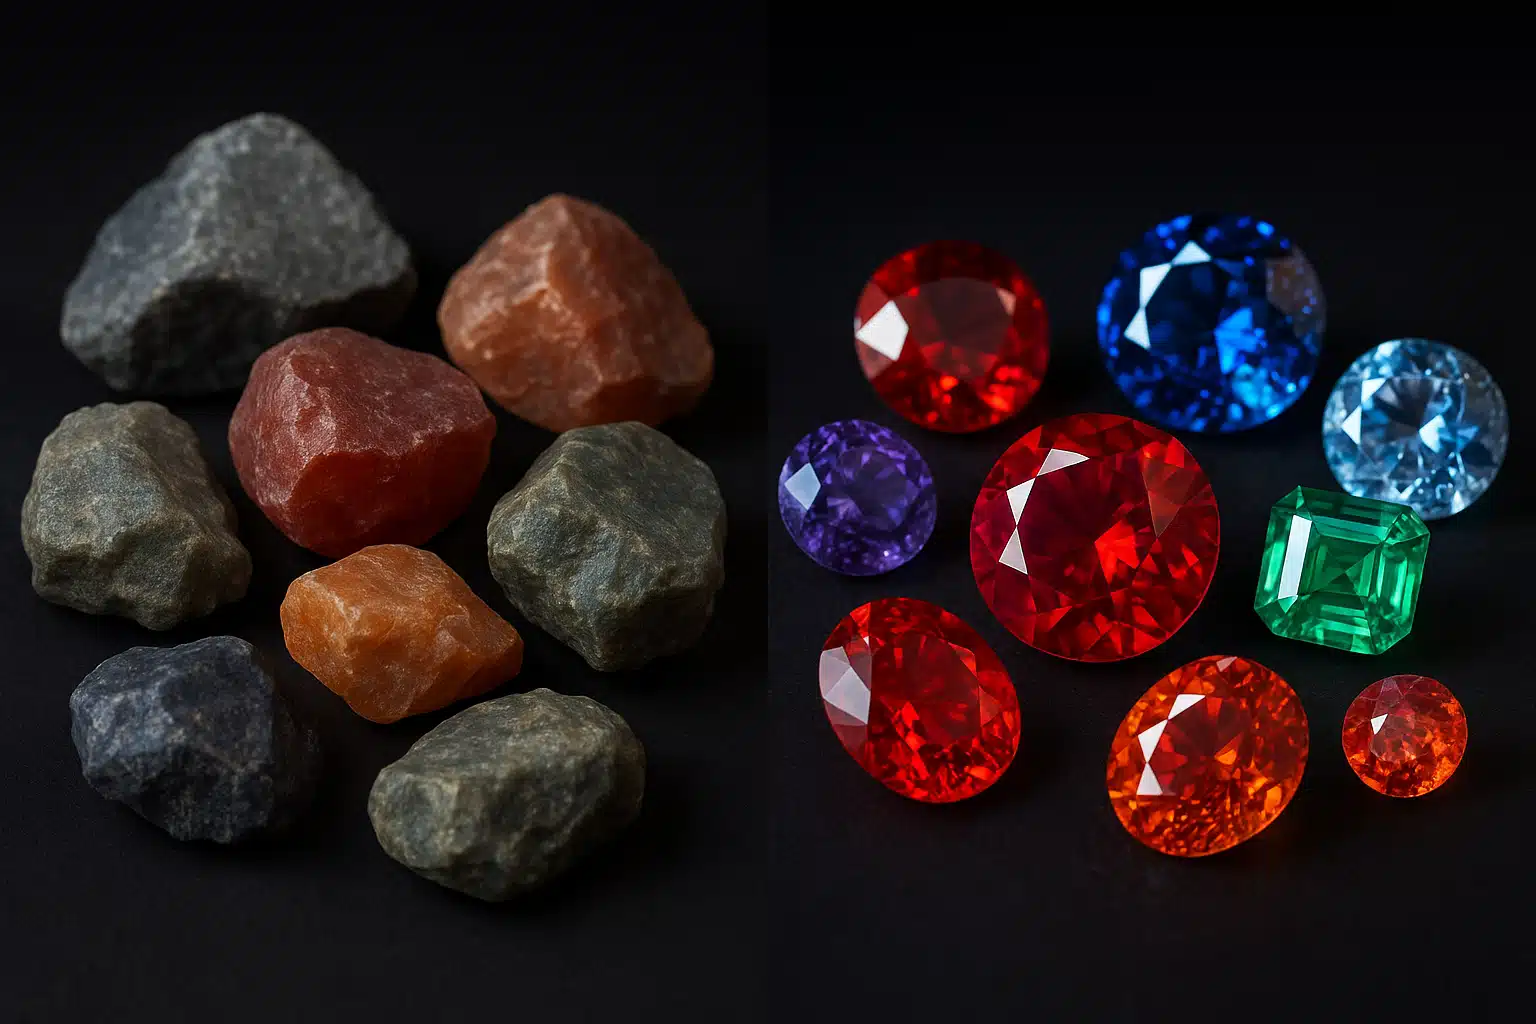
Rock tumbling is a rewarding hobby that transforms rough, unpolished stones into gleaming treasures. However, many enthusiasts experience disappointment when their carefully tumbled rocks emerge dull and lackluster instead of brilliantly polished. This comprehensive guide explores the most common reasons your rocks may not be achieving that coveted shine and provides practical solutions to overcome these challenges.
The Fundamentals of Rock Tumbling
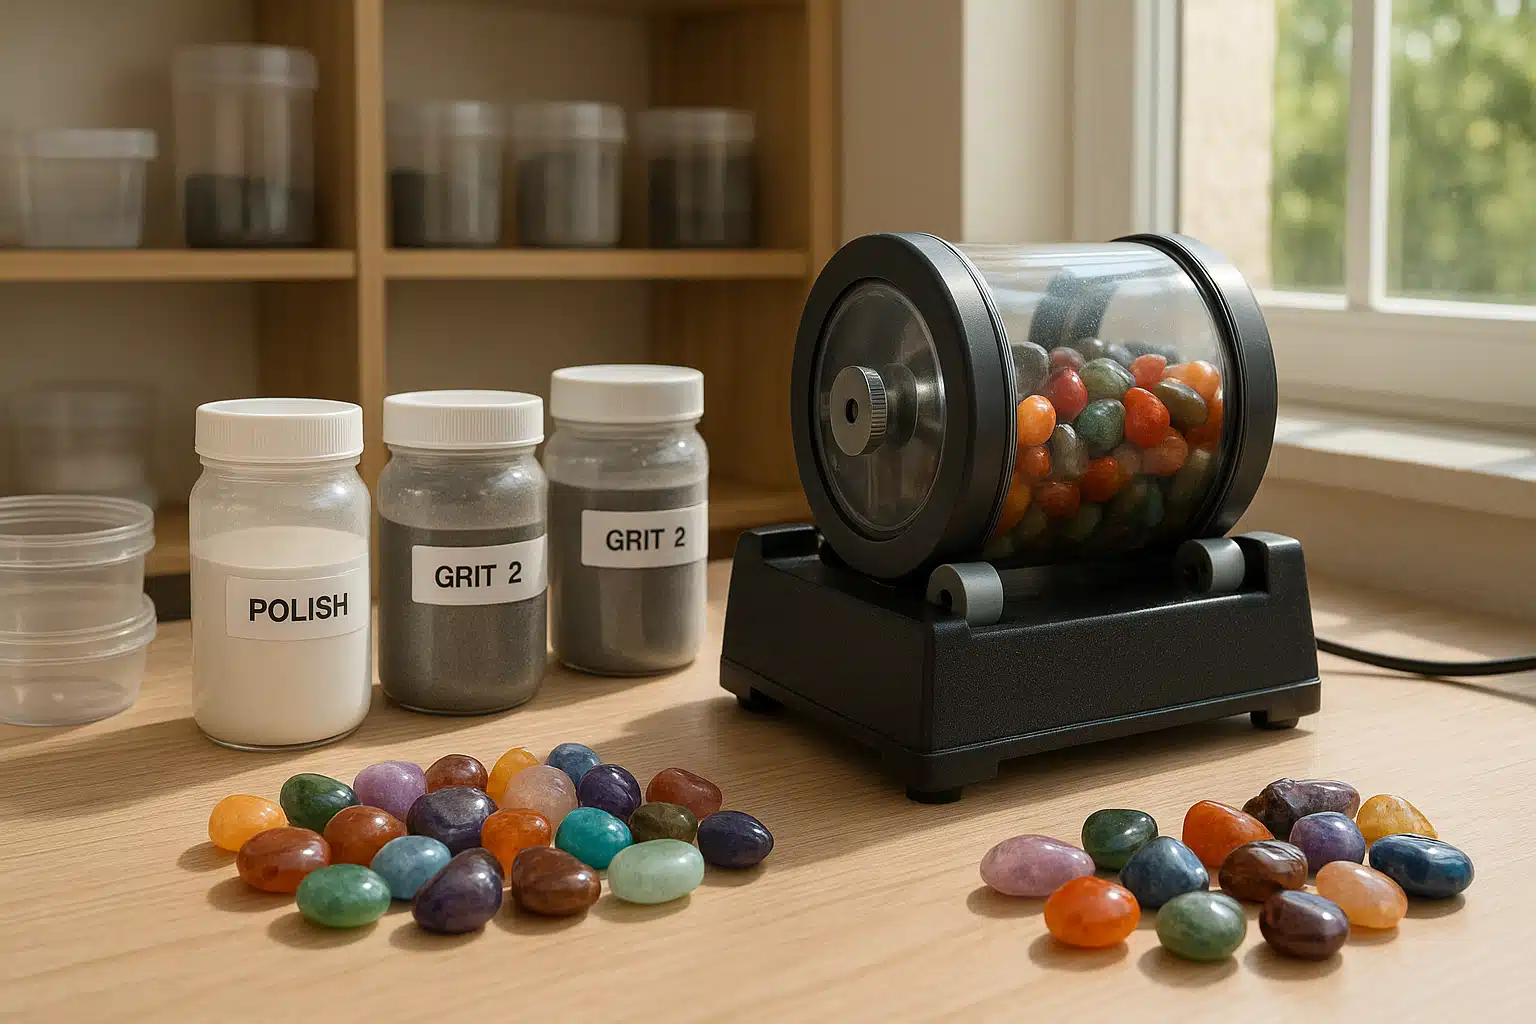
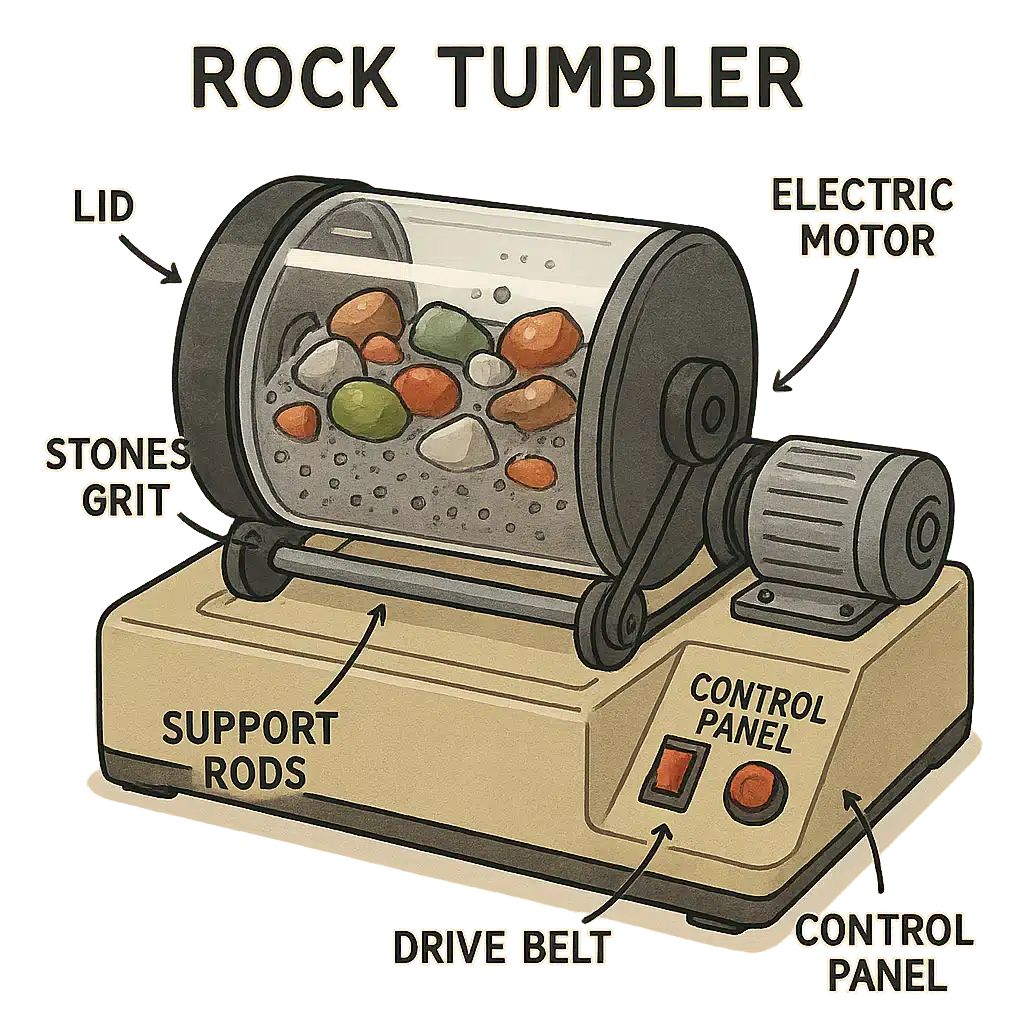
Rock tumbling is a multi-stage process that gradually refines rough stones into smooth, polished gems. The process involves placing rocks in a rotating barrel along with abrasive grit and water. As the barrel rotates continuously over days or weeks, the rocks tumble against each other and the grit, slowly wearing away rough surfaces and creating increasingly smooth finishes.
The typical tumbling process consists of four distinct stages, each using progressively finer abrasive materials. The coarse stage removes major imperfections, the medium stage smooths surfaces, the fine stage prepares for polishing, and the final polish stage creates the brilliant shine. Each stage is crucial, and skipping or rushing through any phase can compromise your final results.
Primary Reasons Your Rocks Remain Dull
When your tumbled rocks fail to achieve the desired shine, several factors could be responsible. Understanding these common issues is the first step toward achieving consistently brilliant results.
Inadequate Processing Time
Each tumbling stage requires sufficient time to properly work the stone surfaces. Rushing through stages is one of the most common mistakes. The coarse stage typically requires 7-10 days, medium and fine stages need 5-7 days each, and the final polish stage takes 3-7 days. These timeframes can vary based on rock hardness and your specific equipment, but patience is essential. Ending a stage prematurely leaves your stones incompletely processed, making it impossible for subsequent stages to achieve optimal results.
Incorrect Abrasive Selection
Using inappropriate grit sizes or types for each stage significantly impacts results. Abrasive materials come in carefully calibrated sizes, from coarse silicon carbide for initial grinding to ultra-fine aluminum oxide or cerium oxide for final polishing. Skipping grit stages, using worn-out abrasives, or applying the wrong grit type for your stone hardness prevents proper surface development. Each grit size performs specific work that prepares the stone for the next finer stage.
Barrel Overloading or Underloading
The quantity of rocks in your tumbler barrel directly affects results. Overloading prevents rocks from tumbling properly—they simply grind against each other without the cascading action necessary for even polishing. Underloading causes excessive impact between stones, leading to damage. Most tumblers perform optimally when filled to approximately two-thirds to three-quarters capacity, allowing proper movement while maintaining sufficient contact between rocks and abrasive.
Contamination Between Stages
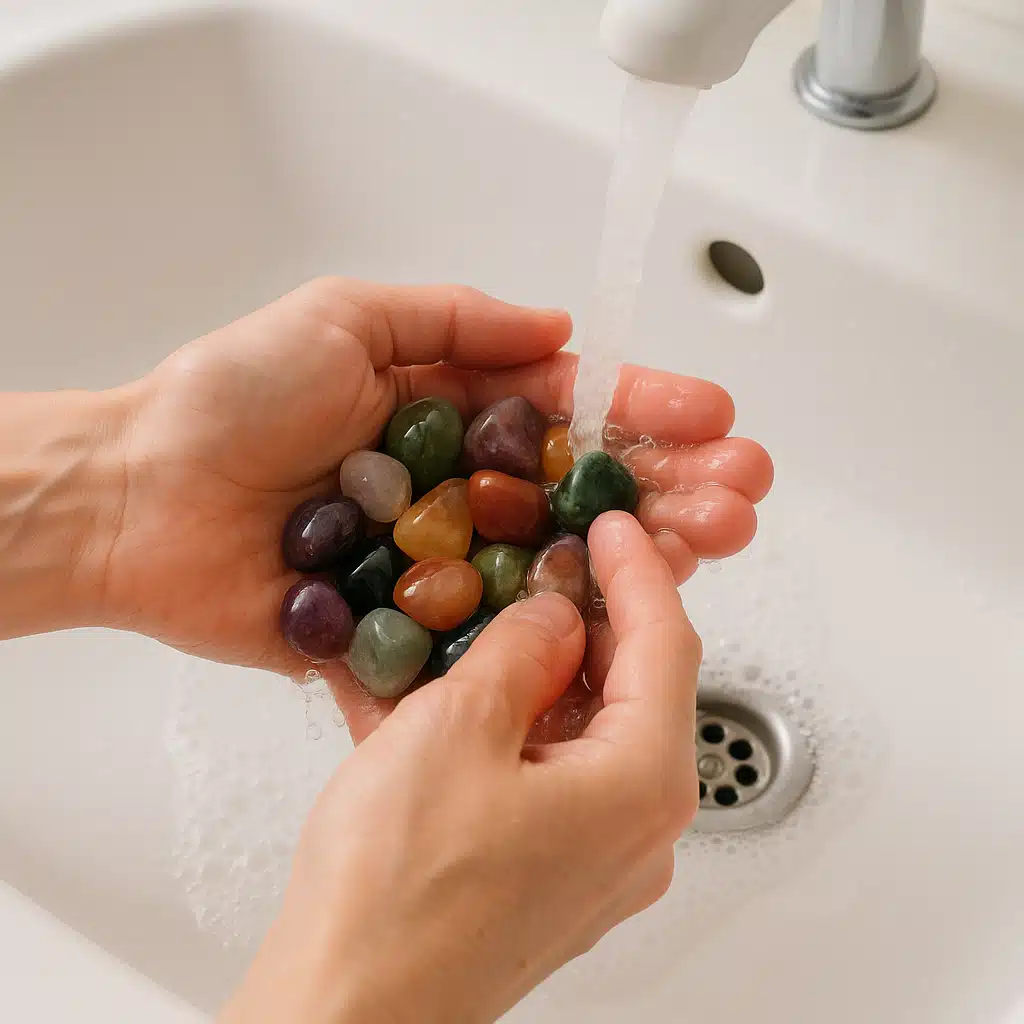
Failing to thoroughly clean rocks, barrel, and lid between stages introduces coarser grit into finer stages, scratching stones you’ve carefully prepared. Even microscopic particles of coarse grit can ruin a polish stage. Meticulous cleaning between each stage—including washing stones under running water, scrubbing the barrel, and cleaning all equipment—is non-negotiable for achieving brilliant results.
Addressing Bruising: Surface Damage and Pitting
Bruising refers to surface damage that appears as small pits, chips, or fractures on your tumbled stones. This problem creates dull spots or rough patches that resist polishing, ruining otherwise beautiful specimens.
Causes of Bruising
Bruising typically occurs when rocks of significantly different sizes tumble together, allowing larger specimens to repeatedly impact smaller ones with excessive force. Extremely hard rocks mixed with softer varieties can also cause damage, as can tumbling at excessive speeds. Additionally, insufficient cushioning media—such as plastic pellets that help buffer impacts—contributes to bruising problems.
Preventing and Minimizing Bruising
- Sort rocks by size: Keep rocks within similar size ranges together. Avoid mixing very large specimens with very small ones in the same batch.
- Group by hardness: Tumble stones of similar hardness together. Mixing materials of vastly different hardness levels leads to damage on softer specimens.
- Add cushioning media: Plastic pellets or ceramic media fills gaps between rocks, reducing direct impacts and providing gentler tumbling action.
- Verify tumbler speed: Ensure your equipment operates at the manufacturer’s recommended speed. Excessive speed increases impact force.
- Inspect after coarse stage: Examine rocks after the initial stage and remove any that show excessive damage or won’t polish well.
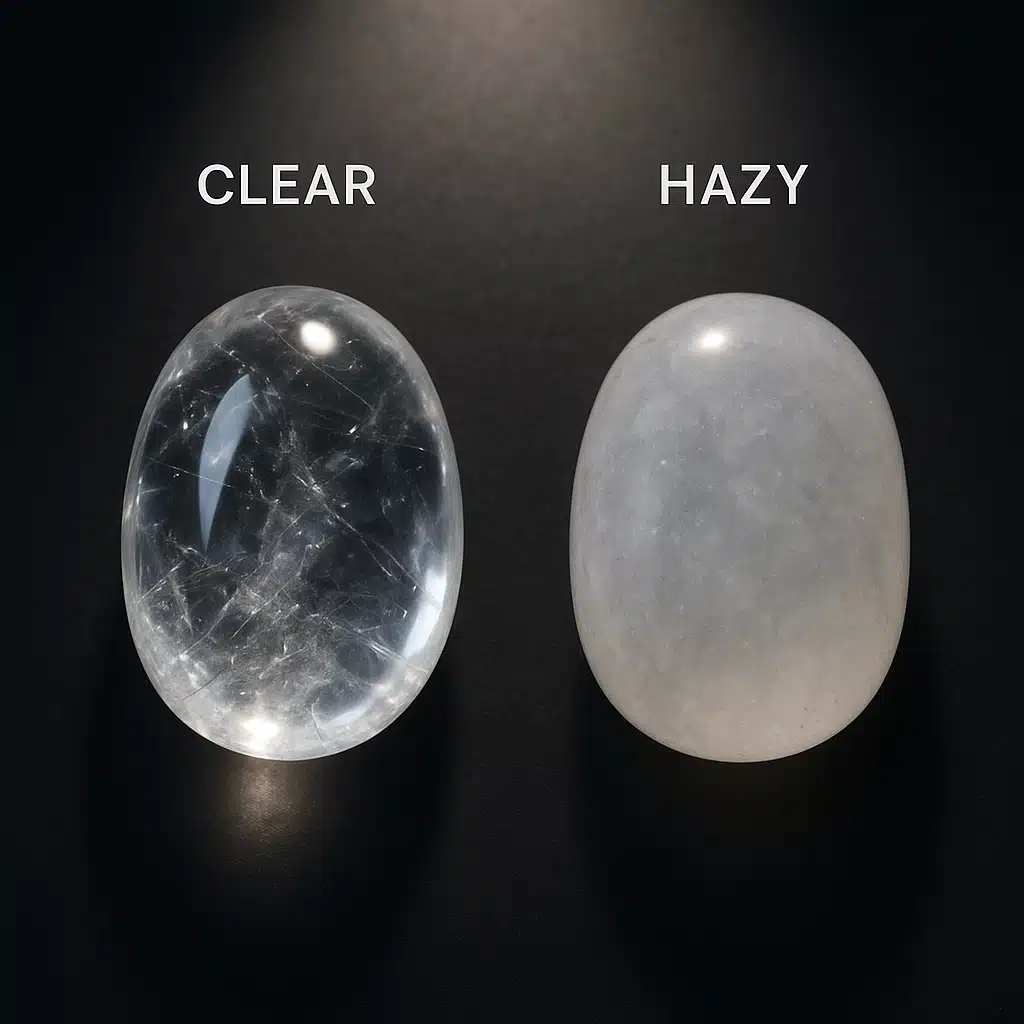
Solving Haze: Cloudy and Dull Finishes
Haze is a frustrating condition where rocks appear cloudy, milky, or lack the brilliant transparency and shine you expect. The stones may feel smooth but look dull or have a film-like appearance that masks their natural beauty.
Common Causes of Haze
Haze most frequently results from inadequate cleaning between stages, allowing residual grit to create micro-scratches during finer stages. Using insufficient water in the barrel prevents proper grit suspension and cleaning action. Hard water containing minerals can leave deposits on stone surfaces. Skipping the pre-polish stage or using worn polish compound also contributes to hazy finishes. Some stone types are naturally more prone to haze due to their internal structure or porosity.
Eliminating Haze Problems
- Implement rigorous cleaning protocols: Wash every rock individually under running water between stages, using a brush to remove all grit particles from crevices and surfaces.
- Clean all equipment thoroughly: Scrub the barrel interior, lid, and all sealing surfaces between stages to eliminate cross-contamination.
- Use appropriate water: Distilled or filtered water eliminates mineral deposits that can cause haze, particularly important during polish stages.
- Never skip the pre-polish stage: This crucial intermediary step between fine grinding and final polish removes micro-scratches that cause haze.
- Apply sufficient polish compound: Use fresh polishing powder in recommended quantities. Insufficient or degraded polish cannot create brilliant finishes.
- Extend polish time if necessary: Some stone types require longer polishing periods. If stones emerge hazy, repeat the polish stage with fresh compound.
- Consider burnishing: A final stage with soap or specialized burnishing compounds and plastic pellets can enhance shine on stones resistant to standard polishing.
Practical Success Story: Learning Through Experience
Consider a common scenario many rock tumbling enthusiasts encounter. An eager beginner loads their new tumbler with an exciting collection of mixed stones—various sizes, types, and hardness levels—wanting to see quick results. After running through what they believe are the proper stages, they eagerly open the barrel expecting gleaming gems, only to find disappointing, dull stones with rough spots and cloudy surfaces.
Upon reviewing their process, they discover several critical errors: the barrel was overloaded beyond recommended capacity, preventing proper tumbling action; rocks weren’t adequately cleaned between stages, allowing grit contamination; and they reduced the time for each stage by several days, wanting faster results. Additionally, they mixed very hard and soft stones together, causing bruising on softer specimens.
For their second attempt, they apply proper techniques: sorting stones by size and hardness, filling the barrel to appropriate capacity, following recommended timeframes for each stage, meticulously cleaning between stages, and using fresh grit at proper quantities. The transformation is remarkable—beautifully polished stones with brilliant shine and smooth surfaces, validating that careful attention to proper technique produces consistently excellent results.
Common Misconceptions About Rock Tumbling
Several widespread misunderstandings prevent beginners from achieving optimal results. Recognizing and correcting these misconceptions significantly improves your tumbling success.
More Grit Produces Better Results
Excessive grit actually reduces effectiveness. Proper grit quantity allows stones to contact each other and the barrel while suspended in abrasive slurry. Too much grit prevents proper tumbling action and wastes expensive materials. Follow manufacturer guidelines, typically two to three tablespoons per kilogram of rock depending on the stage.
Longer Is Always Better
While adequate time is essential, excessively long tumbling can cause problems. Over-tumbling in coarse stages removes too much material and can create unnatural shapes. Extended polish stages beyond necessary timeframes provide no additional benefit and may actually dull stones through excessive barrel wear.
All Rocks Polish Equally Well
Different stone types have varying tumbling characteristics. Dense, hard, non-porous stones like agate, jasper, and quartz achieve brilliant polish relatively easily. Softer, porous, or fractured materials may never achieve high shine regardless of technique. Research your specific stone types to set realistic expectations and adjust techniques accordingly.
You Can Skip Stages to Save Time
Each tumbling stage performs specific surface preparation that subsequent stages depend upon. Skipping from coarse directly to polish leaves scratches too deep for polish compound to remove. The multi-stage process exists because each grit size addresses progressively finer surface imperfections. Patience through all stages produces superior results.
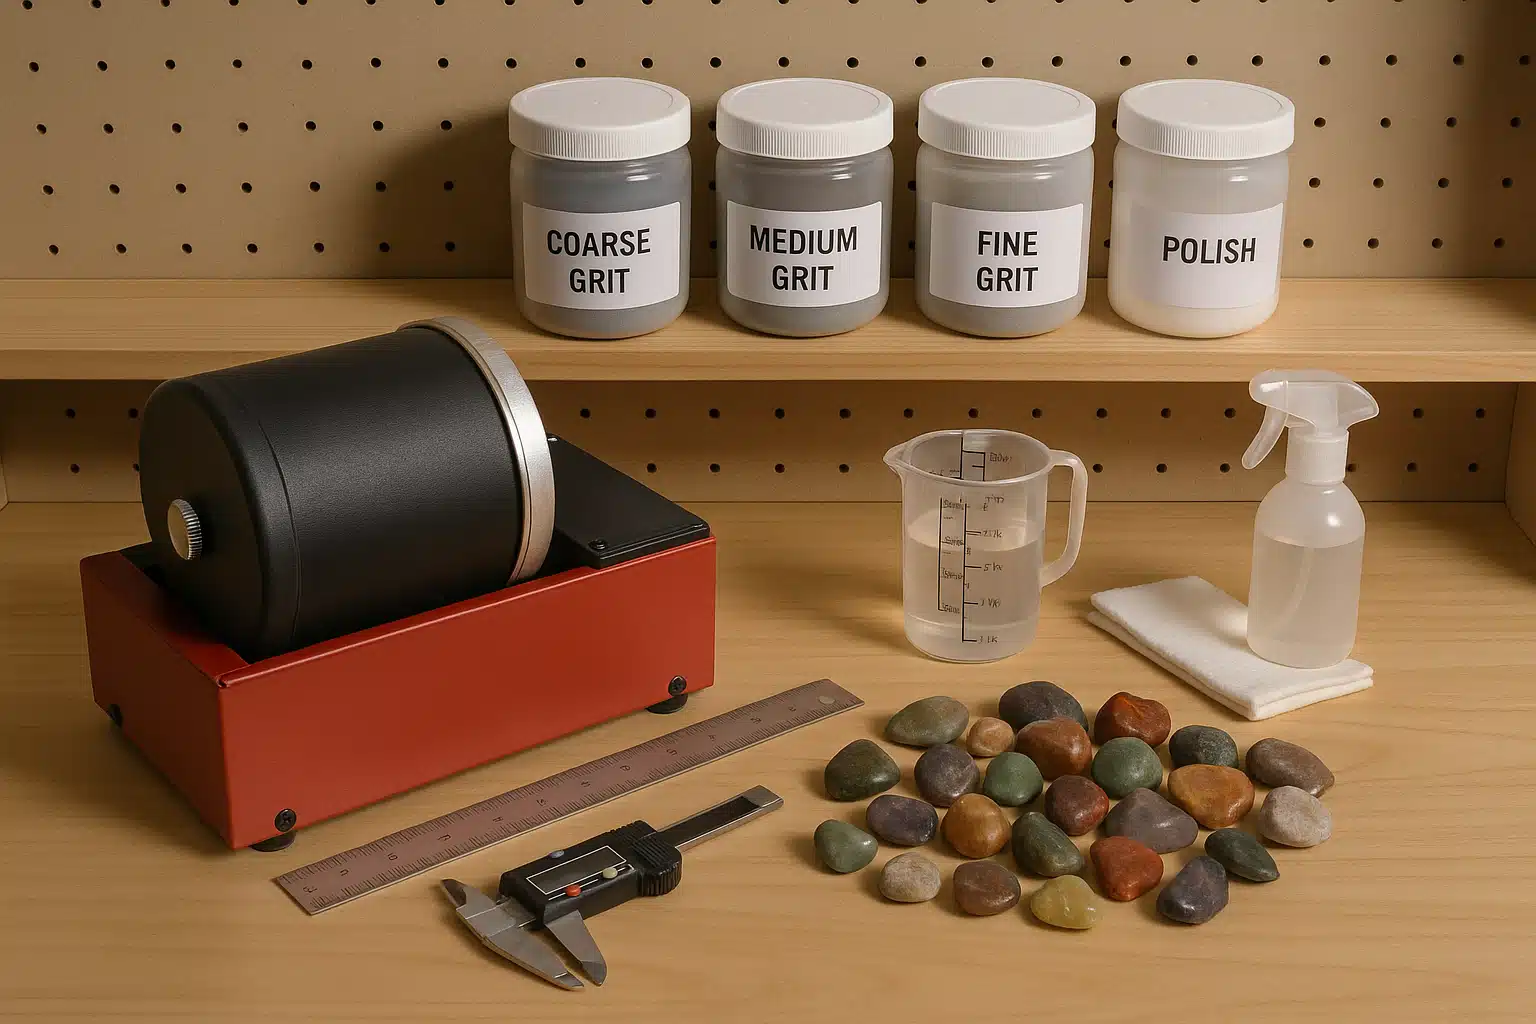
Essential Equipment and Supplies
Successful rock tumbling requires quality equipment and proper supplies. Investing in reliable gear and maintaining adequate supply inventory ensures consistent results and eliminates frustrating interruptions mid-process.
Advanced Tips for Consistently Brilliant Results
Once you’ve mastered fundamental techniques, these advanced practices elevate your results from good to exceptional.
- Keep detailed records: Maintain a tumbling journal noting rock types, quantities, grit used, timing, and results. This information helps you refine techniques and repeat successful batches.
- Inspect regularly: Check your tumbler daily to ensure proper operation, adequate water levels, and absence of leaks. Early problem detection prevents ruined batches.
- Test small batches first: When tumbling unfamiliar stone types, process a small test batch before committing large quantities of valuable material.
- Invest in barrel variety: Having multiple barrels allows you to run different stages simultaneously and prevents contamination between stone types or hardness levels.
- Consider vibratory tumblers: For advanced users, vibratory tumblers reduce processing time significantly and often produce superior polish on appropriate stone types.
- Post-tumble treatments: Some stones benefit from oil application, wax coating, or sealants that enhance and preserve their polished appearance.
When to Seek Alternative Approaches
Despite best efforts and proper technique, some stones simply won’t achieve brilliant polish through standard tumbling. Very soft materials, porous stones, heavily fractured specimens, or certain mineral compositions may require alternative finishing methods such as hand polishing with specialized compounds, professional lapidary equipment, or acceptance that a satin finish rather than mirror shine represents the best achievable result for that particular material.
Achieving Perfect Polish: Mastering Rock Tumbling Success
Rock tumbling combines science, patience, and attention to detail. By understanding the common causes of dull finishes—insufficient processing time, incorrect abrasives, improper loading, and contamination—and knowing how to address specific problems like bruising and haze, you can consistently transform rough stones into stunning polished gems. Remember that quality always surpasses speed, proper technique outweighs shortcuts, and careful preparation determines final results. With these insights and practical solutions, you’re well-equipped to overcome tumbling challenges and create beautifully polished stones that showcase nature’s hidden beauty. The journey from rough rock to brilliant gem requires patience, but the rewarding results make every carefully monitored stage worthwhile.