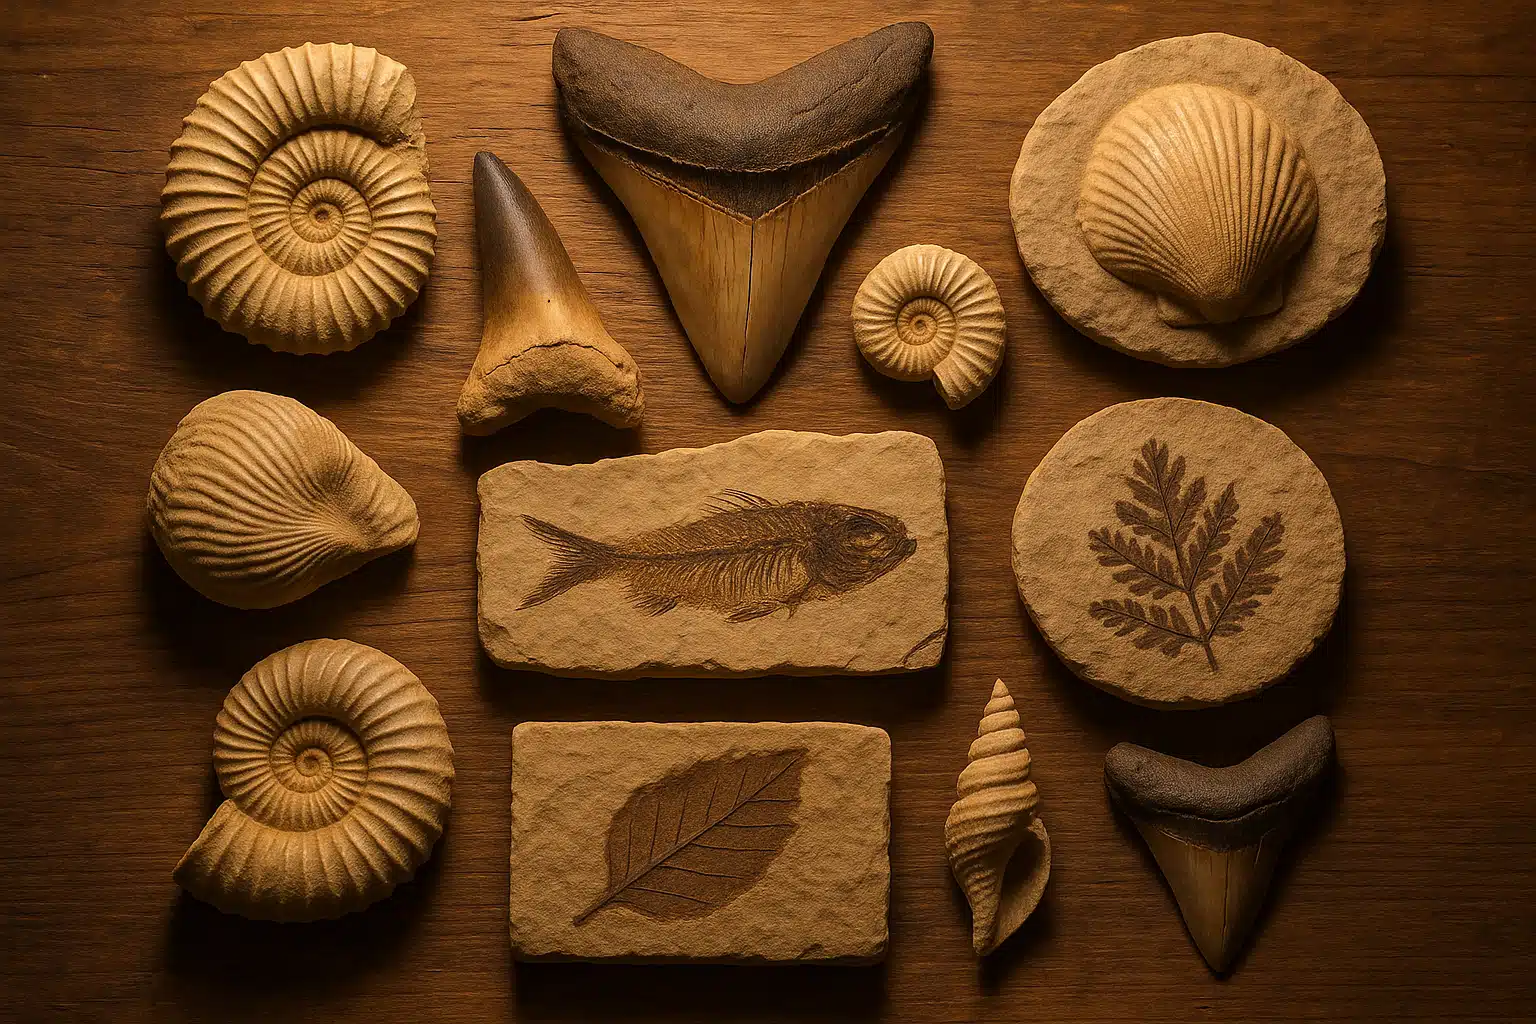
Why Fossil Preparation Matters
Fossil preparation is the delicate process of cleaning, exposing, and preserving ancient specimens so their details can be studied, appreciated, and protected. Whether you’re a hobbyist collector, an amateur paleontology enthusiast, or simply someone who discovered an intriguing specimen during a hike, proper preparation techniques help reveal the intricate structures hidden beneath layers of sediment and matrix. This careful work not only enhances the visual appeal of fossils but also preserves their scientific and educational value for years to come. By learning the basics of fossil prep at home, you can transform rough, encrusted finds into beautiful displays that tell stories from millions of years ago.
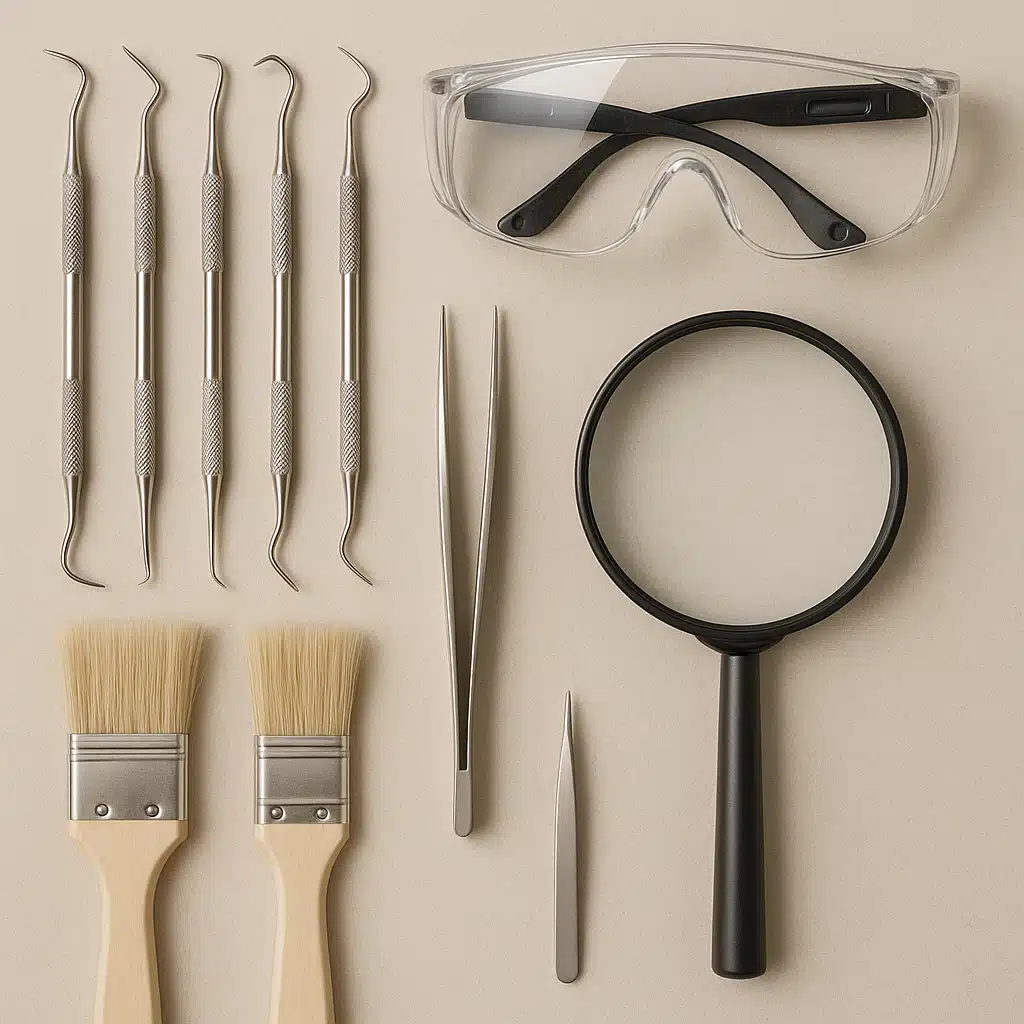
Essential Tools for Home Fossil Preparation
You don’t need an expensive laboratory setup or professional-grade equipment to prepare fossils effectively at home. A carefully selected collection of basic hand tools can provide excellent results while giving you precise control over the delicate cleaning process. Below are the fundamental tools every beginner should consider for safe and successful fossil preparation.
Dental Picks and Scribes
Dental picks are among the most versatile and essential tools for fossil preparation. These fine-tipped instruments allow you to gently scrape away matrix material—rock, sediment, or hardened clay—without applying excessive pressure that could damage the fossil itself. They come in various shapes, including straight, curved, and angled tips, each suited to different tasks. Use them to work around delicate edges, remove stubborn debris from crevices, and gradually expose fossil surfaces with precision.
Soft-Bristled Brushes
Small brushes with soft bristles are indispensable for removing fine dust, loose particles, and debris during and after the cleaning process. Natural bristle brushes or synthetic alternatives designed for detailed work are ideal. They help you clear away material without scratching or abrading the fossil surface. Keep several sizes on hand—from fine detail brushes for tiny specimens to slightly larger ones for broader cleaning tasks.
Precision Tweezers
Fine-tipped tweezers are useful for handling small fossil fragments, picking up loose debris, and positioning delicate specimens. They provide control and dexterity when working with tiny or fragile pieces that cannot be safely handled with fingers. Look for tweezers with smooth, non-serrated tips to avoid accidentally marking or damaging fossil surfaces.
Magnifying Tools
A magnifying glass or jeweler’s loupe is essential for examining fossils closely and spotting fine details that are invisible to the naked eye. Magnification helps you identify fragile structures, assess the boundary between fossil and matrix, and work with greater accuracy. Handheld magnifiers or hands-free options with LED lighting can significantly improve your preparation results.
Safety Goggles
Protecting your eyes is crucial when preparing fossils. Small particles, dust, and rock fragments can easily become airborne during cleaning. Safety goggles with a comfortable fit and clear lenses ensure you can work safely without risking eye irritation or injury. Always wear them, especially when scraping or brushing vigorously.
Step-by-Step Guide to Preparing Fossils at Home
With your tools assembled, you’re ready to begin the preparation process. Follow these steps carefully to achieve the best results while minimizing the risk of damage to your fossil specimens.
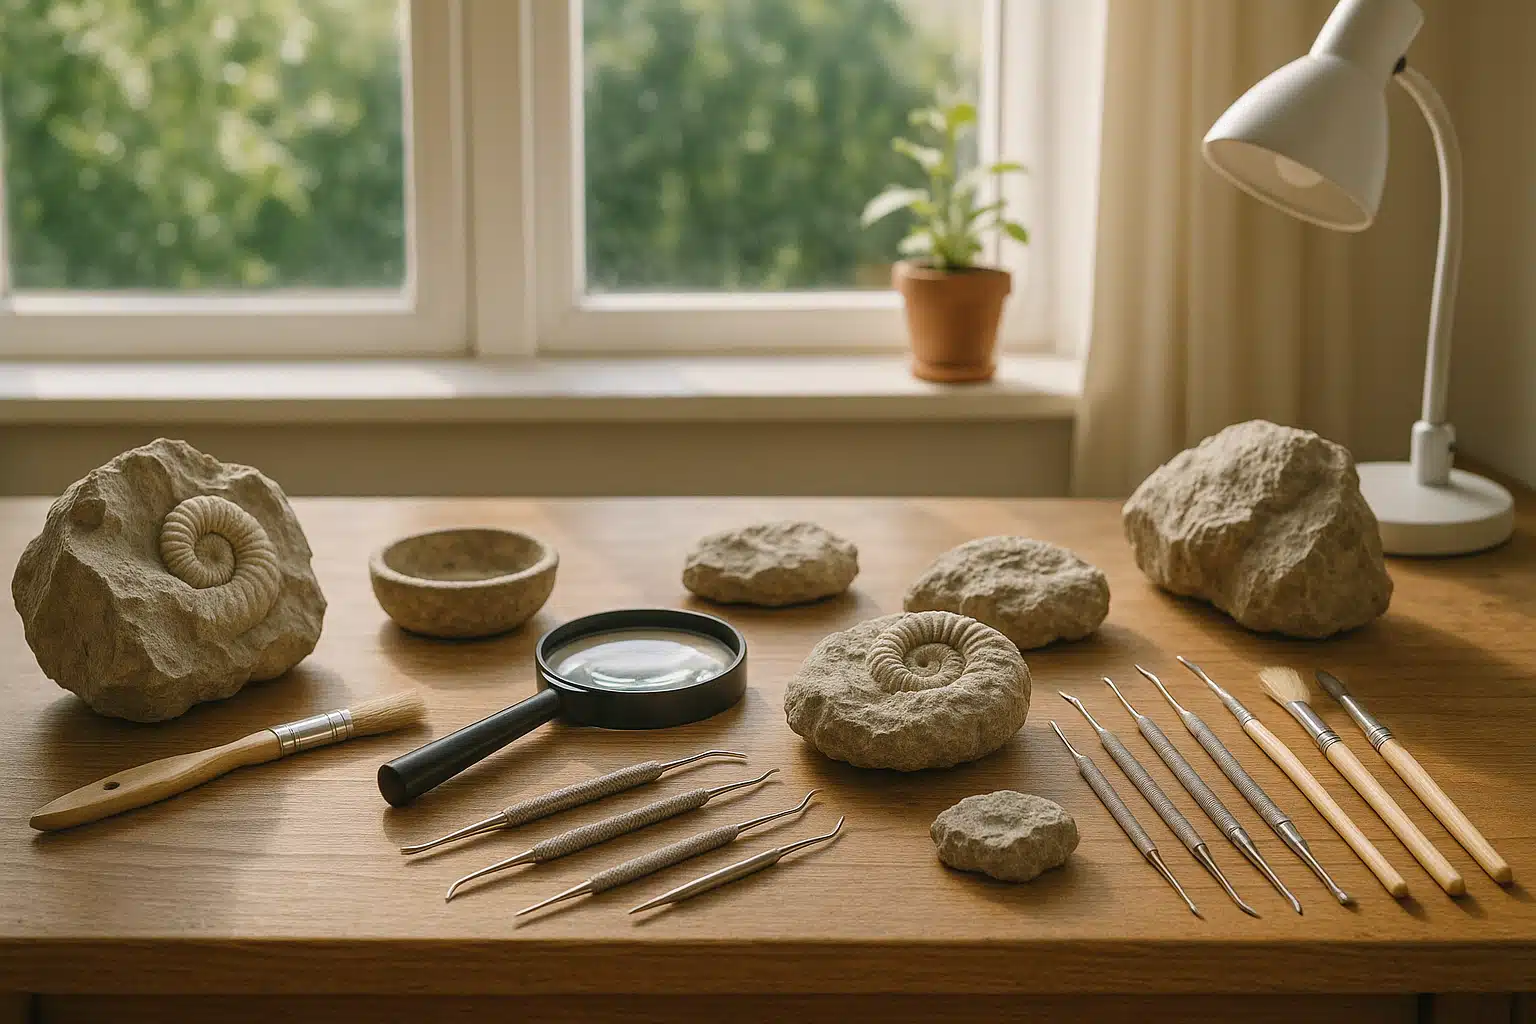
Step 1: Set Up Your Workspace
Choose a clean, well-lit area with a stable work surface. Good lighting is essential for seeing fine details and avoiding mistakes. Natural daylight or a bright desk lamp works well. Lay down a soft cloth or work mat to protect both your fossil and the table. Keep all your tools within easy reach and ensure you have adequate ventilation if you plan to use any chemical cleaners or consolidants later.
Step 2: Initial Examination
Before you begin cleaning, take time to examine your fossil carefully using a magnifying glass. Look for visible boundaries between the fossil and the surrounding matrix. Identify fragile areas, cracks, or weak points that require extra caution. Taking notes or photos at this stage can help you track your progress and document the specimen’s condition.
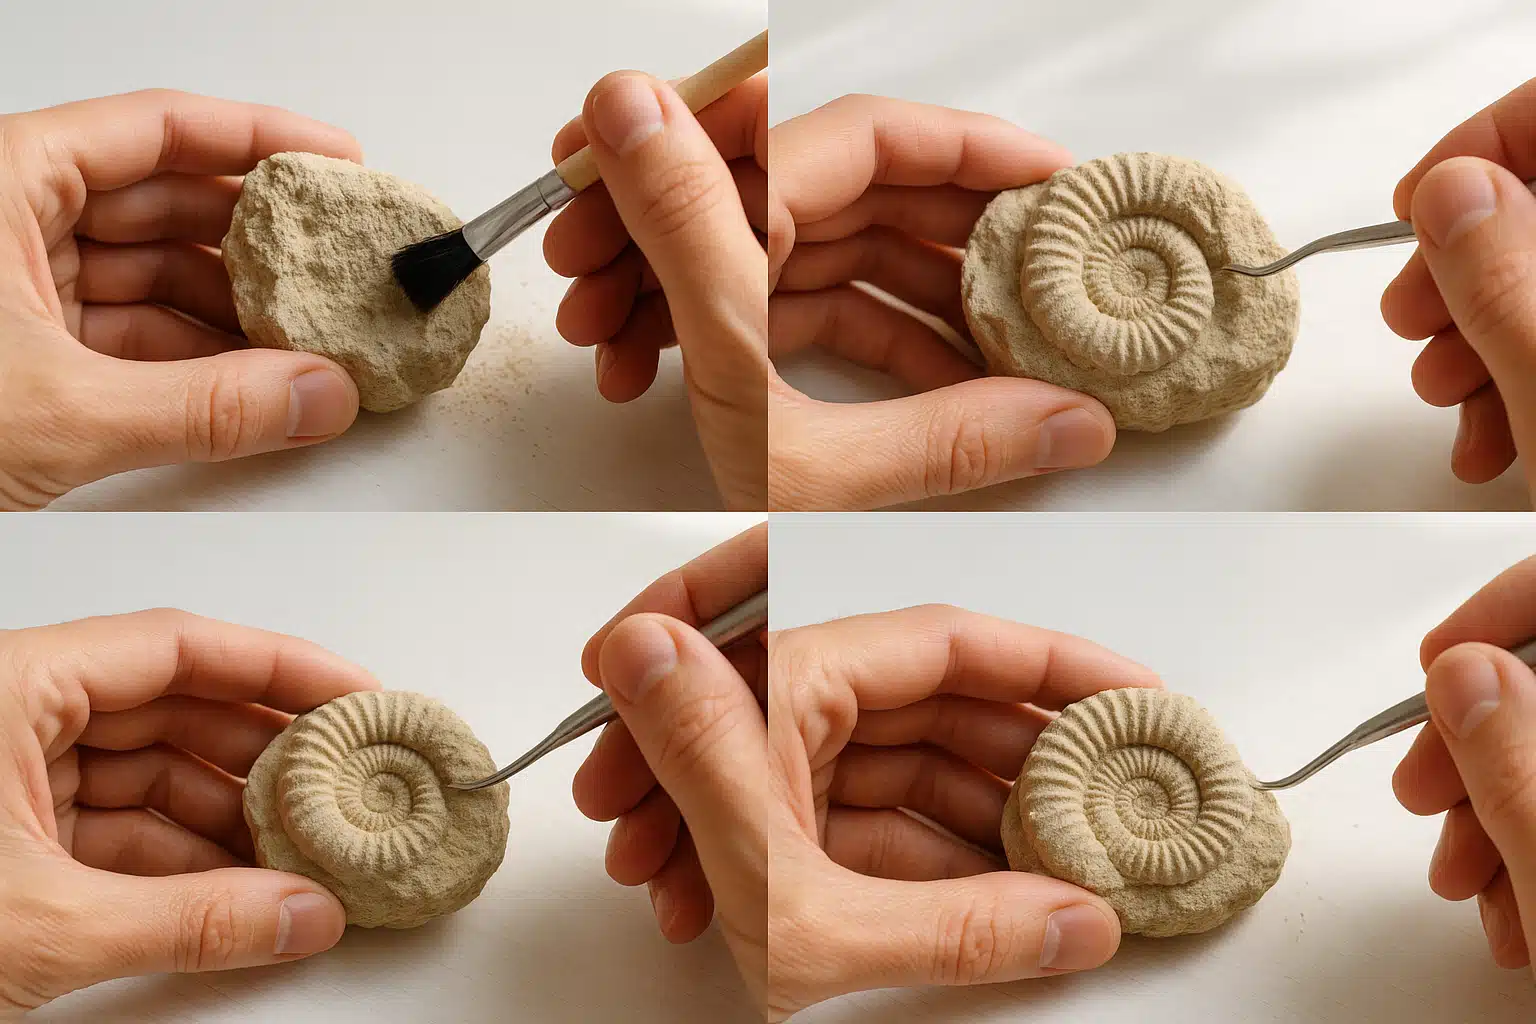
Step 3: Remove Loose Material with a Brush
Start by gently brushing away any loose dirt, dust, or sediment on the surface of the fossil. Use a soft-bristled brush and work with light, sweeping motions. This initial cleaning step helps you see the fossil more clearly and reduces the risk of scratching it with harder tools later. Be patient and avoid rushing—this stage sets the foundation for more detailed work.
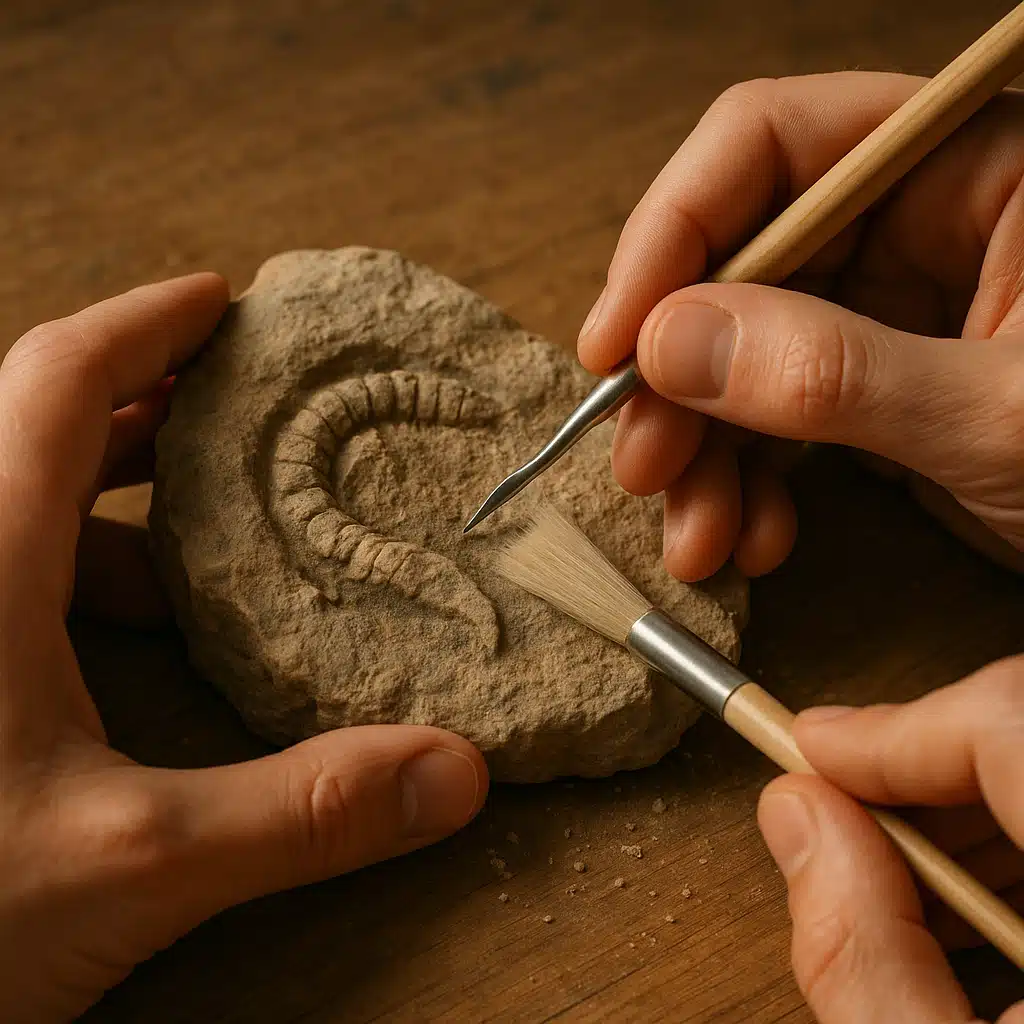
Step 4: Carefully Use Dental Picks
Once the loose material is removed, begin using dental picks to gently scrape away harder matrix. Always work from the outer edges toward the center of the fossil, following the natural contours. Apply light, controlled pressure and avoid jabbing or forcing the tool. If the matrix is particularly hard, work slowly and patiently, removing thin layers at a time. Regularly pause to brush away debris and reassess your progress.
Step 5: Final Cleaning and Inspection
After removing the bulk of the matrix, give your fossil a final gentle brushing to clear away any remaining dust or particles. Use your magnifying glass to inspect the specimen closely, checking for any overlooked areas or newly exposed details. If satisfied, your fossil is now ready for display, further study, or careful storage.
Common Questions and Mistakes to Avoid
Fossil preparation is a skill that improves with practice, but beginners often encounter similar challenges. Here are answers to common questions and tips for avoiding frequent mistakes.
Should I Use Power Tools?
While power tools like rotary tools or air scribes are used by professionals, they require significant experience and control. For beginners, hand tools are much safer and give you better tactile feedback, reducing the risk of accidentally grinding away parts of the fossil. Stick to manual methods until you’re confident in your skills and have thoroughly researched advanced techniques.
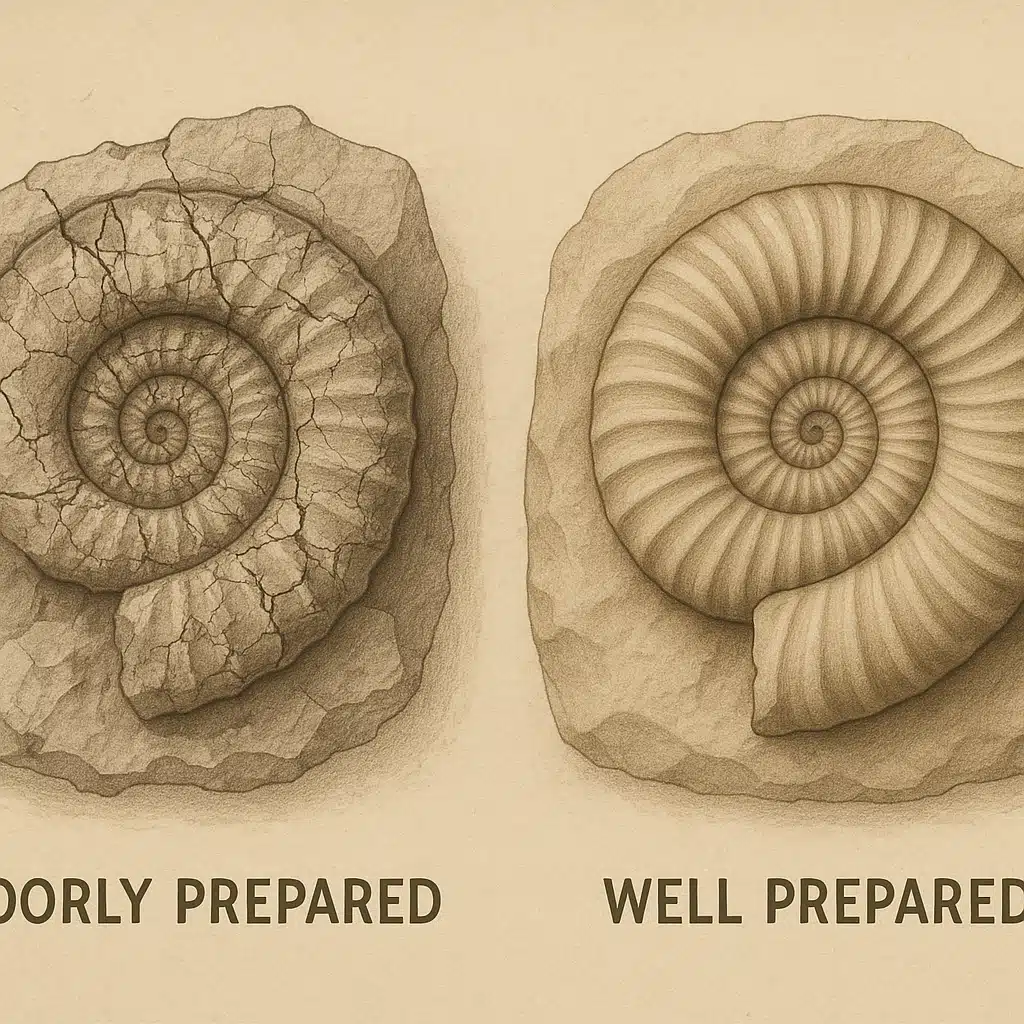
How Do I Know If I’m Being Too Rough?
If you notice cracks forming, pieces breaking off, or scratches appearing on the fossil surface, you’re likely applying too much pressure. Always use a light touch and let the tool do the work. If the matrix feels too hard to remove easily, consider whether the fossil needs professional preparation or whether you should switch to a different technique.
What If I Can’t See Any Details?
Some fossils are more challenging to prepare than others due to the hardness of the matrix or the fragility of the specimen. If progress is slow, don’t be discouraged. Take breaks, consult online guides, video tutorials, or paleontology forums, and consider seeking advice from experienced collectors or local fossil clubs. Patience and persistence are key.
Can I Use Water or Chemicals?
Water can be helpful for softening certain types of matrix, but it’s not suitable for all fossils—some specimens may be damaged by moisture. Research your specific fossil type before introducing water. Chemical cleaners and consolidants exist but should be used cautiously and only after understanding their effects. When in doubt, stick to dry mechanical preparation methods.
Tips for Successful Fossil Preparation
- Work slowly and patiently: Rushing increases the risk of mistakes and damage. Take your time and enjoy the process.
- Take regular breaks: Fatigue can lead to careless errors. Step away periodically to rest your eyes and hands.
- Document your work: Photographing your fossil before, during, and after preparation creates a valuable record and helps you track improvement over time.
- Join a community: Online forums, social media groups, and local fossil clubs offer support, advice, and encouragement from fellow enthusiasts.
- Invest in quality tools: Well-made tools last longer and perform better, making your preparation work more enjoyable and effective.
- Respect the fossil: Remember that fossils are irreplaceable natural artifacts. Treat each specimen with care and consideration.
Conclusion
Preparing fossils at home is a fulfilling hobby that connects you with ancient history and allows you to uncover the hidden beauty of prehistoric life. With a small collection of essential tools—dental picks, soft brushes, tweezers, a magnifying glass, and safety goggles—you can transform rough, encrusted specimens into stunning displays that reveal intricate details from millions of years ago. By following careful techniques, working patiently, and continuously learning, you’ll develop the skills and confidence to prepare fossils safely and effectively. Whether you’re a beginner just starting out or an enthusiast looking to refine your methods, the journey of fossil preparation is as rewarding as the discoveries you make along the way. Happy fossil hunting and preparing!