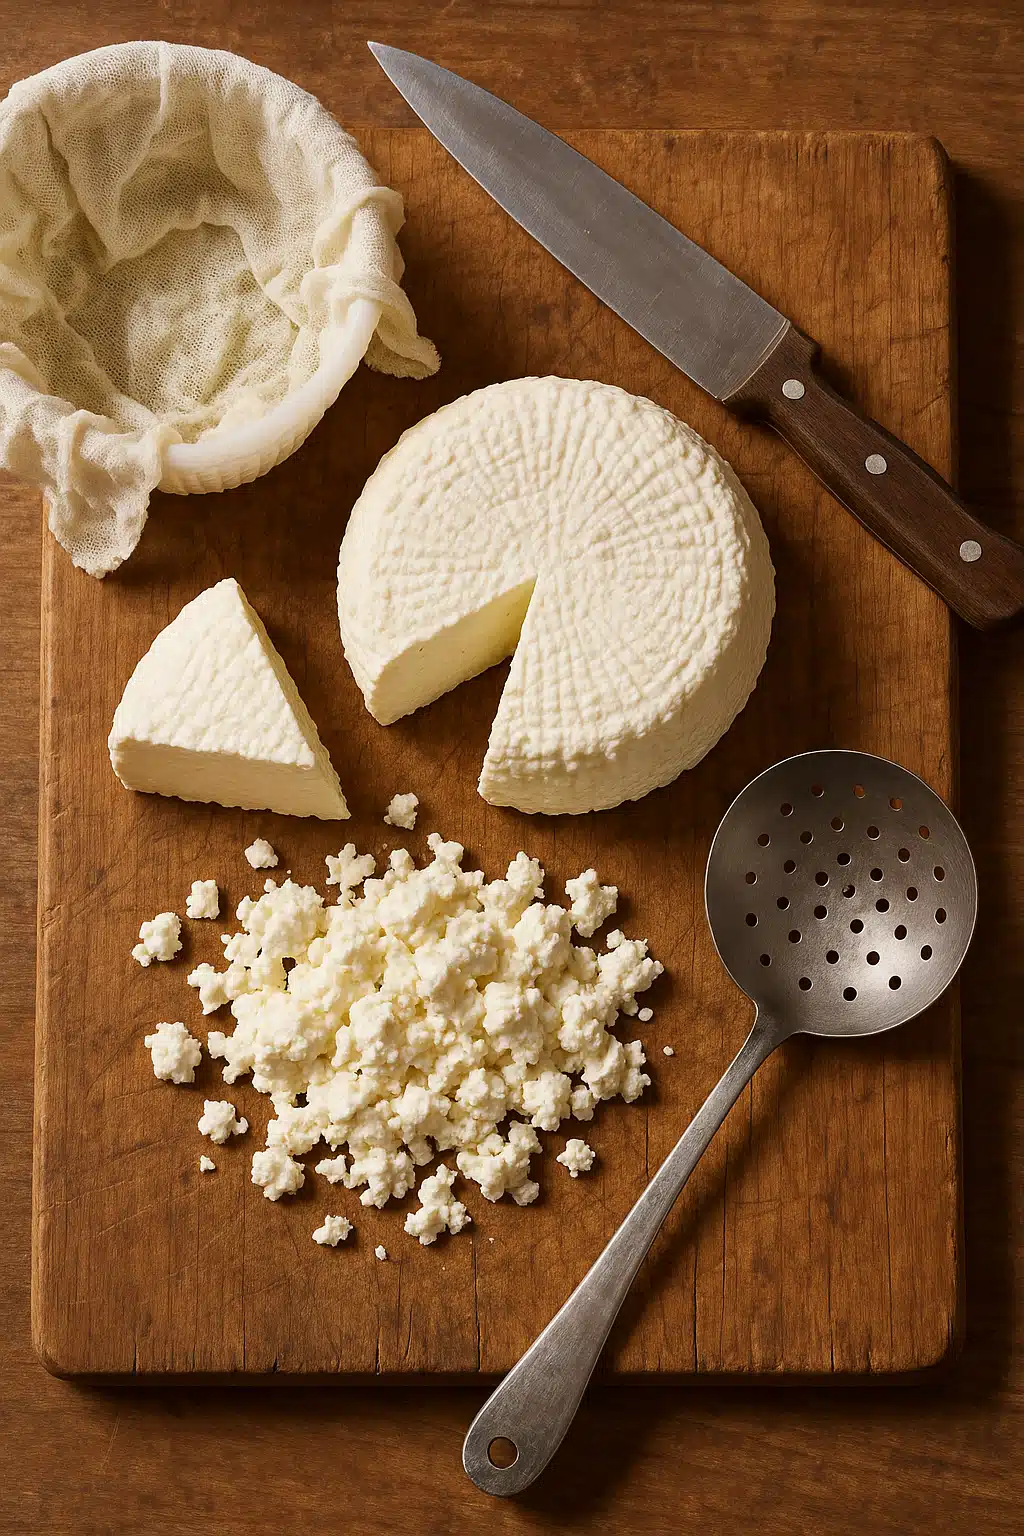
Have you ever been curious about making your own cheese at home but felt intimidated by the thought of needing specialized equipment? You’re not alone. Many aspiring home cheese makers assume they need expensive kits, professional-grade tools, and a dedicated workspace to get started. The reality is far simpler: your existing kitchen likely contains everything you need to begin this rewarding culinary craft. In this guide, we’ll explore five common kitchen items that can launch your cheese-making journey, helping you build confidence and skills without requiring significant investment.
1. A Large Pot: Your Essential Heating Vessel
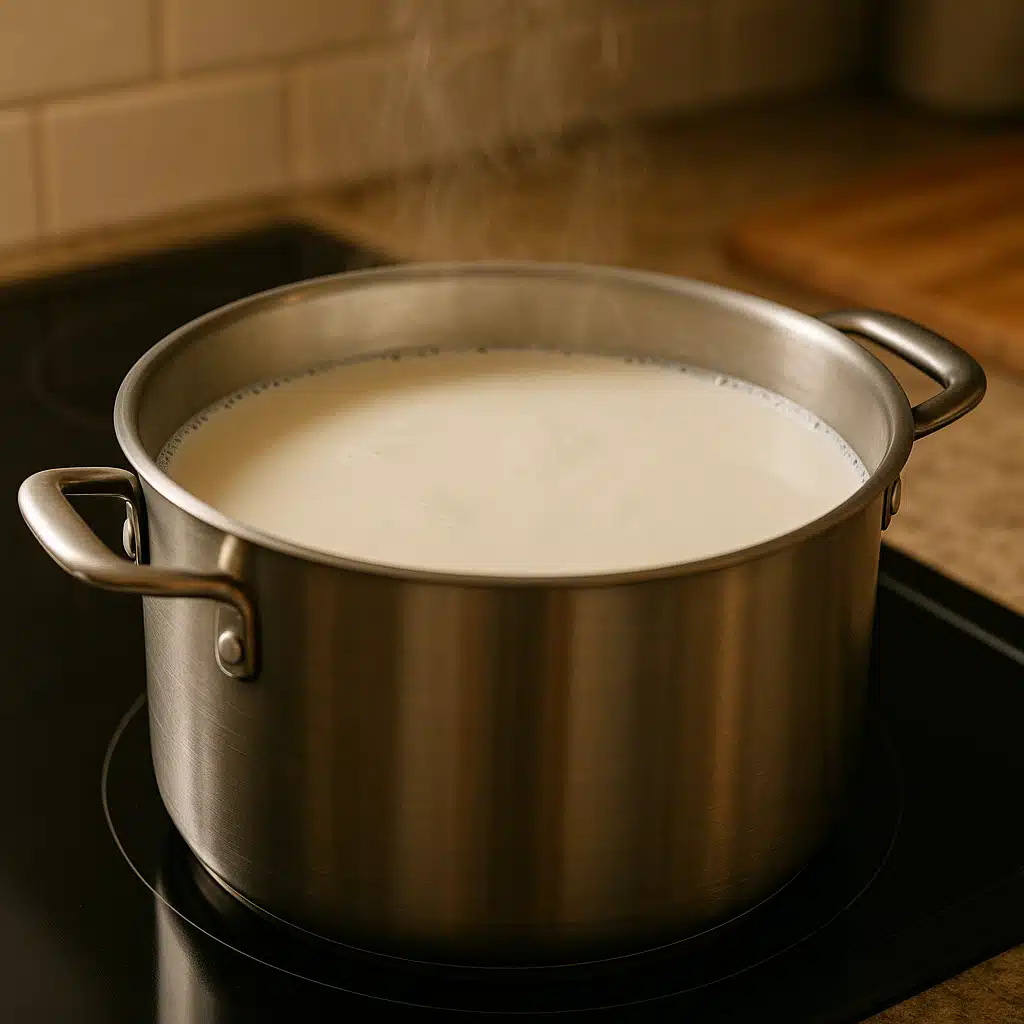
The foundation of cheese making begins with properly heating milk, and a quality large pot is your most important tool for this task. The pot you use should be non-reactive—meaning it won’t impart metallic flavors or react chemically with acidic ingredients. Stainless steel pots are ideal for this purpose and are commonly found in most kitchens worldwide.
Why This Matters: Heating milk to precise temperatures is fundamental to successful cheese making. Different temperatures activate specific bacterial cultures and enzymes, directly influencing the flavor profile, texture, and consistency of your final product. Temperature control during the heating phase sets the stage for everything that follows.
Pro Tip: Heavy-bottomed pots offer superior heat distribution, which minimizes hot spots that can scorch milk and ruin a batch. If you have a pot with a thick, layered base, it’s perfect for cheese making. The capacity should be large enough to hold at least 4-8 liters (approximately 1-2 gallons) to give you room to work comfortably.
2. A Thermometer: Precision Temperature Control
Accurate temperature measurement is non-negotiable in cheese making. A reliable thermometer allows you to monitor milk temperature throughout the heating and culturing process. You don’t need anything specialized—a standard instant-read digital thermometer, candy thermometer, or even a meat thermometer will work perfectly.
Why This Matters: Each cheese variety requires specific temperature ranges for optimal results. For example, soft cheeses like ricotta may require temperatures around 85-90°C (185-195°F), while cultured cheeses need lower temperatures around 30-35°C (86-95°F) for bacterial activity. Being off by just a few degrees can significantly affect curd formation, texture, and taste.
Pro Tip: Digital instant-read thermometers offer the fastest and most accurate readings, making them ideal for beginners. Look for models with a wide temperature range and quick response time. Before starting, familiarize yourself with the target temperatures for your chosen cheese variety so you can monitor progress confidently.

3. A Colander or Strainer: Essential for Draining Curds
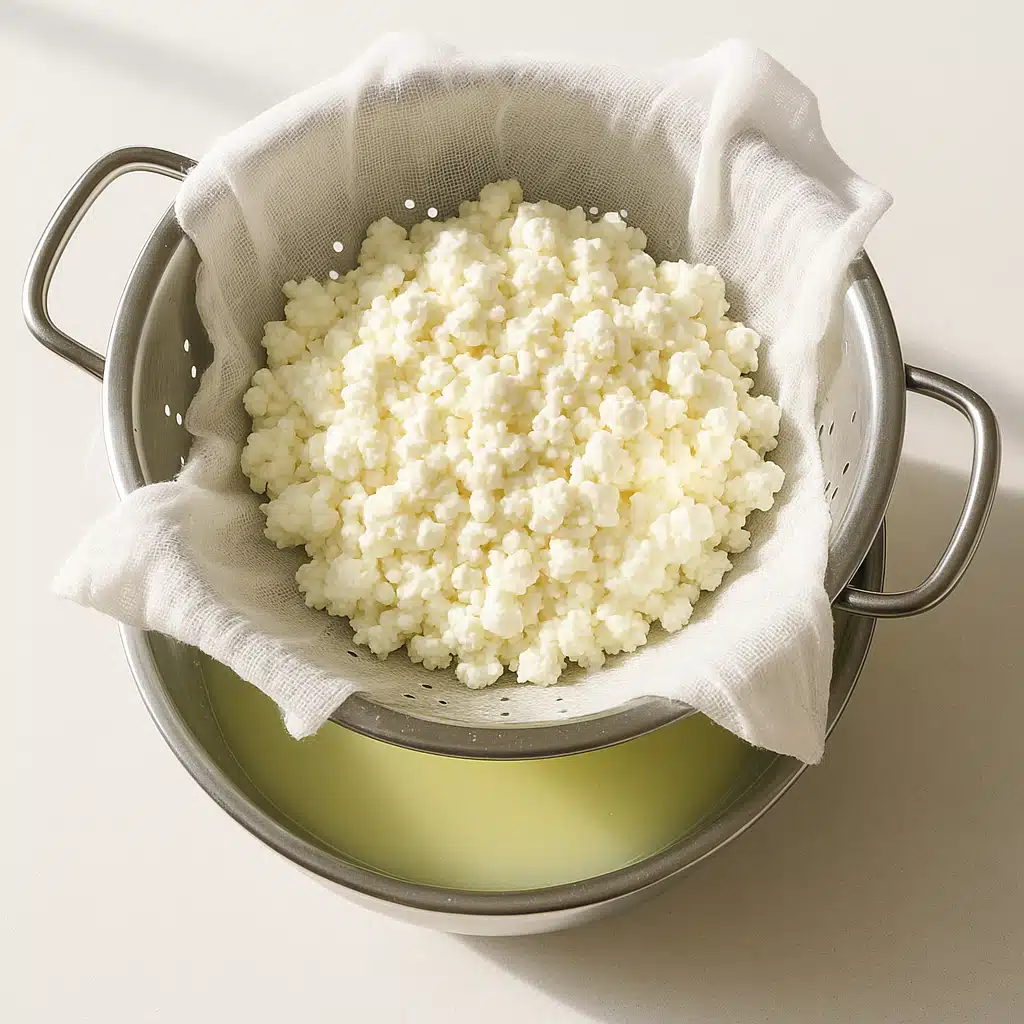
Once your milk has been heated and cultured, it separates into solid curds and liquid whey. A colander or strainer is essential for separating these components. This versatile kitchen tool, typically used for draining pasta or washing vegetables, becomes indispensable in cheese making.
Why This Matters: Properly draining curds is critical to achieving the right moisture content and texture in your finished cheese. Insufficient draining results in overly wet, soft cheese that won’t hold its shape, while over-draining can create dry, crumbly cheese. The draining process directly influences mouthfeel, shelf life, and flavor concentration.
Pro Tip: For softer cheeses like fresh chèvre or ricotta, line your colander with cheesecloth or a clean kitchen towel. This prevents fine curds from passing through while allowing whey to drain effectively. A fine-mesh strainer can also work well for small batches. Stainless steel or plastic colanders are both suitable—just ensure they’re thoroughly clean before use.
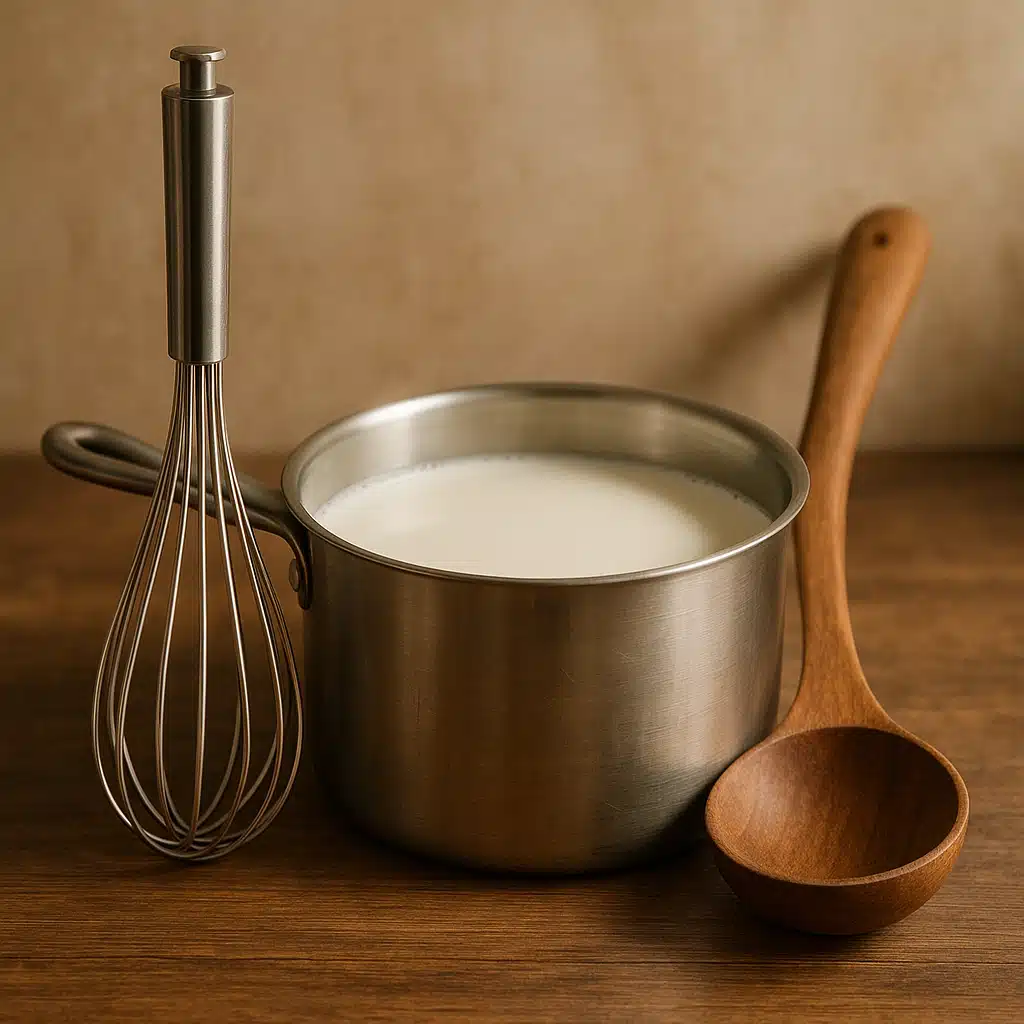
4. A Whisk or Ladle: For Gentle Mixing and Stirring
While often overlooked, a simple whisk or ladle plays an important role in cheese making. These tools help you gently incorporate cultures, rennet, or other ingredients into your milk, ensuring even distribution without disturbing delicate curds once they begin forming.
Why This Matters: Even distribution of cultures and coagulants throughout the milk is essential for consistent curd formation. If rennet or starter cultures aren’t properly mixed, you may end up with uneven coagulation, resulting in inconsistent texture and flavor throughout your cheese. Gentle stirring also helps prevent the premature breaking of delicate curds during early formation stages.
Pro Tip: Use a light touch when mixing. Your goal is to incorporate ingredients evenly without creating excessive turbulence that could disrupt the chemical processes occurring in the milk. A stainless steel whisk works well for initial mixing, while a slotted ladle or skimmer is ideal for gently cutting and stirring formed curds during later stages.
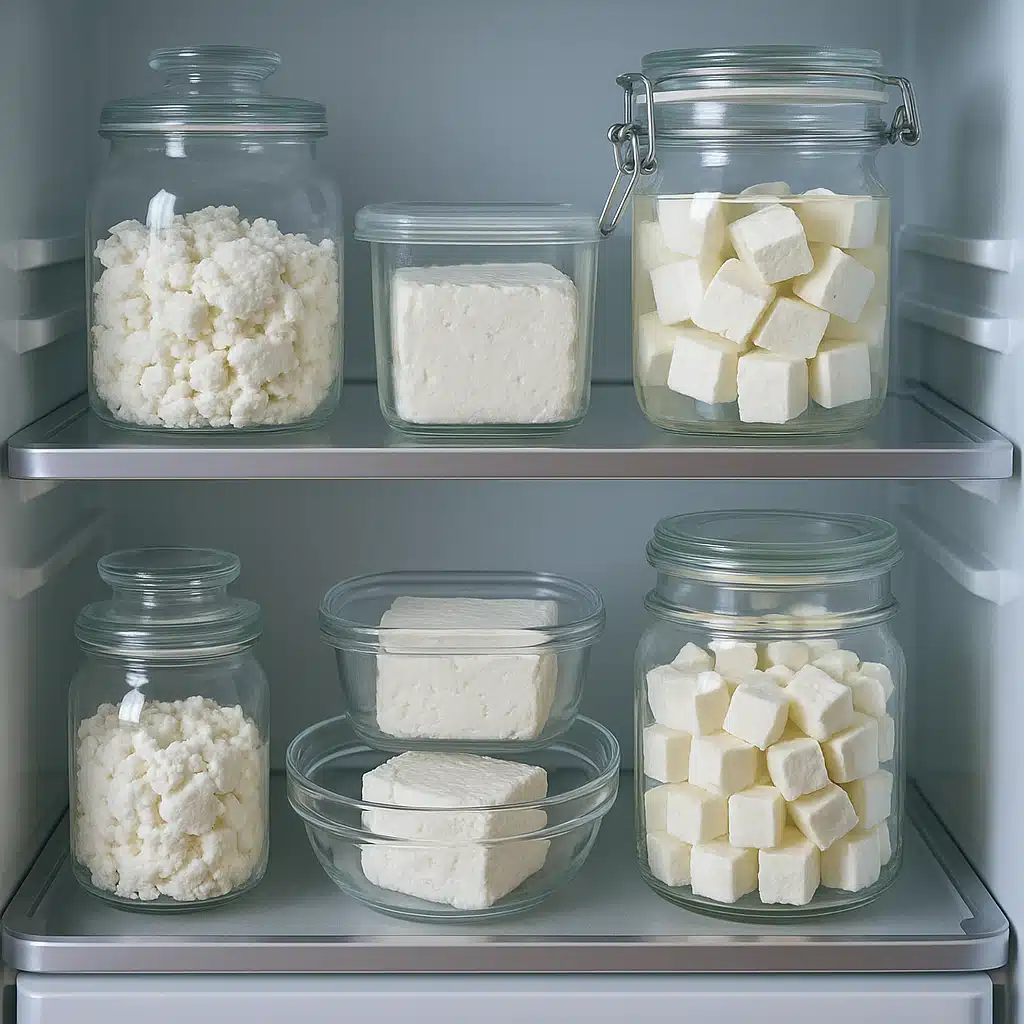
5. Storage Containers: Preserving Your Homemade Cheese
After investing time and effort into making cheese, proper storage becomes crucial for maintaining freshness, flavor, and texture. Fortunately, you likely already have suitable containers in your kitchen—glass jars, plastic food storage containers, or ceramic dishes can all work depending on the type of cheese you’ve made.
Why This Matters: Different cheeses require different storage conditions. Fresh cheeses need airtight containers to prevent drying and contamination, while aged cheeses benefit from breathable materials that allow moisture regulation. Proper storage extends shelf life, prevents unwanted bacterial growth, and helps your cheese develop desired flavors over time.
Pro Tip: For fresh cheeses like ricotta or cottage cheese, airtight glass or plastic containers work perfectly and can be refrigerated for up to a week. If you’re planning to age harder cheeses, consider using cheese paper, waxed paper, or specialized cheese storage containers that balance humidity while preventing excessive drying. Always ensure containers are thoroughly cleaned and, ideally, sterilized before use to prevent contamination.
Practical Insights: Bringing It All Together
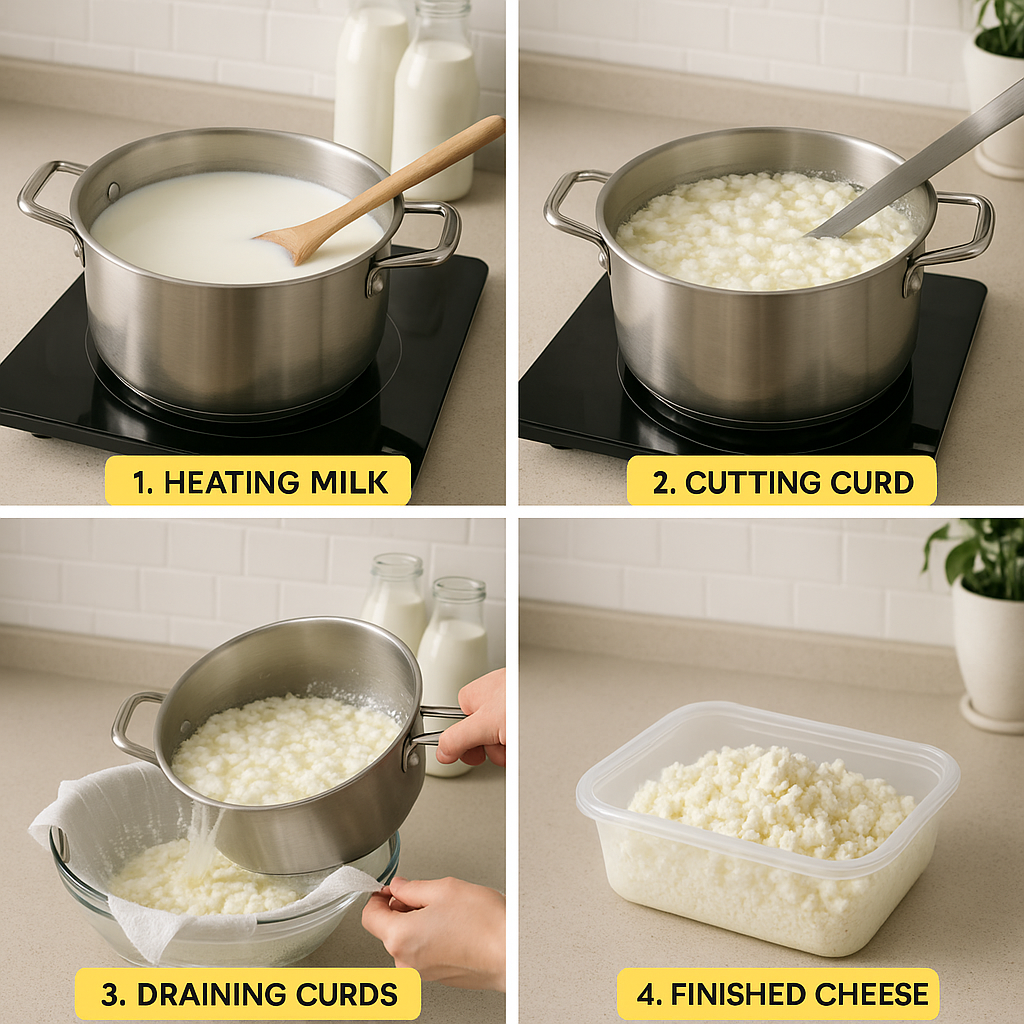
Imagine this scenario: You’ve decided to make your first batch of fresh ricotta cheese. You pour milk into your large stainless steel pot and begin heating it on your stovetop. Your thermometer is clipped to the side, allowing you to monitor the temperature as it gradually rises toward the target range. Once it reaches the correct temperature, you add a small amount of acid (like lemon juice or vinegar) and gently stir with your whisk, watching as curds begin to form within minutes.
After allowing the curds to set briefly, you carefully pour the contents into your cheesecloth-lined colander positioned over a bowl. The whey drains away while the curds remain captured in the cloth. After draining to your desired consistency, you transfer the fresh cheese to a clean glass container and refrigerate it. Within an hour of starting, you have fresh, homemade cheese made entirely with tools you already owned.
This simple process demonstrates that cheese making doesn’t require specialized equipment or years of training. With basic kitchen tools and a willingness to learn, anyone can begin producing quality homemade cheese.
Common Questions and Mistakes to Avoid
Misconception: You Need Expensive Professional Equipment
One of the biggest barriers preventing people from trying cheese making is the belief that it requires costly, specialized equipment. While professional cheese makers certainly use advanced tools, beginners can achieve excellent results with everyday kitchen items. The five tools discussed above—pot, thermometer, colander, whisk, and storage containers—represent everything essential to start making fresh cheeses. As you gain experience and decide to explore more complex aged cheeses, you can gradually invest in additional equipment if desired.
Common Mistake: Neglecting Temperature Monitoring
Temperature control is perhaps the most critical factor in successful cheese making, yet it’s frequently overlooked by beginners. Heating milk too quickly, allowing it to overheat, or adding cultures at the wrong temperature can result in poor curd formation, off flavors, or complete failure. Always use your thermometer consistently and refer to reliable recipes that specify exact temperature ranges for each step.
Common Mistake: Using Reactive Cookware
Avoid using aluminum, cast iron, or copper pots for cheese making, as these reactive materials can interact with acidic ingredients and impart metallic flavors to your cheese. Stick with stainless steel, enamel-coated, or glass cookware for best results.
Common Mistake: Rushing the Process
Cheese making requires patience. Rushing through heating, curd formation, or draining stages often leads to disappointing results. Follow timing guidelines in recipes carefully, and remember that slight variations in temperature or time can significantly impact your final product.
Additional Ingredients You’ll Need
While this guide focuses on equipment, it’s worth briefly mentioning that you’ll also need a few simple ingredients that complement these tools:
- Milk: The foundation of all cheese. Fresh, high-quality milk (avoid ultra-pasteurized if possible) produces the best results.
- Acid or Rennet: These coagulants cause milk to separate into curds and whey. Lemon juice, vinegar, or citric acid work for simple fresh cheeses, while rennet is used for more complex varieties.
- Salt: Enhances flavor and acts as a preservative.
- Cultures (optional): Specific bacterial cultures add complexity and flavor to cultured cheeses.

Getting Started: Your First Cheese-Making Project
If you’re ready to begin, start with a simple fresh cheese like ricotta or paneer. These varieties require minimal ingredients, basic equipment, and can be completed in under an hour. They’re forgiving for beginners and provide immediate, delicious results that build confidence for more complex projects later.
As you become comfortable with the basic process, you can gradually explore cultured cheeses, harder aged varieties, and eventually more advanced techniques. The beauty of cheese making is that it scales beautifully—you can start small with tools you already own and expand your capabilities over time as interest and skill develop.
Conclusion: Begin Your Cheese-Making Journey Today
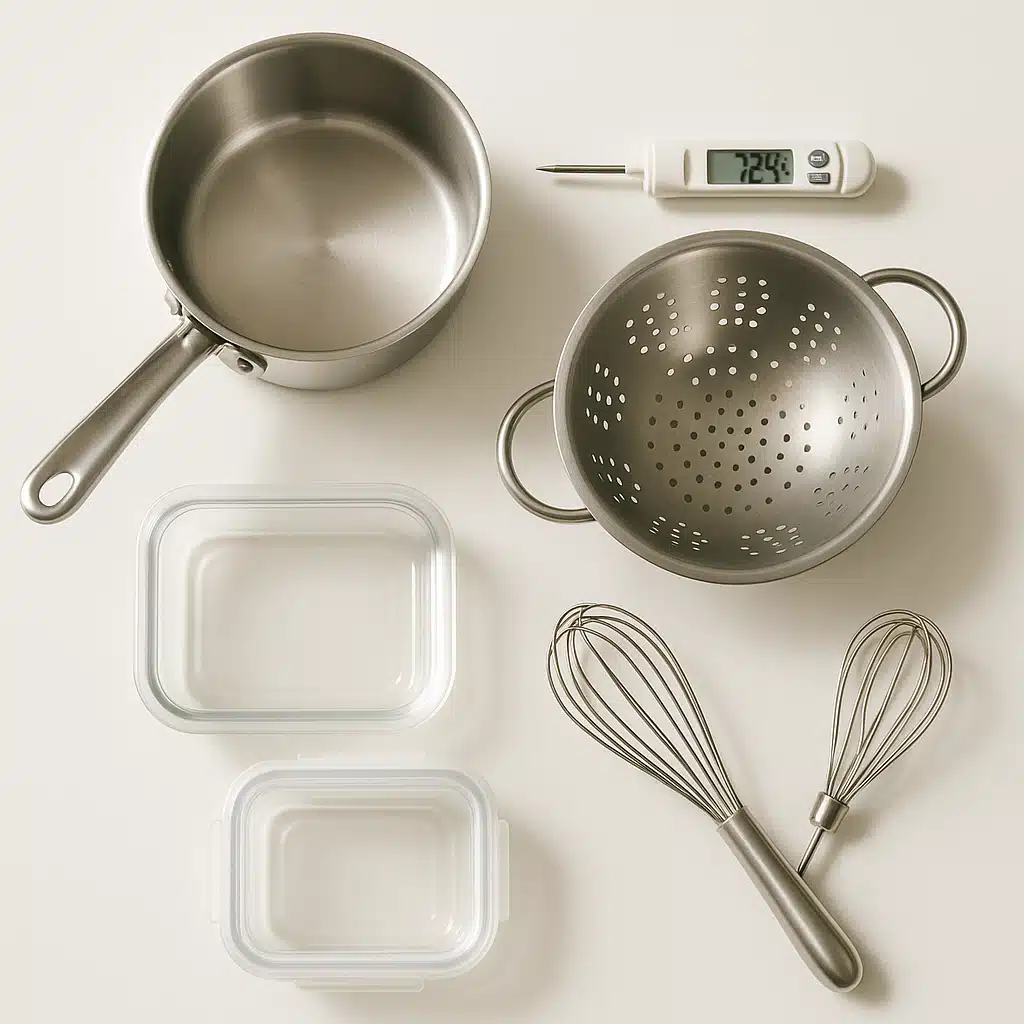
Starting your cheese-making adventure doesn’t require a significant financial investment or professional-grade equipment. With five simple tools likely already in your kitchen—a large non-reactive pot, an accurate thermometer, a colander or strainer, a whisk or ladle, and appropriate storage containers—you have everything necessary to create delicious, fresh homemade cheese.
The key to success lies not in expensive equipment but in understanding basic principles, following reliable recipes, and being patient with the process. Like any craft, cheese making improves with practice. Your first batch may not be perfect, but each attempt teaches valuable lessons that enhance your skills.
Don’t let intimidation or assumptions about required equipment hold you back any longer. Gather these five common kitchen tools, find a beginner-friendly recipe, and take the first step into the rewarding world of homemade cheese making. The satisfaction of creating your own cheese from simple ingredients is an experience worth pursuing, and it’s far more accessible than you might have imagined.