Understanding the Art of Homemade Mozzarella
Creating fresh mozzarella cheese in your own kitchen is an accessible culinary skill that delivers impressive results. While the process may initially seem complex, it’s surprisingly straightforward and can be completed in approximately 30 minutes. This comprehensive guide breaks down each stage of mozzarella making, providing you with the knowledge and confidence to produce authentic, creamy cheese that rivals artisanal varieties. Whether you’re a cooking enthusiast or simply curious about dairy crafts, homemade mozzarella opens up a world of culinary possibilities.
The Benefits of Making Your Own Mozzarella
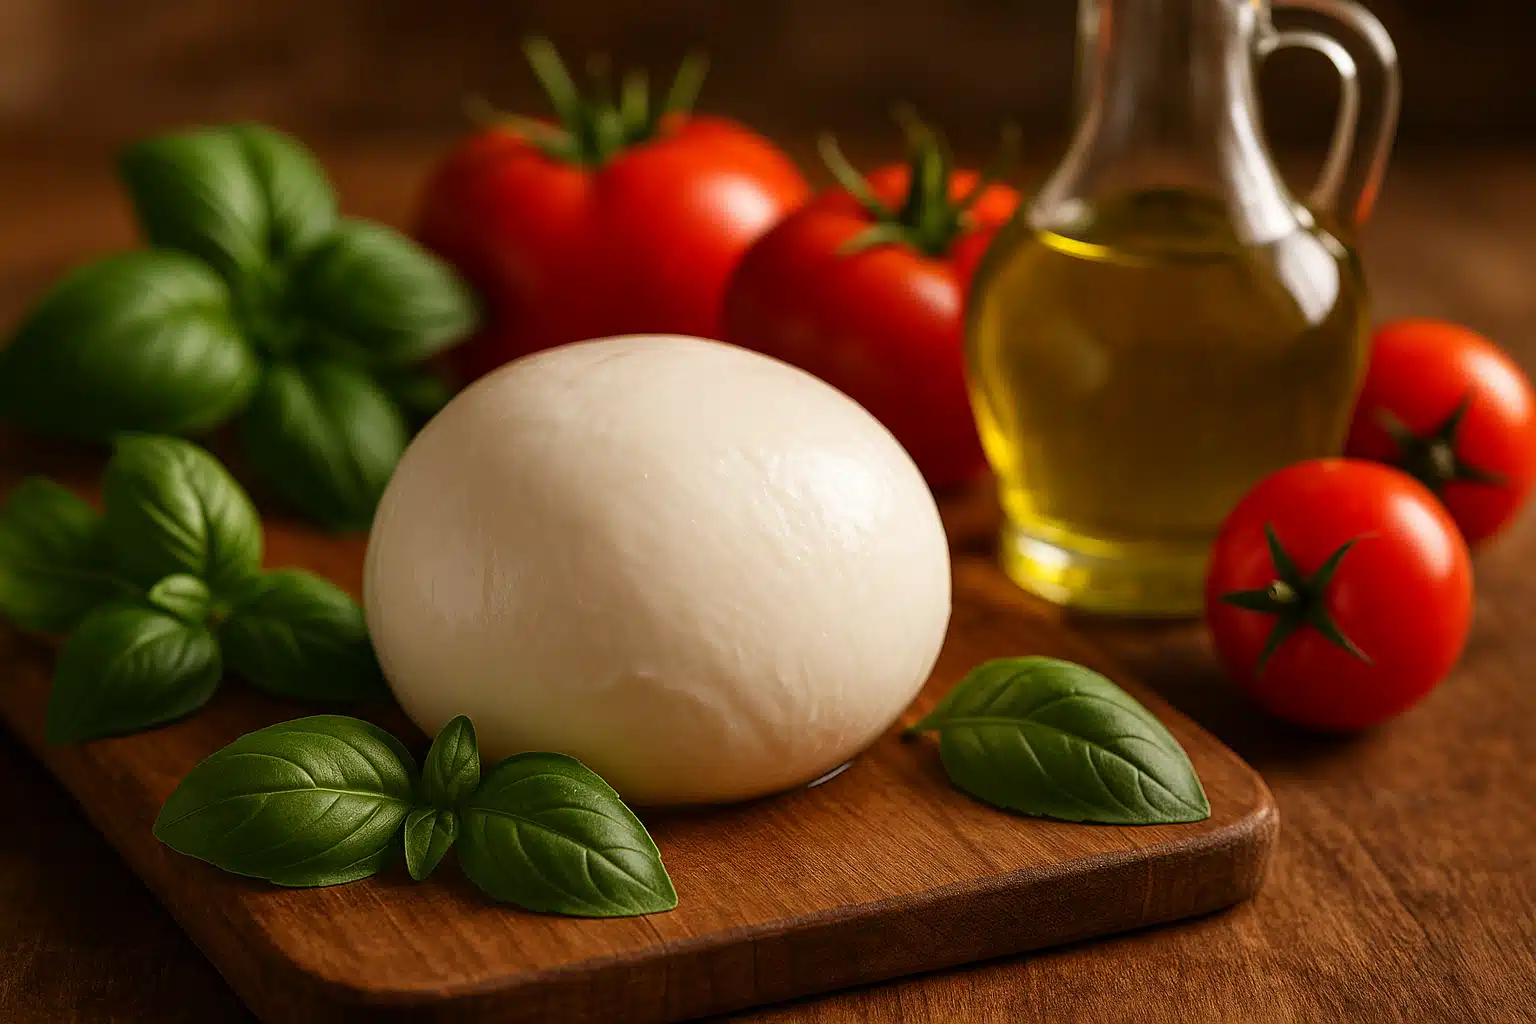
Crafting mozzarella at home offers numerous advantages beyond the simple satisfaction of creating something from scratch. Fresh mozzarella features a delicate, milky flavor and soft, tender texture that’s distinctly superior to mass-produced alternatives. By making it yourself, you gain complete control over ingredient quality, ensuring no unnecessary additives or preservatives enter your cheese. The process also proves economical, as homemade mozzarella typically costs less per serving than premium store-bought versions. Additionally, fresh mozzarella elevates countless dishes—from classic Caprese salads and wood-fired pizzas to pasta dishes and appetizer platters—transforming ordinary meals into memorable culinary experiences.
Beyond practical benefits, homemade mozzarella making serves as an educational experience that connects you with traditional food preservation techniques practiced for centuries. It’s an excellent activity to share with family members, teaching valuable kitchen skills while creating delicious results everyone can enjoy.
Essential Ingredients and Equipment
Success in mozzarella making begins with gathering the proper ingredients and tools. The ingredient list is refreshingly short, but quality matters significantly, particularly when it comes to your primary component—milk.
Ingredients Required
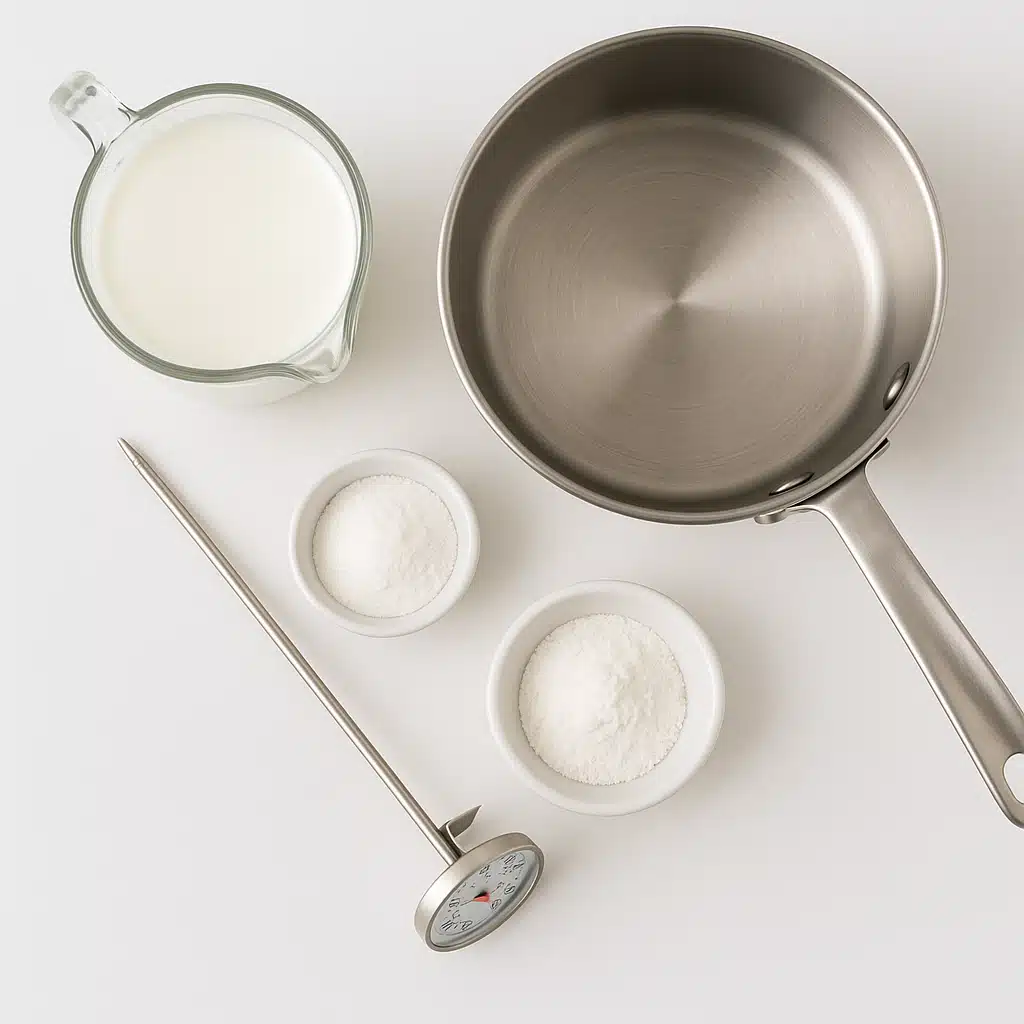
- Whole Milk: Approximately 4 liters (1 gallon) of whole milk forms the foundation of your cheese. Critical note: avoid ultra-pasteurized milk, as the high-heat processing prevents proper curd formation. Look for pasteurized (not ultra-pasteurized) whole milk for best results.
- Citric Acid: About 1.5 grams (1/4 teaspoon) helps acidify the milk, creating the proper environment for curd development. Available in powder form from specialty food suppliers.
- Liquid Rennet: Approximately 1.5 ml (1/4 teaspoon) of this enzyme triggers the coagulation process that transforms liquid milk into solid curds. Vegetarian rennet alternatives are also available.
- Salt: Around 5 grams (1 teaspoon) for seasoning the finished cheese according to taste preferences.
- Non-chlorinated Water: For diluting rennet. If your tap water contains chlorine, use filtered or bottled water.
Equipment Needed
- Large Heavy-Bottomed Pot: Capacity of at least 5-6 liters to accommodate the milk with room for stirring
- Accurate Cooking Thermometer: Digital or analog thermometer capable of measuring between 30-100°C (85-210°F)
- Long-Handled Slotted Spoon: For transferring curds while draining whey
- Sharp Knife: For cutting formed curds into uniform pieces
- Microwave-Safe Bowl: Large enough to hold curds for heating and stretching
- Heat-Resistant Gloves: Optional but recommended for handling hot curds safely
- Colander: For draining whey from curds
- Cheesecloth: Optional, for more thorough whey drainage
- Large Bowl with Ice Water: For cooling and firming finished mozzarella
Detailed Step-by-Step Mozzarella Making Process
Follow these carefully sequenced steps to transform simple milk into delicious fresh mozzarella. Precision with temperatures and timing ensures optimal results.
Step 1: Prepare and Acidify the Milk
Pour your whole milk into the large pot. Sprinkle the citric acid evenly across the milk’s surface, then stir gently but thoroughly to ensure complete dissolution. The citric acid begins lowering the milk’s pH, creating ideal conditions for curd formation. Allow this mixture to rest undisturbed for approximately 5 minutes. During this resting period, the acid works at a molecular level, preparing milk proteins for the transformation ahead.
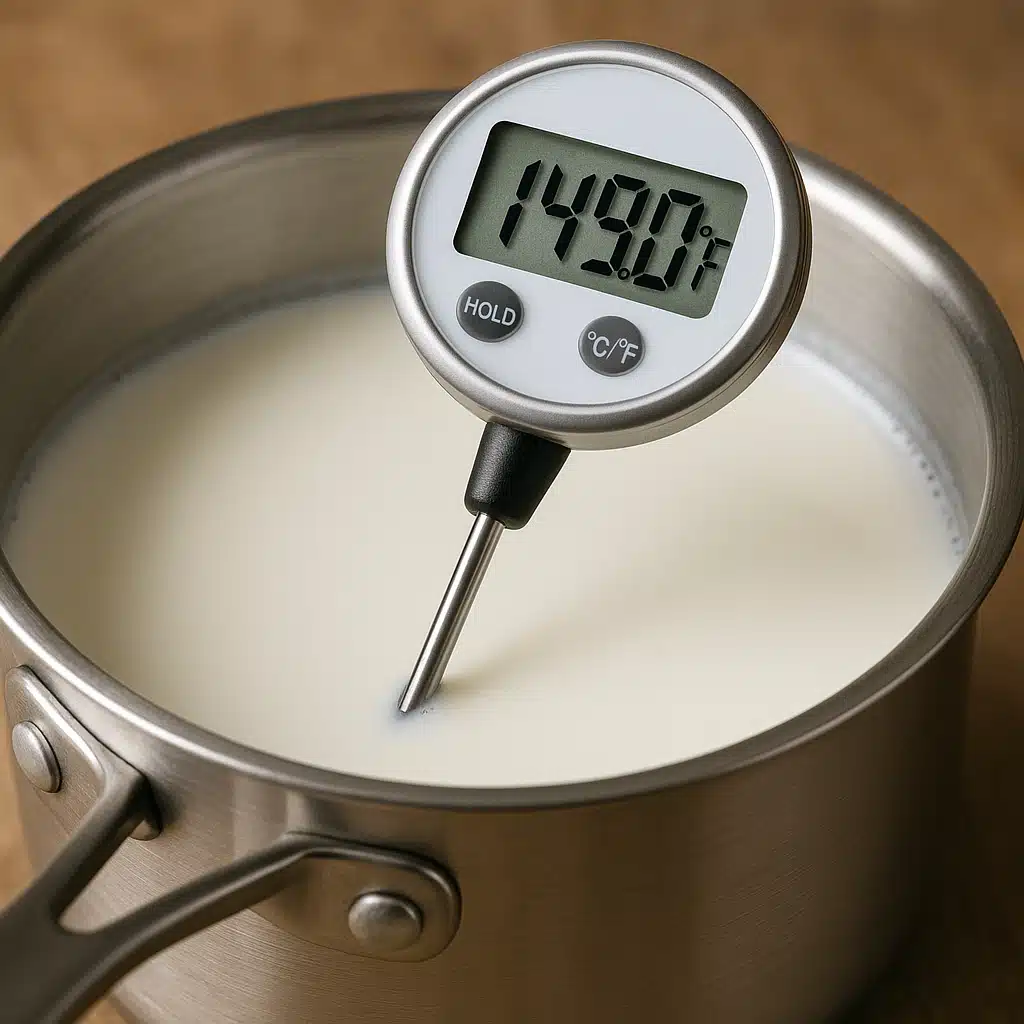
Step 2: Heat to Target Temperature
Place your pot over medium heat and slowly warm the milk, stirring gently and occasionally to prevent scorching on the bottom. Monitor the temperature carefully with your thermometer, aiming for 88°C (190°F). This heating process should take approximately 10-15 minutes—rushing creates uneven heating that affects curd quality. The gradual temperature increase allows proteins to denature properly, setting the stage for successful coagulation. Once you reach the target temperature, immediately remove the pot from heat.
Step 3: Introduce the Rennet
While your milk heats, prepare the rennet by diluting it in approximately 60 ml (1/4 cup) of cool, non-chlorinated water. Once the milk reaches temperature and is removed from heat, pour the diluted rennet into the milk. Stir using an up-and-down motion rather than circular stirring—this technique distributes the rennet evenly without disrupting curd formation. Stir for about 30 seconds, then stop completely. Cover the pot and let it rest undisturbed for 5-10 minutes. During this crucial period, the rennet enzymatically transforms liquid milk into a solid curd mass suspended in liquid whey.
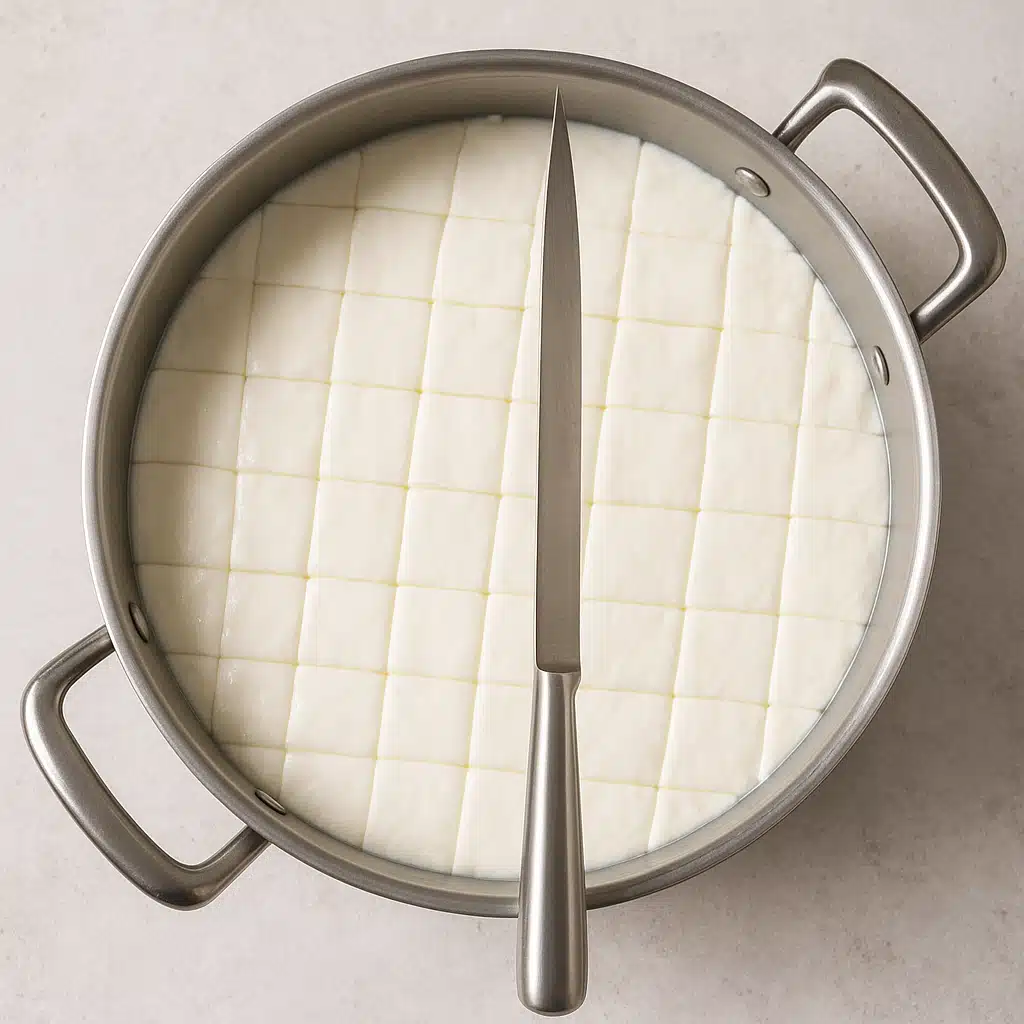
Step 4: Cut the Formed Curds
After the resting period, you should observe a firm, custard-like curd mass that pulls away cleanly from the pot’s sides. Using a long knife, cut straight down through the curds in a grid pattern, creating roughly 2.5 cm (1-inch) cubes. Make parallel cuts in one direction, then perpendicular cuts to form the grid. If possible, angle your knife to also cut horizontally through the curds. These cuts increase surface area, allowing more efficient whey expulsion. Let the cut curds rest for another 5 minutes.
Step 5: Heat and Firm the Curds
Return the pot to medium heat and slowly warm the curds to approximately 93°C (200°F), stirring very gently to prevent breaking them apart. This second heating phase encourages further whey expulsion and firms the curd structure. The curds will shrink noticeably as they release moisture. This step typically takes 5-10 minutes. The curds should feel slightly springy and hold together when pressed gently.
Step 6: Separate Curds from Whey
Using your slotted spoon, carefully scoop the curds from the pot, allowing whey to drain back into the pot. Transfer curds to a colander set over a bowl, or line your colander with cheesecloth for more thorough drainage. Let gravity do the work for 2-3 minutes. The drained whey can be saved for other culinary uses such as bread making, soup stocks, or even watering plants—it’s nutritious and shouldn’t go to waste.
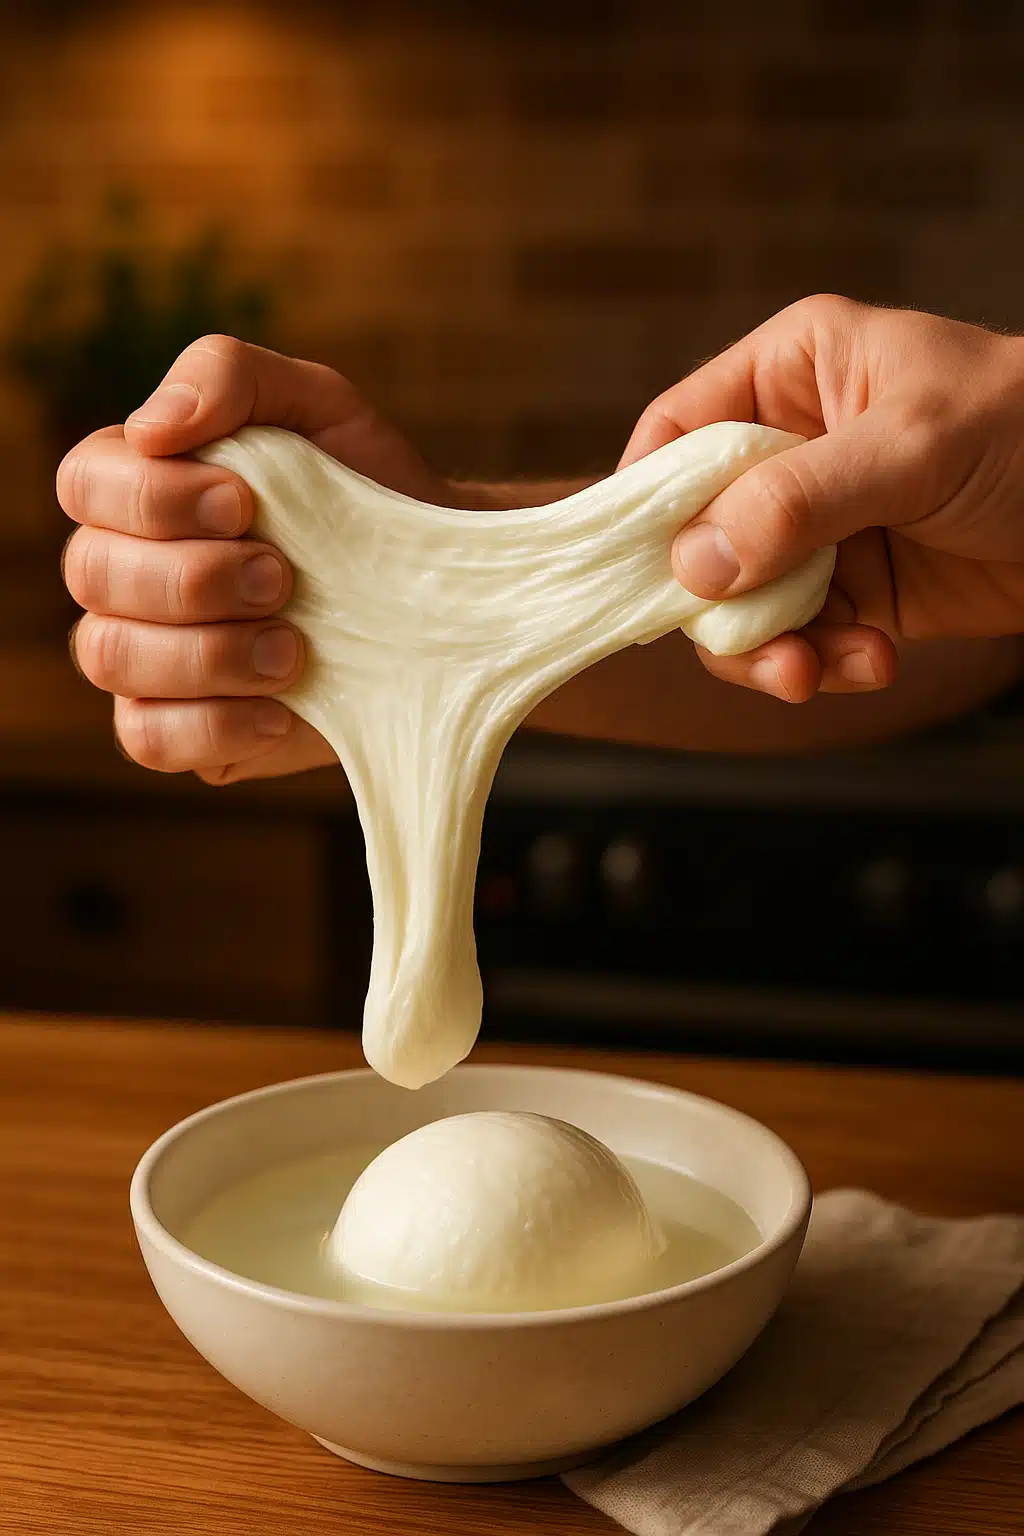
Step 7: Heat and Stretch the Cheese
Transfer your drained curds to a microwave-safe bowl. Microwave on high for 30 seconds. Remove and attempt to knead the curds with your hands or a spoon—they should begin feeling pliable and stretchy. If they’re still too firm and crumbly, microwave in additional 10-second intervals until the cheese becomes elastic and stretches when pulled. This is the signature characteristic of mozzarella. The heating reactivates proteins, allowing them to align and create that distinctive stretchy texture. Be cautious, as the cheese becomes quite hot during this process. Heat-resistant gloves are helpful here.
Alternative method: If you prefer not to use a microwave, you can achieve the same result by submerging the curds in very hot water (around 80°C/175°F) and kneading them while submerged until they become stretchy.
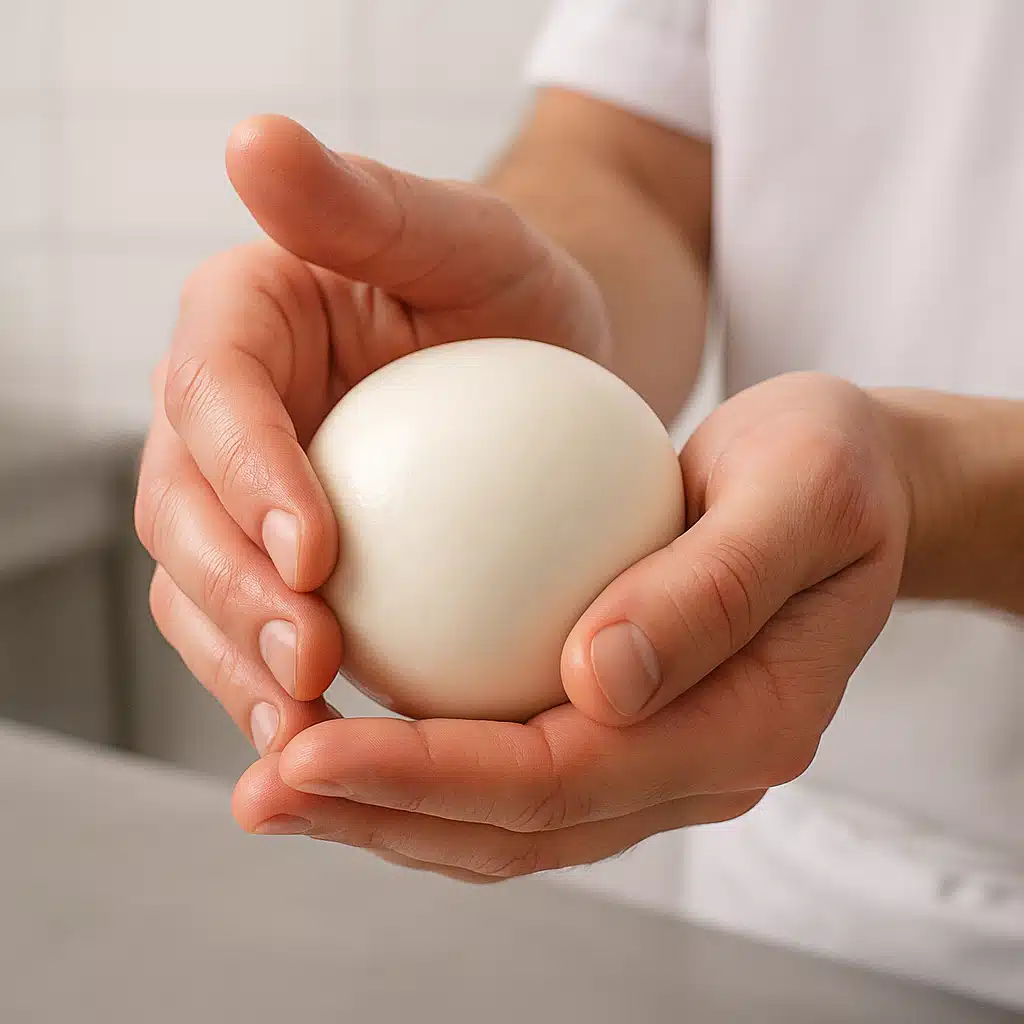
Step 8: Season and Form Your Mozzarella
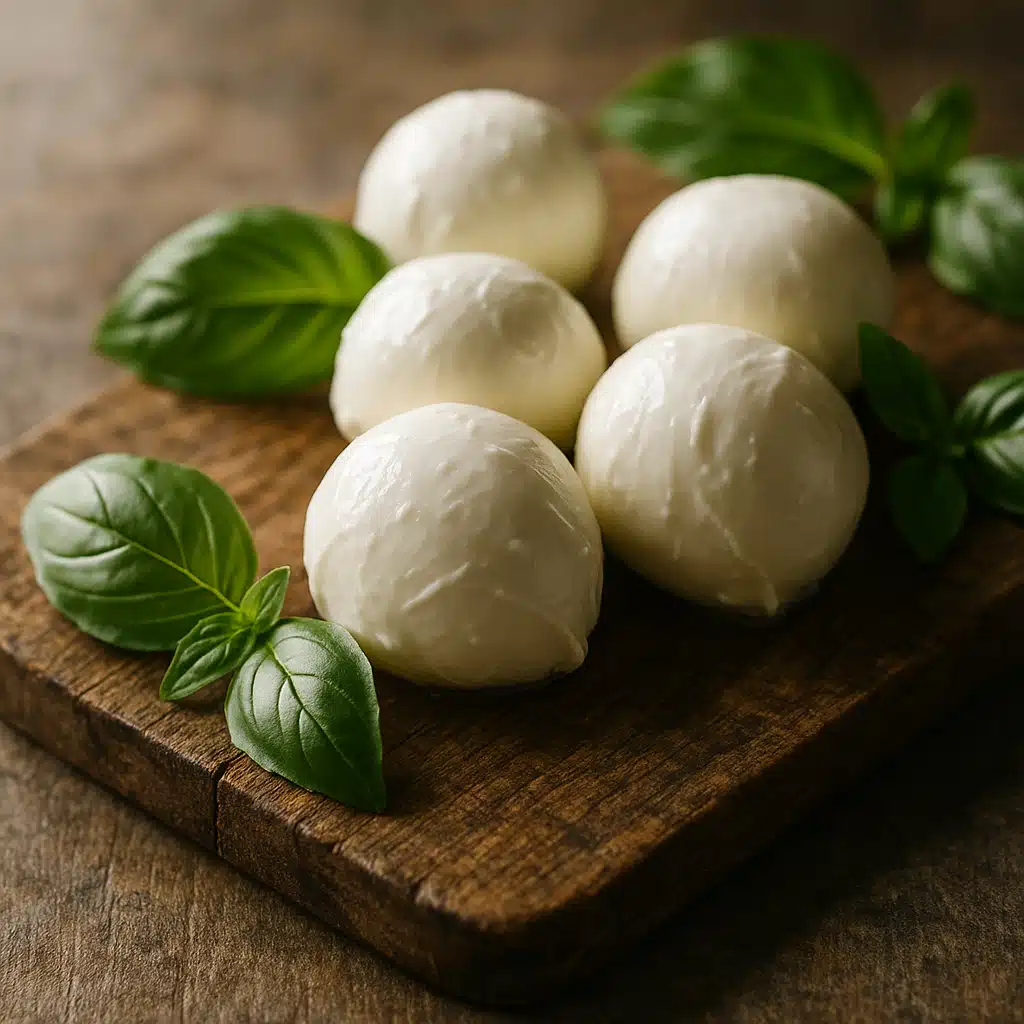
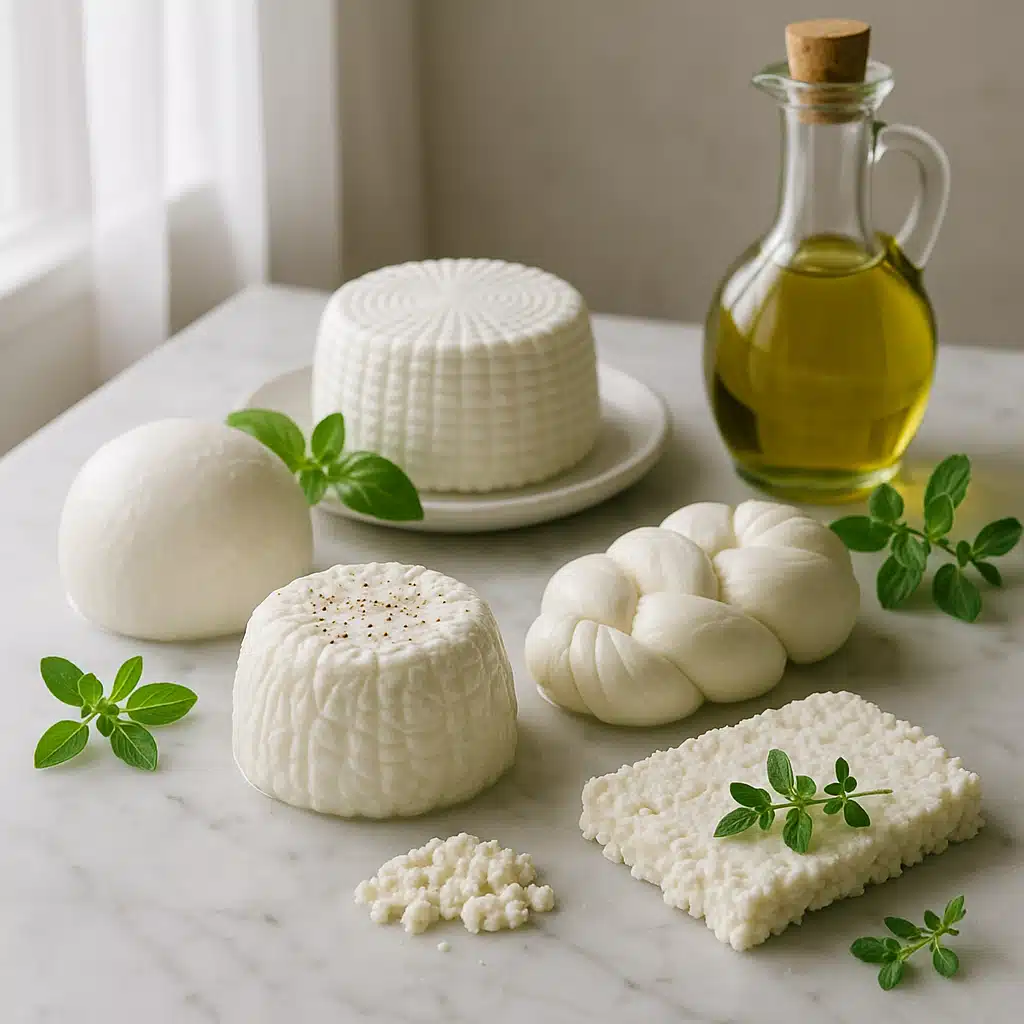
Once your cheese reaches the proper stretchy consistency, add salt to taste and knead it thoroughly into the cheese. Continue stretching and folding the cheese—this develops the characteristic layered structure of mozzarella and creates a smooth, glossy surface. When the texture is uniform and silky, form the cheese into your desired shapes. Traditional forms include large balls (bocconcini), smaller bite-sized balls (ciliegine), or braided logs. Work relatively quickly, as the cheese firms as it cools.
Step 9: Cool and Set the Cheese
Immediately transfer your formed mozzarella into a large bowl filled with ice water. This rapid cooling halts the cooking process and sets the cheese’s shape and texture. Let the mozzarella remain in the ice bath for at least 15-30 minutes until completely cooled. This step also refreshes the cheese and helps it develop the proper firm-yet-tender texture associated with quality fresh mozzarella.
Storage and Serving Recommendations
Fresh mozzarella is best enjoyed within a few days of making for optimal flavor and texture. Store your homemade cheese in a container with a light brine solution (water with a small amount of salt) or simply in fresh water, keeping it refrigerated. The liquid prevents the cheese from drying out. Properly stored, homemade mozzarella maintains quality for 5-7 days, though the texture gradually firms over time.
For serving, remove mozzarella from refrigeration about 30 minutes before eating to allow it to come to room temperature—this brings out the full flavor and restores the soft, creamy texture. Fresh mozzarella shines in simple preparations that highlight its delicate taste: sliced with ripe tomatoes and fresh basil, torn over pizza just before serving, cubed in pasta salads, or simply drizzled with quality olive oil and sprinkled with sea salt and cracked pepper.
Common Challenges and Solutions
Even experienced cheese makers occasionally encounter issues. Understanding common problems and their solutions helps ensure consistent success.
Curds Don’t Form Properly
Problem: Milk remains liquid or forms only weak, fragmented curds.
Cause: Most commonly, this results from using ultra-pasteurized milk, which has been heated to such high temperatures that proteins can no longer coagulate properly.
Solution: Always verify that your milk is pasteurized but not ultra-pasteurized. Check the label carefully before purchasing. Also ensure your citric acid and rennet are fresh and properly stored—these ingredients lose potency over time.
Cheese Is Rubbery or Tough
Problem: The final mozzarella has an unpleasantly firm, rubbery texture.
Cause: Overheating during either the initial heating phase or the stretching phase causes proteins to tighten excessively.
Solution: Monitor temperatures carefully with an accurate thermometer. Avoid exceeding recommended temperatures. During the stretching phase, work quickly and avoid over-microwaving or over-kneading the cheese.
Cheese Won’t Stretch
Problem: Curds remain crumbly and won’t develop the characteristic mozzarella stretch.
Cause: Insufficient heating during the stretching phase, or curds that weren’t properly heated during initial cooking.
Solution: Ensure curds reach proper temperature during the second heating (around 93°C/200°F). When microwaving for stretching, continue heating in short intervals until the cheese becomes pliable. The cheese must be quite hot to stretch properly.
Grainy or Ricotta-Like Texture
Problem: Instead of smooth mozzarella, the result resembles grainy ricotta cheese.
Cause: Heating too quickly or too high, causing proteins to seize.
Solution: Heat milk gradually over medium rather than high heat. Stir gently and consistently to prevent hot spots. Patience during heating phases produces better results.
Insufficient Yield
Problem: The recipe produces less cheese than expected.
Cause: Excessive whey retention in curds, or low-fat milk.
Solution: Always use whole milk for maximum yield and best texture. Ensure proper draining after cutting curds. The second heating phase should be sufficient to expel whey but not so aggressive that curds break apart and wash away.
Variations and Flavor Enhancements
Once you’ve mastered basic mozzarella, experiment with variations to create unique flavored cheeses that complement specific dishes.
Herb-Infused Mozzarella
Knead finely chopped fresh herbs—basil, oregano, thyme, or rosemary—into the cheese during the stretching phase. This creates beautiful visual appeal and adds aromatic complexity. Herb-infused mozzarella works wonderfully in salads and on appetizer platters.
Smoked Mozzarella
After forming and cooling your mozzarella, place it in a stovetop or outdoor smoker for 30-60 minutes using mild wood chips. The cheese absorbs smoky flavor while maintaining its signature texture. Smoked mozzarella adds depth to pizzas and pasta dishes.
Spiced Mozzarella
Incorporate crushed red pepper flakes, black pepper, or even finely minced garlic during the kneading phase. These additions create more assertive flavor profiles suitable for dishes where the cheese plays a prominent role.
Marinated Mozzarella
After completing the cheese, store it in olive oil infused with herbs, garlic, and peppercorns rather than plain water. The cheese gradually absorbs flavors from the marinade, becoming increasingly complex over several days. Serve the oil alongside the cheese for bread dipping.
Nutritional Considerations
Fresh mozzarella offers valuable nutritional benefits as part of a balanced diet. A typical serving (approximately 30 grams or 1 ounce) contains around 70-85 calories, 6 grams of protein, 5-6 grams of fat, and 200-250 mg of calcium. The cheese provides significant amounts of phosphorus, vitamin B12, and riboflavin. Compared to aged hard cheeses, fresh mozzarella is relatively lower in sodium, particularly when you control salt addition during home preparation.
The protein in mozzarella includes all essential amino acids, making it a complete protein source. The calcium content supports bone health, while phosphorus works synergistically with calcium for skeletal strength. For those monitoring fat intake, mozzarella made from whole milk provides a moderate amount of saturated fat—enjoying it in reasonable portions as part of varied diet allows you to benefit from its nutrients without excessive calorie consumption.
Sustainability and Ingredient Sourcing
Making cheese at home contributes to more sustainable food practices in several ways. It reduces packaging waste associated with commercial cheese products, and you can choose to source milk from local dairies that practice sustainable farming methods. When possible, seek milk from farms that prioritize animal welfare and environmental stewardship.
The whey byproduct from mozzarella making needn’t be wasted—it contains valuable proteins and nutrients. Use it as a protein-rich addition to smoothies, as liquid in bread or pancake recipes, as a tenderizing marinade for meats, or even as fertilizer for acid-loving garden plants. This traditional approach to utilizing all components of the cheesemaking process minimizes waste and honors the resources involved in producing your ingredients.
Expanding Your Cheesemaking Journey
Once comfortable with mozzarella, you’ve developed foundational skills applicable to many other fresh cheeses. Ricotta, for instance, can be made from the whey you drain from mozzarella production. Paneer, a fresh Indian cheese, follows similar principles but requires only acid and heat without rennet. Burrata takes mozzarella to the next level by wrapping mozzarella around a creamy center of stracciatella and cream.
Each cheese variety teaches new techniques and deepens your understanding of how milk transforms into the diverse family of dairy products enjoyed worldwide. Cheesemaking connects you with culinary traditions spanning millennia and cultures across continents, offering both practical skills and appreciation for artisanal food crafts.
Conclusion: Your Path to Fresh Mozzarella Mastery
Creating fresh mozzarella at home transforms simple ingredients into a culinary achievement that enhances countless meals. While the process involves precise steps and attention to detail, it’s far more accessible than many people assume. With quality ingredients, proper equipment, and the comprehensive guidance provided in this article, you possess everything needed to produce restaurant-quality mozzarella in your own kitchen.
The satisfaction of serving homemade cheese to family and friends, the superior flavor compared to commercial alternatives, and the practical skills you develop make mozzarella making a rewarding pursuit. Don’t be discouraged if your first attempt isn’t perfect—like any craft, cheesemaking improves with practice. Each batch teaches you something new about ingredient behavior, temperature control, and texture development.
Start your mozzarella-making journey today. Gather your ingredients, set aside an uninterrupted hour, and experience the magic of transforming fresh milk into delicious, stretchy cheese. Once you taste the difference of truly fresh mozzarella, you’ll understand why home cheesemaking has captivated food enthusiasts for generations. Welcome to the timeless craft of artisanal cheese creation—your kitchen is now a creamery, and your culinary repertoire has expanded into an ancient and respected tradition.