
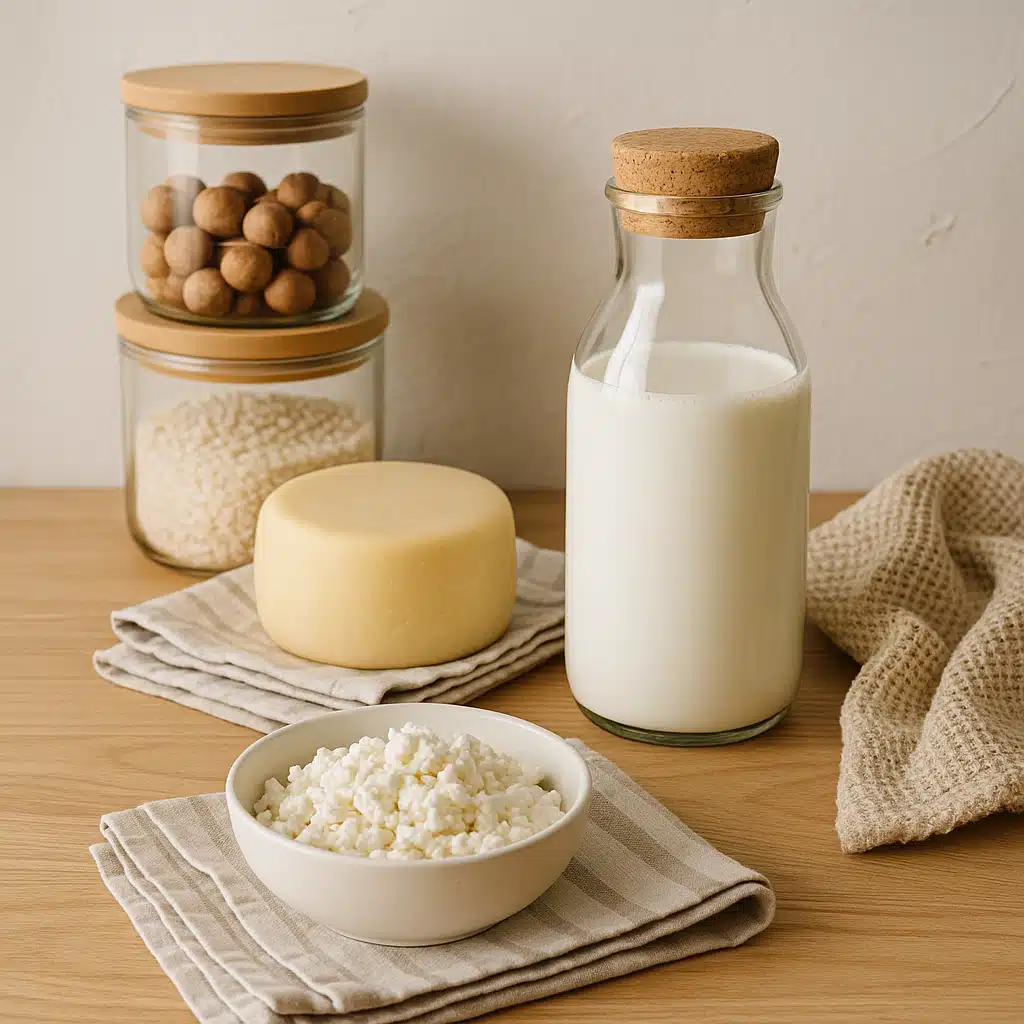
How to Make Homemade Cream Cheese: A Simple, Fresh, and Budget-Friendly Alternative
Creating your own cream cheese at home is a surprisingly simple process that delivers exceptional results. Whether you’re looking to reduce costs, control ingredients, or simply enjoy the satisfaction of crafting something delicious from scratch, homemade cream cheese offers remarkable advantages over commercial varieties. This comprehensive guide will walk you through everything you need to know about making fresh, creamy cheese in your own kitchen.
The Benefits of Making Your Own Cream Cheese
Homemade cream cheese offers numerous advantages that go beyond simple cost savings. Understanding these benefits can help you appreciate why this traditional practice is experiencing a modern revival among home cooks worldwide.
- Complete Ingredient Control: You decide exactly what goes into your cream cheese, eliminating unwanted stabilizers, gums, and preservatives commonly found in commercial products. This transparency is particularly valuable for those with dietary sensitivities or preferences.
- Superior Freshness: Made in small batches and consumed within days, homemade cream cheese offers a level of freshness that mass-produced alternatives simply cannot match. The difference in taste and texture is immediately noticeable.
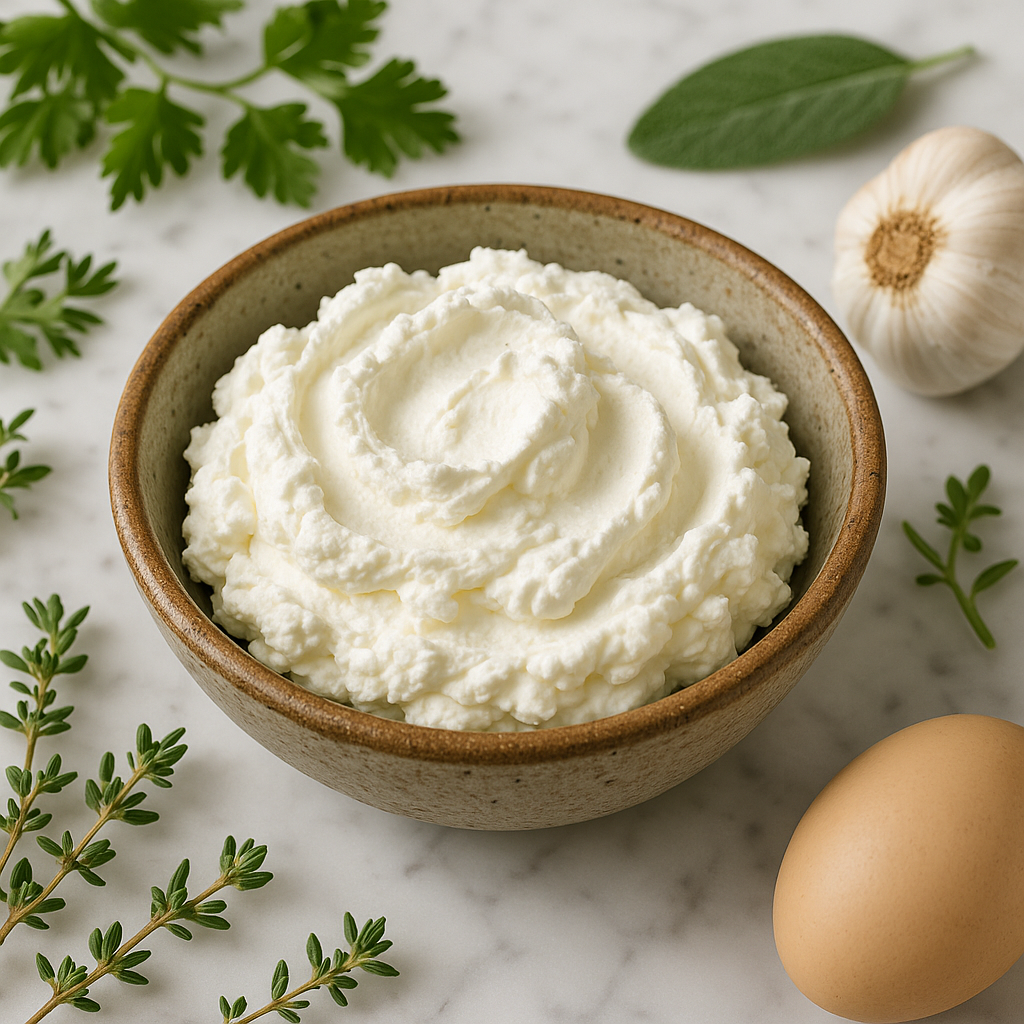
- Customizable Flavor Profiles: Unlike store-bought options with predetermined flavors, homemade cream cheese serves as a blank canvas. Add roasted garlic, fresh dill, sun-dried tomatoes, honey and cinnamon, or any combination of herbs and spices to create signature blends.
- Economic Value: When made with basic dairy ingredients, homemade cream cheese costs significantly less per unit than premium commercial brands, making it an economical choice for regular consumers.
- Reduced Environmental Impact: Making cream cheese at home eliminates single-use packaging and reduces the carbon footprint associated with commercial production and distribution.
- Nutritional Advantages: You can optimize the nutritional profile by selecting high-quality milk sources, adjusting fat content, and avoiding unnecessary additives.
Essential Ingredients and Equipment
The beauty of homemade cream cheese lies in its simplicity. You’ll need just a handful of basic ingredients and common kitchen equipment to create a product that rivals or exceeds commercial alternatives in quality and flavor.
Core Ingredients
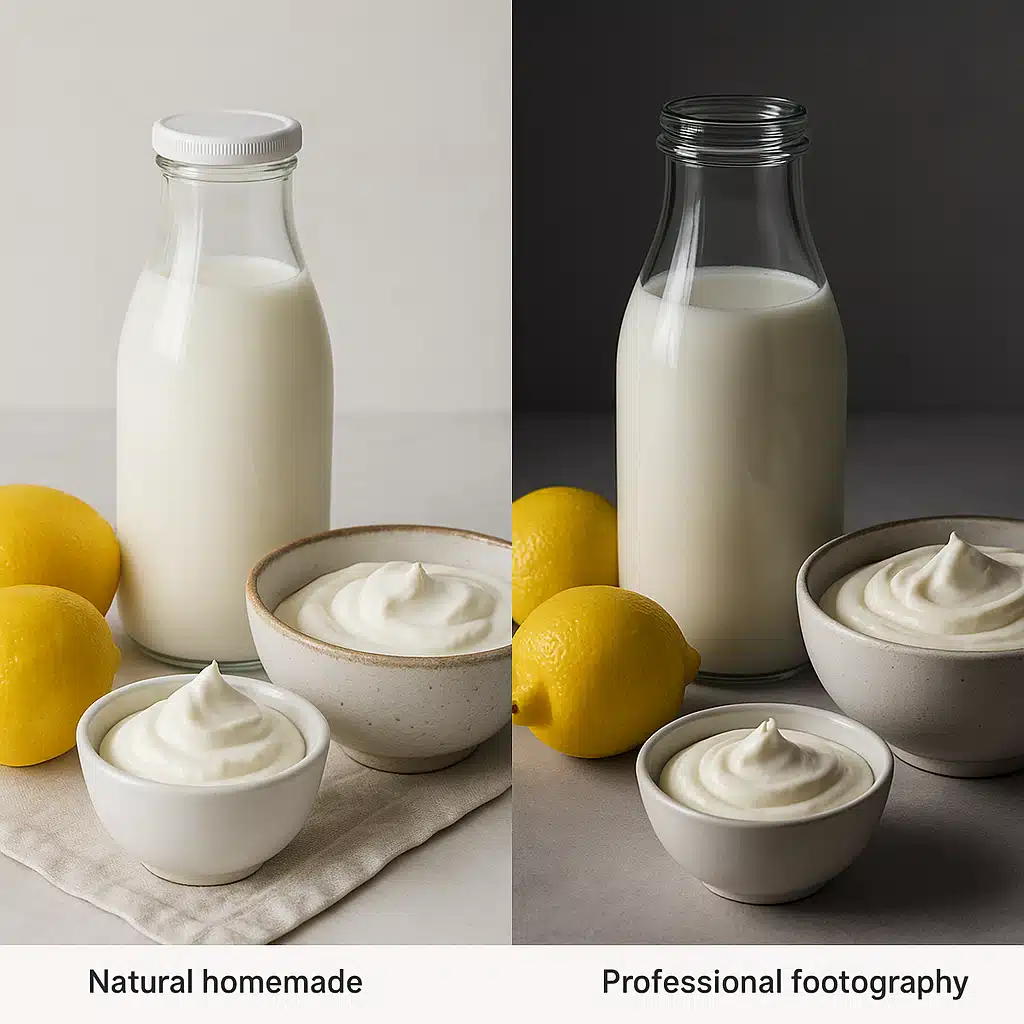
- Fresh Milk: 1 liter (approximately 4 cups) of whole milk or 2% milk works best. Whole milk produces a richer, creamier result, while 2% offers a lighter option. Avoid ultra-pasteurized milk when possible, as it may not curdle properly.
- Heavy Cream: 240 ml (1 cup) of heavy cream or heavy whipping cream adds the essential richness and smooth texture characteristic of quality cream cheese.
- Acidifying Agent: 2 tablespoons of fresh lemon juice or white vinegar. Lemon juice imparts a subtle, pleasant tang, while vinegar provides a more neutral flavor profile.
- Salt: To taste, typically 1/4 to 1/2 teaspoon. Salt enhances flavor and acts as a natural preservative.
- Optional Flavorings: Fresh or dried herbs (dill, chives, basil), spices (garlic powder, onion powder, paprika), sweeteners (honey, maple syrup), or aromatics (roasted garlic, caramelized onions).
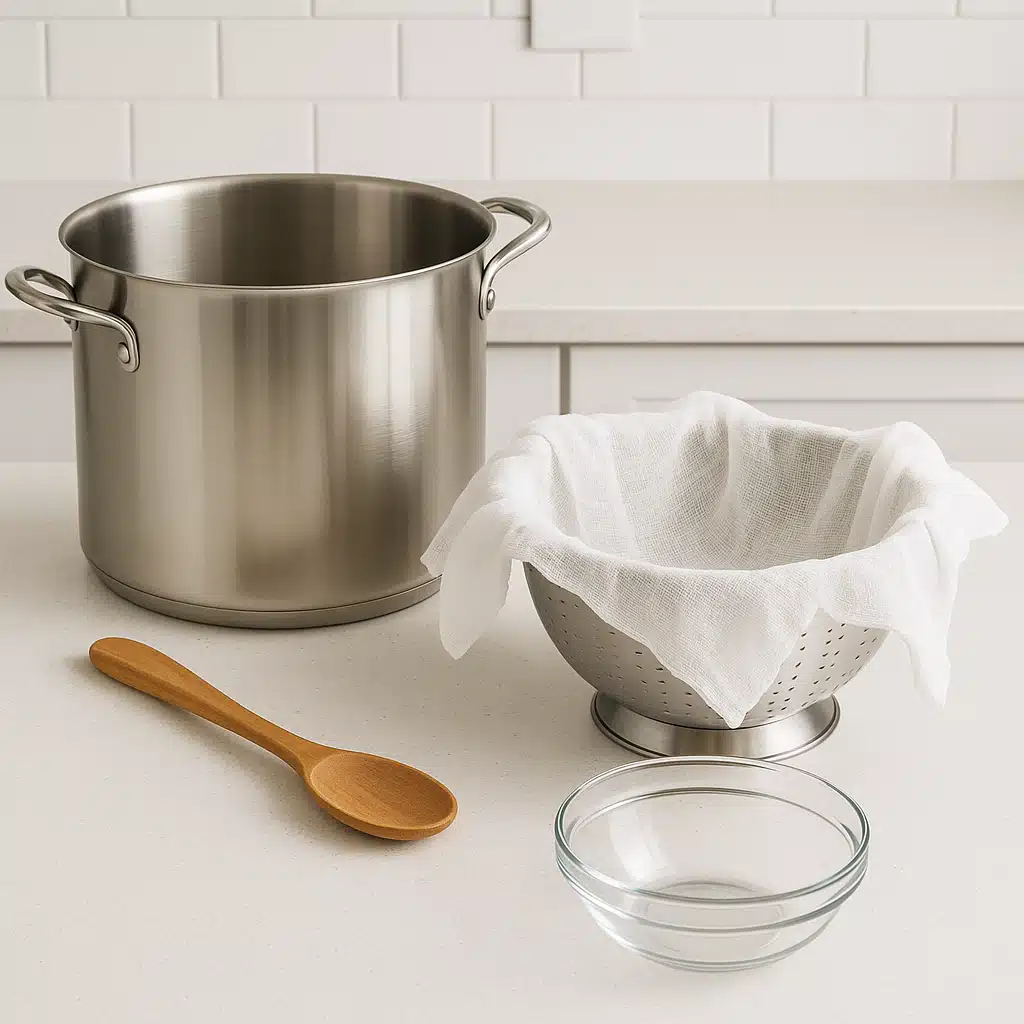
Required Equipment
- Heavy-bottomed pot or saucepan
- Cooking thermometer (optional but helpful)
- Fine-mesh sieve or colander
- Cheesecloth, butter muslin, or clean kitchen towel
- Mixing bowl
- Hand mixer, food processor, or blender
- Airtight storage container
- Stirring spoon
Step-by-Step Cream Cheese Making Process
Follow this detailed methodology to create perfect homemade cream cheese every time. The process is straightforward, but attention to temperature and timing will ensure optimal results.
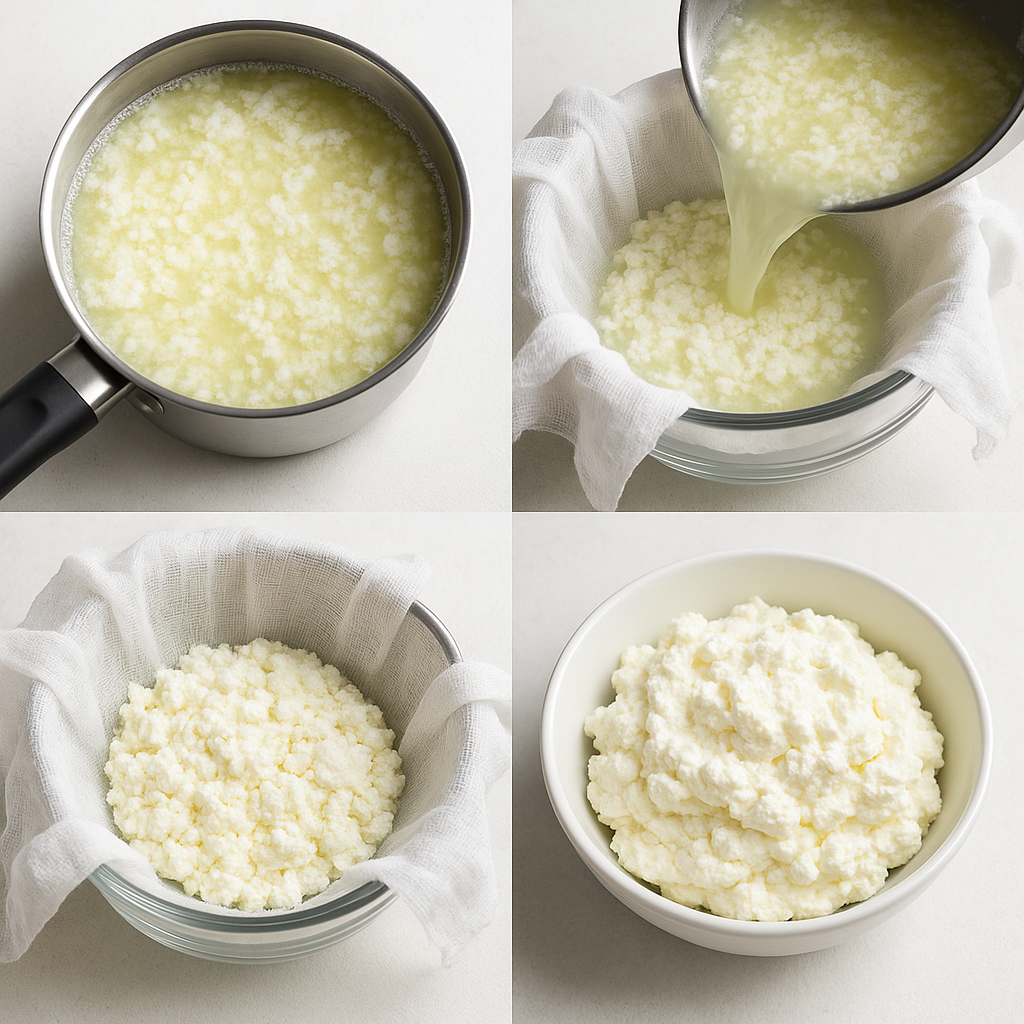
Step 1: Gentle Heating
Pour the milk and heavy cream into your heavy-bottomed pot. Place over medium heat and warm the mixture gradually, stirring occasionally to prevent scorching on the bottom. Heat until the mixture reaches approximately 85-90°C (185-195°F) or until you see small bubbles forming around the edges and steam rising from the surface. Avoid bringing it to a full rolling boil, as this can affect the final texture. This process typically takes 8-12 minutes depending on your stove and pot.
Step 2: Acidification and Curdling
Remove the pot from heat immediately once the milk mixture reaches the proper temperature. Add your acidifying agent (lemon juice or vinegar) and stir gently but thoroughly for about 10-15 seconds. The acid causes the proteins in the milk to coagulate and separate from the liquid whey. Let the mixture sit undisturbed for 5-10 minutes. You’ll notice the milk separating into solid white curds and translucent yellowish whey. If separation doesn’t occur after 10 minutes, your milk may have been ultra-pasteurized, or you may need to add another tablespoon of acid.
Step 3: Straining and Draining
Line your sieve or colander with several layers of cheesecloth or a clean, lint-free kitchen towel, and position it over a large bowl to catch the whey. Carefully pour the curds and whey into the lined strainer. Allow gravity to do most of the work initially, letting it drain for about 10 minutes. Then gather the corners of the cheesecloth and gently twist to form a bundle, squeezing out excess moisture. The draining time determines your cream cheese consistency: 30-40 minutes produces spreadable cream cheese, while 60-90 minutes creates a firmer, block-style product. For best results, hang the bundle from a wooden spoon suspended over a bowl and refrigerate during draining.
Step 4: Blending and Seasoning
Transfer the drained curds to a mixing bowl. At this stage, the cheese will have a crumbly, cottage cheese-like texture. Add salt to taste, starting with 1/4 teaspoon and adjusting as needed. If adding flavorings, incorporate them now. Using a hand mixer, food processor, or blender, process the curds until completely smooth and creamy, typically 2-4 minutes. Scrape down the sides periodically to ensure even blending. For an ultra-smooth texture, blend for an additional minute or two. If the mixture seems too thick, add a tablespoon of reserved whey or cream to reach your desired consistency.
Step 5: Storage and Maturation
Transfer your finished cream cheese to an airtight container and refrigerate immediately. The flavor and texture will improve after several hours as it firms up and the flavors meld. Your homemade cream cheese reaches optimal quality after 24 hours of refrigeration and will maintain freshness for 7-10 days when properly stored. Always use clean utensils when serving to maximize shelf life.
Creative Applications and Serving Ideas
Once you’ve mastered basic cream cheese, the culinary possibilities expand dramatically. Your homemade creation serves as a versatile ingredient in both sweet and savory applications, elevating everyday meals and special occasions alike.
Breakfast and Brunch Applications
- Spread generously on toasted bagels, English muffins, or artisan bread
- Create elegant breakfast boards with smoked fish, capers, red onion, and fresh vegetables
- Blend with fresh fruit and honey for a sweet breakfast spread
- Use as filling for French toast or stuffed pancakes
- Mix with scrambled eggs for extra creaminess
Appetizers and Entertaining
- Whip with herbs and spices to create sophisticated dips for vegetables or crackers
- Stuff into cherry tomatoes, cucumber cups, or celery sticks
- Roll into balls and coat with chopped nuts, herbs, or spices for elegant cheese balls
- Layer with sun-dried tomatoes and basil for a stunning terrine
- Pipe onto cucumber rounds or crackers for canapés
Main Dishes and Sides
- Create luxurious pasta sauces by thinning with pasta water and adding herbs
- Stuff into chicken breasts, pork chops, or mushrooms before baking
- Dollop onto baked potatoes or sweet potatoes
- Mix into mashed potatoes for extra richness
- Use as a creamy base for white pizza
- Incorporate into casseroles and gratins
Baking and Desserts
- Make classic cheesecakes with incomparable fresh flavor
- Create cream cheese frostings for cakes and cupcakes
- Add to brownie batter for fudgy swirls
- Make cream cheese Danish pastries or filled cookies
- Blend with fruit for no-bake pie fillings
- Use in tiramisu or other layered desserts

Flavor Variations to Try
Experimenting with flavors transforms basic cream cheese into gourmet spreads tailored to your preferences. Add these ingredients during the blending stage for distinctive variations.
Savory Variations
- Herb Garden: Fresh chopped dill, chives, parsley, and a hint of garlic
- Mediterranean: Sun-dried tomatoes, basil, and roasted garlic
- Smoky Spice: Smoked paprika, chipotle powder, and lime zest
- Everything Bagel: Sesame seeds, poppy seeds, dried garlic, dried onion, and sea salt
- Jalapeño Lime: Finely minced jalapeño and fresh lime juice
- Caramelized Onion: Sweet caramelized onions with thyme
Sweet Variations
- Vanilla Honey: Pure vanilla extract and raw honey
- Cinnamon Sugar: Ground cinnamon and maple syrup
- Berry Swirl: Pureed fresh or frozen berries
- Chocolate: Cocoa powder and powdered sugar
- Citrus Zest: Orange or lemon zest with a touch of sugar
- Pumpkin Spice: Pumpkin puree with cinnamon, nutmeg, and ginger

Troubleshooting Common Issues
Even experienced home cheese makers occasionally encounter challenges. Understanding how to address common issues ensures consistent success with every batch.
Milk Won’t Curdle
Problem: After adding acid, the milk remains liquid without separating into curds and whey.
Solutions: Your milk may be ultra-pasteurized, which can prevent proper curdling. Try adding an additional tablespoon of acid. Ensure the milk was heated to the proper temperature (85-90°C/185-195°F). Consider using a different milk brand, preferably one that’s simply pasteurized rather than ultra-pasteurized.
Grainy or Lumpy Texture
Problem: The final cream cheese has a grainy, separated, or lumpy consistency rather than smooth and creamy.
Solutions: Blend the cheese longer—at least 3-4 minutes—scraping down sides frequently. Ensure you’re using enough cream in the original recipe. If the cheese seems too dry, add a tablespoon of reserved whey or fresh cream while blending. The curds should be at room temperature for easier blending.
Too Tangy or Sour
Problem: The cream cheese has an overly acidic or sour taste.
Solutions: Reduce the amount of acid in your next batch. Lemon juice typically produces a more pleasant tang than vinegar. Add a pinch of sugar or honey to balance acidity. Ensure you’re draining the whey thoroughly, as residual whey increases sourness.
Too Thick or Dry
Problem: The cream cheese is crumbly, dry, or difficult to spread.
Solutions: Reduce draining time in future batches. When blending, gradually add reserved whey, fresh cream, or whole milk (a tablespoon at a time) until reaching desired consistency. Ensure you’re using sufficient cream in the original recipe.
Too Thin or Runny
Problem: The cream cheese won’t firm up and remains too liquid.
Solutions: Allow longer draining time, up to 90 minutes or more. After blending, refrigerate for several hours—cream cheese firms considerably when chilled. Next time, use more milk-to-cream ratio or reduce the amount of whey added during blending.
Short Shelf Life
Problem: The cream cheese spoils or develops off-flavors quickly.
Solutions: Ensure all equipment is thoroughly cleaned and sanitized before use. Always use clean utensils when serving. Store in an airtight container immediately after making. Keep refrigerated at proper temperature (below 4°C/40°F). Add slightly more salt, which acts as a natural preservative.
Frequently Asked Questions
Can I use plant-based milk alternatives?
Traditional cream cheese requires dairy milk because the curdling process depends on milk proteins (casein). However, you can make plant-based alternatives using cashews, almonds, or coconut cream combined with probiotics or cultures, though the process and results differ significantly from this dairy-based method.
What should I do with the leftover whey?
Don’t discard the nutritious whey! Use it in bread baking (substitute for water), smoothies, soup stock, cooking grains (rice, quinoa, oats), watering acid-loving plants, or as a protein-rich addition to animal feed. Whey can be refrigerated for up to a week or frozen for longer storage.
Can I reduce the fat content?
Yes, though it affects texture and richness. Use low-fat or skim milk and reduce or eliminate the heavy cream. The result will be lighter but less creamy. For better texture with lower fat, try using 2% milk with half-and-half instead of heavy cream.
Is it safe to freeze homemade cream cheese?
Technically yes, but freezing significantly affects texture, making it grainy and separated upon thawing. If you must freeze it, use the thawed product in cooked applications like casseroles, sauces, or baked goods where texture changes matter less. For best quality, consume fresh within 7-10 days.
How can I make the cream cheese thicker?
Extend the draining time significantly—up to 2-3 hours or even overnight in the refrigerator. You can also add a small amount of unflavored gelatin (dissolved in warm water first) during blending, or incorporate a tablespoon of cornstarch that’s been cooked with a bit of milk first.
Can I make this without cheesecloth?
Absolutely. A clean, lint-free kitchen towel works well. You can also use coffee filters (though draining takes longer), a very fine-mesh strainer, a clean cloth napkin, or even a clean t-shirt material. Ensure whatever you use is clean and hasn’t been washed with heavily scented detergent.
Why does my cream cheese taste different each time?
Variations in milk quality, fat content, draining time, and the amount of acid used all affect final flavor. Different milk brands have varying protein and fat levels. Draining time impacts moisture content and tang intensity. For consistency, use the same milk brand, measure ingredients precisely, and time your draining period.

Storage and Food Safety Considerations
Proper storage and handling ensure your homemade cream cheese remains safe and delicious throughout its shelf life. Since homemade products lack the preservatives and stabilizers of commercial versions, attention to food safety practices is essential.
Optimal Storage Conditions
- Store in clean, airtight containers immediately after preparation
- Maintain refrigeration at 4°C (40°F) or below at all times
- Keep away from strong-smelling foods as cream cheese absorbs odors easily
- Use glass or food-grade plastic containers rather than metal, which can impart flavors
- Label containers with preparation date for easy tracking
Shelf Life Guidelines
- Plain cream cheese: 7-10 days when properly refrigerated
- Flavored varieties with fresh herbs: 5-7 days
- Sweet versions with fruit: 5-7 days
- Versions with cooked ingredients (roasted garlic): 7-10 days
Signs of Spoilage
Discard cream cheese if you notice any of these indicators: mold growth (any color), off or sour smell different from the initial tang, pink or yellow discoloration, separation with excessive liquid, or any unusual texture changes. When in doubt, throw it out.
Cost Comparison and Economic Benefits
One of the most compelling reasons to make cream cheese at home is the significant cost savings. While the exact economics vary by region and ingredient prices, homemade cream cheese typically costs 40-60% less than premium commercial brands. A batch made from basic dairy ingredients yields approximately 250-300 grams of finished product at a fraction of retail prices. Over time, these savings accumulate substantially, especially for households that consume cream cheese regularly. Additionally, you’re getting a fresher, higher-quality product without paying for packaging, marketing, and distribution costs built into commercial prices.
Environmental and Sustainability Advantages
Making cream cheese at home aligns with sustainable living practices in multiple ways. It eliminates plastic packaging waste associated with commercial products, reduces transportation emissions from manufacturing and distribution, and allows you to source ingredients from local dairies or sustainable producers. The byproduct whey can be fully utilized rather than disposed of, creating a zero-waste process. For environmentally conscious consumers, homemade cream cheese represents a meaningful step toward reducing household environmental impact while maintaining culinary quality and enjoyment.
Conclusion: Embracing Homemade Tradition
Creating your own cream cheese transforms a simple dairy staple into a rewarding culinary experience. The process requires minimal specialized equipment, just a few hours of mostly hands-off time, and basic ingredients available in any grocery store. The result is a fresh, customizable product that surpasses commercial alternatives in flavor, quality, and value. Whether you’re motivated by cost savings, ingredient control, environmental concerns, or simply the satisfaction of making something delicious from scratch, homemade cream cheese delivers on all fronts. Start with the basic recipe, then experiment with flavors and applications to discover your favorite variations. Once you experience the superior taste and texture of freshly made cream cheese, returning to store-bought versions becomes increasingly difficult. Welcome to the rewarding world of home cheese making—your bagels, recipes, and budget will thank you.