Understanding pH Meters in Cheese Making
Crafting exceptional cheese at home or in a small-scale production setting requires precision, patience, and the right tools. Among these tools, a pH meter stands out as one of the most critical instruments for achieving consistent, high-quality results. Whether you’re experiencing unexpected flavors, texture issues, or preservation challenges, understanding and controlling acidity levels can transform your cheese-making outcomes. This comprehensive guide will walk you through everything you need to know about using a pH meter to create perfect cheese every single time.
What is a pH Meter and How Does It Work?
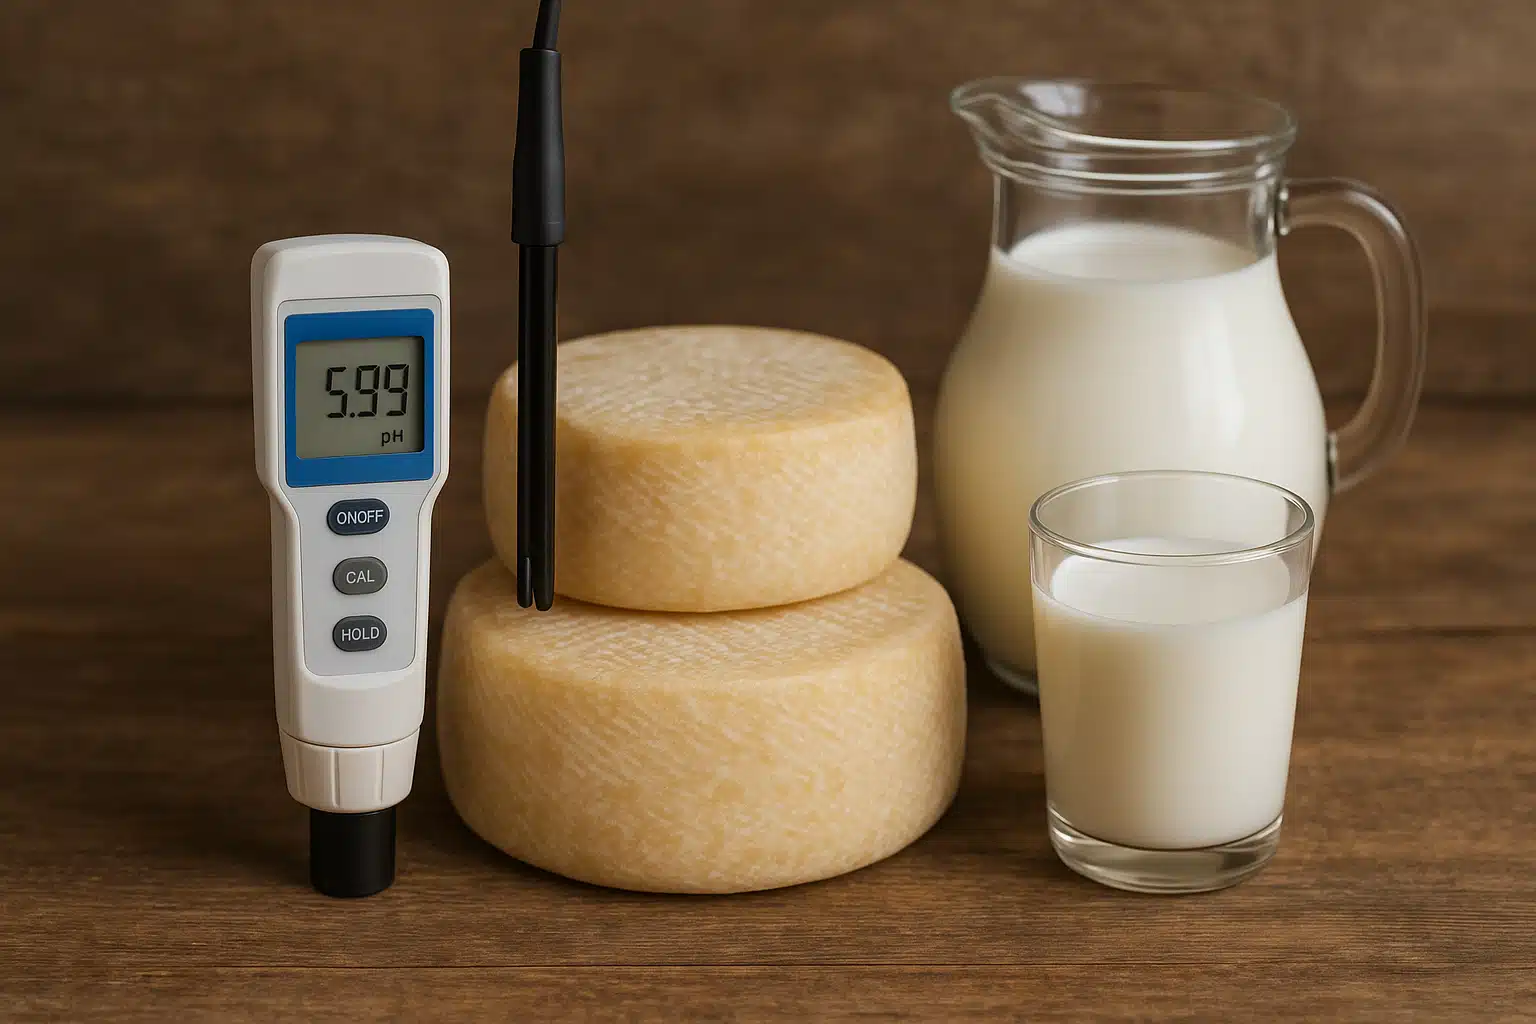
A pH meter is a precision electronic instrument designed to measure the hydrogen ion concentration in liquids and semi-solid substances, which determines their acidity or alkalinity. The pH scale runs from 0 to 14, with 7 representing a neutral value. Measurements below 7 indicate increasing acidity, while readings above 7 indicate increasing alkalinity or basicity.
In cheese making, pH meters provide accurate, real-time measurements of your milk, curds, and whey throughout the production process. Unlike pH test strips that offer only approximate readings, digital pH meters deliver precise measurements typically accurate to within 0.01 pH units. This level of precision is essential when working with dairy products, where even small variations in acidity can significantly impact the final product’s characteristics.
Modern pH meters consist of a probe (electrode) that contains special glass membranes sensitive to hydrogen ions, connected to a digital display unit. When the probe contacts your cheese mixture, it generates a small electrical voltage proportional to the pH level, which the device converts into an easy-to-read numerical value.
The Critical Role of pH in Cheese Production
pH measurement is far more than a technical detail in cheese making—it’s a fundamental factor that determines success or failure at every stage of the process. Understanding why pH matters will help you appreciate the value of accurate measurement and give you better control over your results.

Flavor Development and Balance
The acidity level directly influences the flavor profile of your cheese. Higher acidity (lower pH) produces tangier, sharper flavors, while lower acidity (higher pH) results in milder, creamier tastes. By monitoring and controlling pH, you can consistently achieve your desired flavor intensity and prevent unexpected sourness or blandness that can disappoint consumers and waste valuable ingredients.
Texture and Structure Formation
pH affects how milk proteins interact and bind together during the coagulation process. The correct pH range ensures proteins form the appropriate network structure, determining whether your cheese will be firm and sliceable, soft and spreadable, or stretchy and elastic. Incorrect pH can lead to crumbly, grainy, or overly soft textures that don’t meet quality standards.
Food Safety and Preservation
Proper acidity creates an environment that inhibits the growth of harmful bacteria while allowing beneficial cultures to thrive. This natural preservation mechanism is essential for food safety and extends shelf life. Insufficient acidity can allow spoilage organisms and pathogens to multiply, while excessive acidity may inhibit the beneficial cultures needed for proper aging and flavor development.
Enzymatic Activity Control
The enzymes responsible for breaking down proteins and fats during cheese aging function optimally within specific pH ranges. By maintaining proper acidity levels, you ensure these enzymatic processes proceed at the correct rate, developing the complex flavors and textures that distinguish artisanal cheese from mass-produced alternatives.
Comprehensive Guide to Using a pH Meter for Cheese Making
Mastering pH meter operation involves more than simply dipping a probe into your cheese mixture. Following proper procedures ensures accurate readings and reliable results that will elevate your cheese-making skills to a professional level.
Essential Equipment and Supplies
Before beginning any pH measurements, gather all necessary items to ensure a smooth, efficient process:
- A quality digital pH meter designed for food applications
- pH calibration buffer solutions (typically pH 4.00, 7.00, and sometimes 10.00)
- Distilled or deionized water for rinsing
- Soft, lint-free cloths or laboratory tissues
- Storage solution for the electrode (if not included with your meter)
- Your cheese mixture, milk, curds, or whey to be tested
- A clean container for sampling if needed
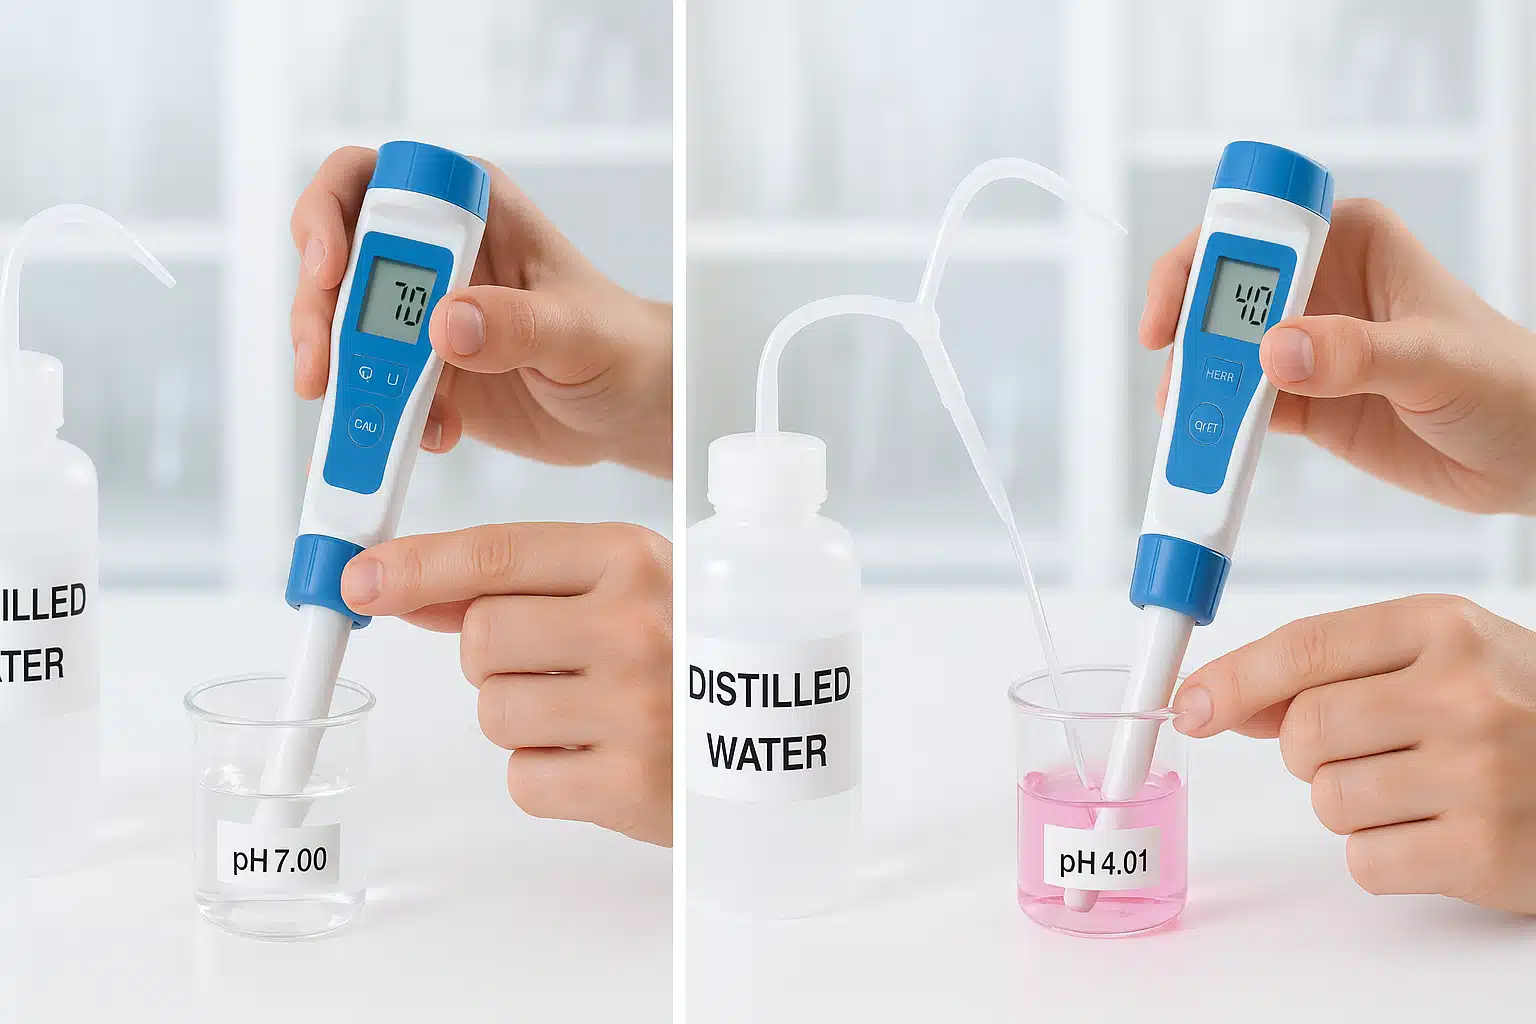
Proper Calibration Procedure
Calibration is the most critical step for obtaining accurate pH readings. Even high-quality meters drift over time and require regular calibration, ideally before each use or at minimum once per week for frequent users.
Step 1: Prepare Your Meter
Remove the protective cap from the electrode and rinse it gently with distilled water. Pat it dry carefully with a soft tissue—avoid wiping, as this can generate static electricity that interferes with readings.
Step 2: First Calibration Point
Immerse the electrode into the pH 7.00 buffer solution, ensuring the sensing portion is fully submerged. Gently swirl to remove air bubbles. Wait for the reading to stabilize—this typically takes 30-60 seconds. Follow your specific meter’s instructions to lock in this calibration point.
Step 3: Rinse Thoroughly
Remove the electrode, rinse it thoroughly with distilled water, and pat dry. This prevents cross-contamination between buffer solutions.
Step 4: Second Calibration Point
Repeat the process with the pH 4.00 buffer solution. For cheese making, a two-point calibration using pH 4.00 and 7.00 is generally sufficient, as cheese typically falls within the pH 4.5-6.5 range.
Step 5: Verify Calibration
Many meters display a calibration success message or slope value. A slope between 95-105% indicates good electrode condition and accurate calibration.
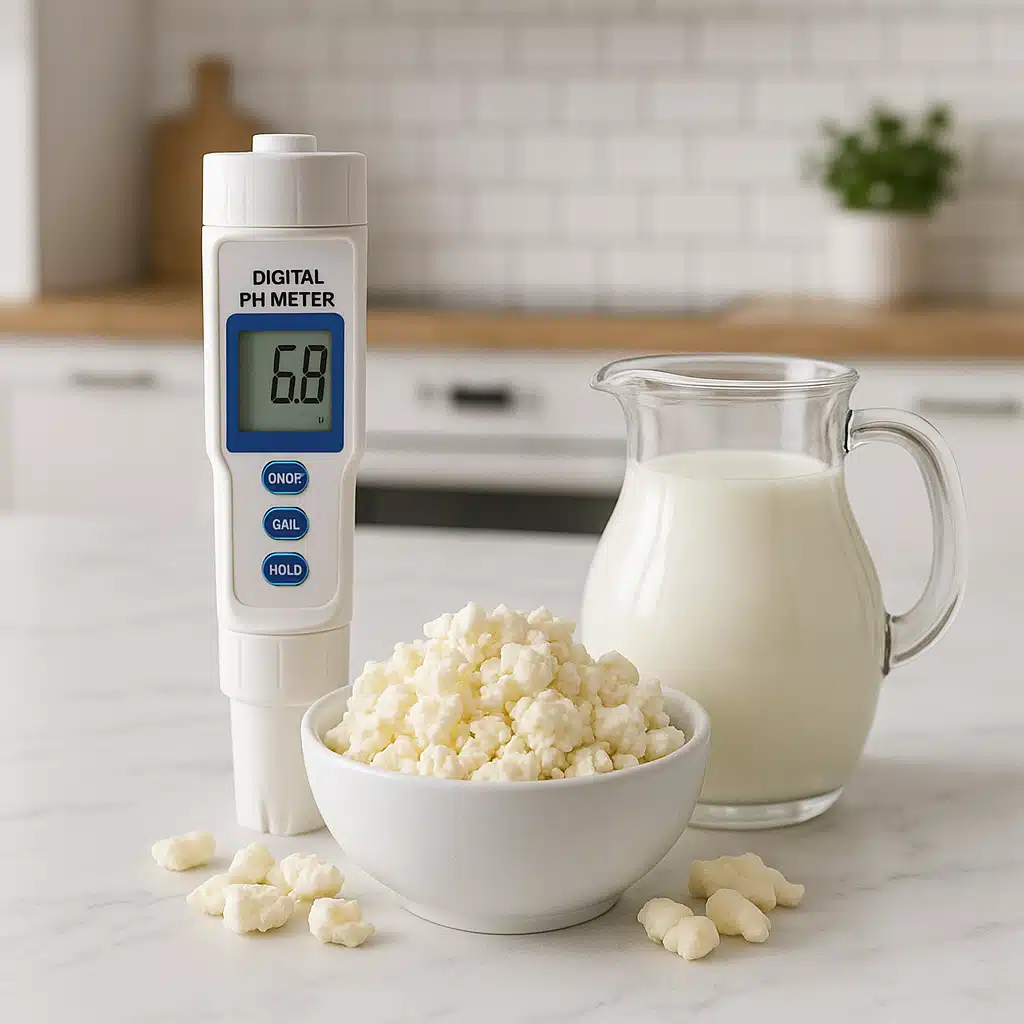
Measuring pH in Cheese Mixtures
Once properly calibrated, you’re ready to measure your cheese mixture. The technique varies slightly depending on whether you’re testing liquid milk, semi-solid curds, or whey.
For Liquid Milk or Whey:
Stir the liquid gently but thoroughly to ensure uniform distribution of acidity throughout. Insert the electrode deep enough that the sensing area is fully submerged. Hold steady without stirring and wait 30-60 seconds for the reading to stabilize. Record the value when it remains constant for at least 10 seconds.
For Curds and Semi-Solid Cheese:
Take a representative sample from the middle of your curd mass, as the pH may vary between the surface and interior. For firmer curds, you may need to press the electrode gently into the mass. Some cheese makers find it helpful to extract a small amount of whey from the curds to measure, as this provides a more stable reading while accurately reflecting the curd pH.
Temperature Considerations:
pH readings are temperature-dependent. Most modern meters include automatic temperature compensation (ATC), which adjusts readings to a standard reference temperature. If your meter lacks ATC, ensure your samples are at room temperature (approximately 20-25°C or 68-77°F) for consistent results. Always allow hot mixtures to cool before measuring, as high temperatures can permanently damage electrode membranes.
Making pH Adjustments
When measurements fall outside your target range, careful adjustments can bring your cheese back on track. However, pH adjustment should be done cautiously and incrementally, as overcorrection can ruin an entire batch.
Lowering pH (Increasing Acidity):
If your reading is too high, you need to increase acidity. In traditional cheese making, this is typically achieved by allowing more time for bacterial cultures to produce lactic acid naturally. For quicker adjustments or when working with direct acidification methods, small amounts of food-grade acids such as citric acid, lactic acid, or vinegar can be added. Add in very small increments, stir thoroughly, wait several minutes, then re-measure before adding more.
Raising pH (Decreasing Acidity):
If your mixture is too acidic, raising pH is more challenging and less common in traditional cheese making. Alkaline substances should be used extremely sparingly, as they can quickly overshoot the target and create off-flavors. In most cases, dilution with fresh milk or blending with a less acidic batch is preferable to chemical adjustment.
Target pH Ranges for Different Cheese Varieties
Different cheese styles require specific pH ranges at various stages of production. Understanding these targets allows you to identify and correct problems before they affect your final product.
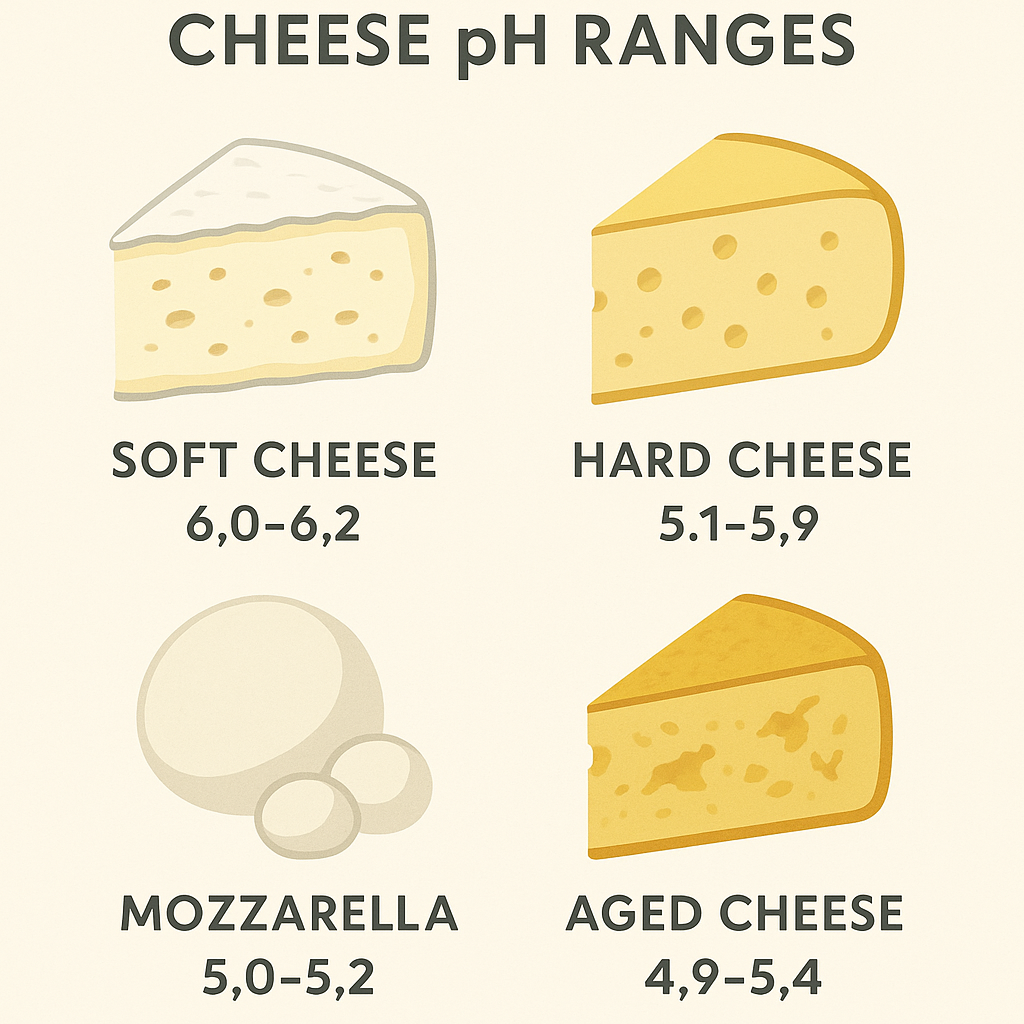
Fresh and Soft Cheeses
Soft cheeses like cream cheese, chèvre, and ricotta typically target higher pH ranges between 6.0-6.5 at the time of setting. This higher pH contributes to their mild flavor and creamy, spreadable texture. If the pH drops too low, these cheeses can become grainy and develop an undesirably tangy taste.
Stretched-Curd Cheeses
Mozzarella and other pasta filata cheeses require very specific pH control for proper stretching. The ideal pH range is 5.0-5.4 at the stretching stage. At pH 5.2, the protein structure is perfect for creating that characteristic stretch and smooth texture. Too high (above 5.5), and the cheese won’t stretch properly, remaining crumbly. Too low (below 4.9), and the cheese becomes overly soft and may develop a sour taste.
Semi-Hard and Hard Cheeses
Cheddar, Gouda, and similar semi-hard cheeses typically target pH 5.1-5.3 at the pressing stage. This moderate acidity helps develop their characteristic firm but sliceable texture and balanced flavor. The pH continues to drop slightly during aging, eventually stabilizing around 4.9-5.2 in the finished product.
Blue and Surface-Ripened Cheeses
These specialized cheeses often require higher pH levels (5.5-6.5) to allow mold growth on or within the cheese. The specific molds used in production require less acidic environments to colonize and develop their distinctive flavors and appearances.
Common Mistakes and How to Avoid Them
Even experienced cheese makers can fall into certain pitfalls when working with pH meters. Being aware of these common errors will help you maintain accuracy and avoid frustrating results.
Skipping or Improper Calibration
This is by far the most common mistake. Some cheese makers calibrate only once when they first receive their meter, or they rush through calibration without allowing proper stabilization time. Always calibrate before important measurements, use fresh buffer solutions (they degrade over time), and never reuse buffer solutions—pour them into a separate container rather than dipping the electrode directly into the buffer bottle.
Ignoring Temperature Effects
pH varies with temperature, and electrode response also changes with temperature. While automatic temperature compensation helps, it cannot fully correct for measurements taken at extreme temperatures. Always allow samples to reach a moderate temperature before measuring. Never measure boiling or near-freezing samples, as this can permanently damage your electrode.
Inadequate Sample Mixing
pH can vary significantly within a batch of cheese, especially in larger vessels or during the early stages of acidification. Always stir liquid samples thoroughly and take curd samples from the center of the mass rather than the surface. For the most accurate representation, some cheese makers measure multiple points and average the results.
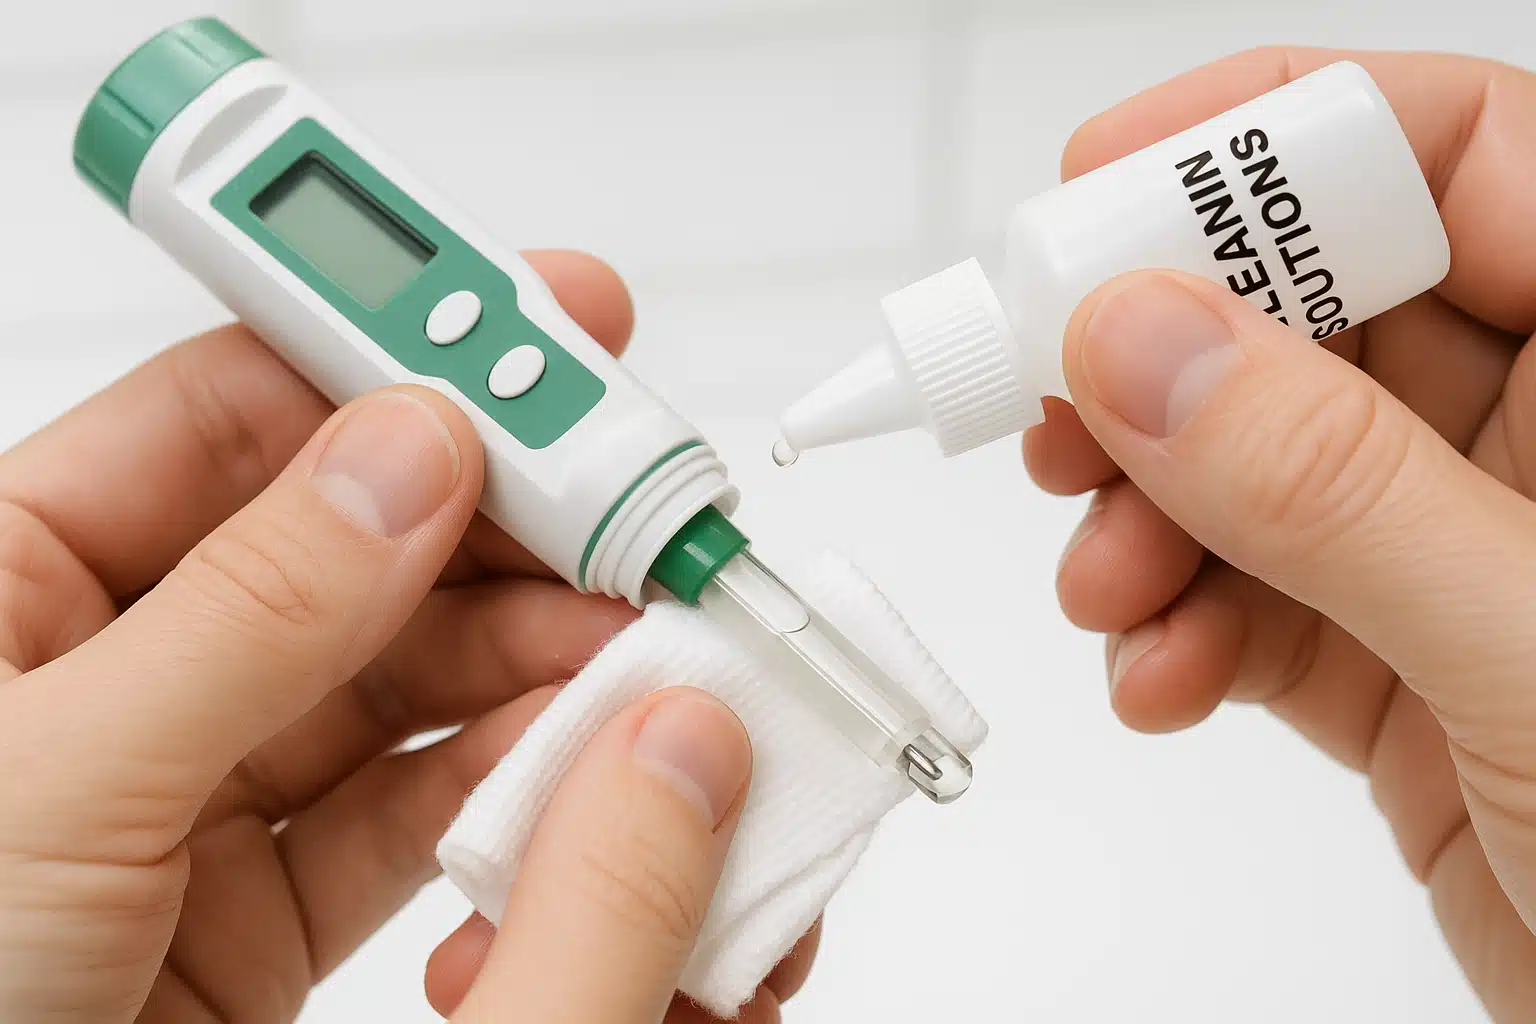
Poor Electrode Maintenance
The electrode is the most delicate and critical component of your pH meter. After each use, rinse it thoroughly with distilled water and store it in proper storage solution (not distilled water, which can damage the electrode). Never allow the electrode to dry out completely, as this degrades the special glass membrane. Clean electrodes periodically with specialized cleaning solutions designed for dairy proteins, as milk residues can coat the sensing surface and cause drift.
Measuring at the Wrong Time
Each cheese variety has critical points during production when pH should be measured. Measuring too early or too late can lead to misinterpretation of where you are in the process. Develop a standardized routine for your specific cheese varieties, noting exactly when measurements should be taken relative to other production steps.
Troubleshooting pH-Related Cheese Problems
Understanding the relationship between pH and common cheese defects allows you to diagnose problems and implement corrections in future batches.
Texture Issues
Crumbly, dry cheese: Often indicates pH dropped too low too quickly. The excessive acidity causes proteins to expel moisture and bind too tightly. Solutions include using less starter culture, reducing incubation temperature, or cutting curds at a higher pH.
Soft, pasty texture: May indicate insufficient acid development (pH too high). The protein matrix hasn’t formed properly, resulting in weak structure. Ensure your starter cultures are active and viable, increase incubation time, or raise incubation temperature slightly.
Grainy texture in soft cheese: Results from pH dropping too low during production, causing protein coagulation that creates graininess. Monitor pH carefully during acid development and cool the cheese before reaching excessively low values.
Flavor Defects
Excessive sourness or tang: Direct result of pH dropping too low. Review your acidification rate and timing. Consider using less starter culture or shorter incubation periods.
Bland, flavorless cheese: Indicates insufficient acid development. Ensure starter cultures are fresh and active, increase the amount of culture used, or extend the ripening time before cutting curds.
Preservation Problems
Early spoilage or mold growth: May indicate pH remained too high, failing to create an environment that inhibits spoilage organisms. Verify your pH meter is properly calibrated and ensure acid development proceeds to appropriate levels before pressing or storing.
Maintaining Your pH Meter for Long-Term Accuracy
A quality pH meter represents a significant investment in your cheese-making operation. Proper maintenance ensures years of reliable service and accurate measurements.
Daily Care Routine
After each use, rinse the electrode thoroughly with distilled water to remove all cheese, milk, or whey residues. Pat dry gently and immediately place the electrode in storage solution. Never leave the electrode exposed to air for extended periods, as the sensing membrane must remain hydrated to function properly.
Weekly Deep Cleaning
For cheese makers working with dairy products regularly, weekly cleaning with a specialized electrode cleaning solution removes protein buildup that standard rinsing cannot eliminate. Follow the cleaning solution manufacturer’s instructions, typically involving soaking the electrode for 10-15 minutes, then rinsing thoroughly and re-calibrating before next use.
Electrode Replacement
Even with excellent care, electrodes gradually degrade and eventually require replacement. Signs that your electrode needs replacement include: inability to calibrate properly, excessively slow response time, unstable readings that drift continuously, or calibration slopes below 90% or above 110%. Most electrodes last 6-24 months depending on frequency of use and maintenance quality.
Advanced pH Monitoring Techniques
As your cheese-making skills develop, you may want to implement more sophisticated pH monitoring approaches to further refine your results and maintain consistency across batches.
pH Profiling
Rather than measuring pH at only one or two critical points, advanced cheese makers create complete pH profiles by measuring at regular intervals throughout production. Plotting these measurements on a graph reveals the rate of acidification and helps identify exactly when pH reaches target values. This approach is particularly valuable when developing new recipes or troubleshooting inconsistent results.
Record Keeping and Analysis
Maintaining detailed records of pH measurements alongside notes about final cheese quality creates a valuable reference database. Over time, you’ll identify correlations between specific pH values at various production stages and desirable characteristics in your finished cheese. This data-driven approach allows continuous improvement and helps train others in your operation.
Environmental Factors
Experienced cheese makers recognize that factors such as milk quality, seasonal variations, starter culture batch differences, and room temperature all affect acidification rates. By tracking pH alongside these variables, you can make predictive adjustments before problems occur rather than reacting to issues after they develop.
Conclusion: Precision Creates Perfection
Mastering pH measurement transforms cheese making from an uncertain art into a reliable, repeatable science without sacrificing any of the craft’s creative satisfaction. A pH meter provides the objective data you need to understand what’s happening inside your cheese at the molecular level, empowering you to make informed decisions that consistently produce exceptional results.
While the initial investment in a quality pH meter and the learning curve involved in proper technique may seem daunting, the improvements in cheese quality, consistency, and yield quickly justify the effort. Whether you’re a home cheese-making enthusiast striving to perfect your craft or a small-scale producer building a reputation for quality, precise pH control is the foundation upon which excellence is built.
By following the guidelines in this comprehensive guide—from proper calibration and measurement techniques to understanding target ranges for different cheese varieties and maintaining your equipment—you’ll gain the confidence and capability to create perfect cheese every single time. The days of mysterious texture problems, unexpected flavors, and inconsistent results will become a thing of the past as you harness the power of accurate pH measurement in your cheese-making practice.