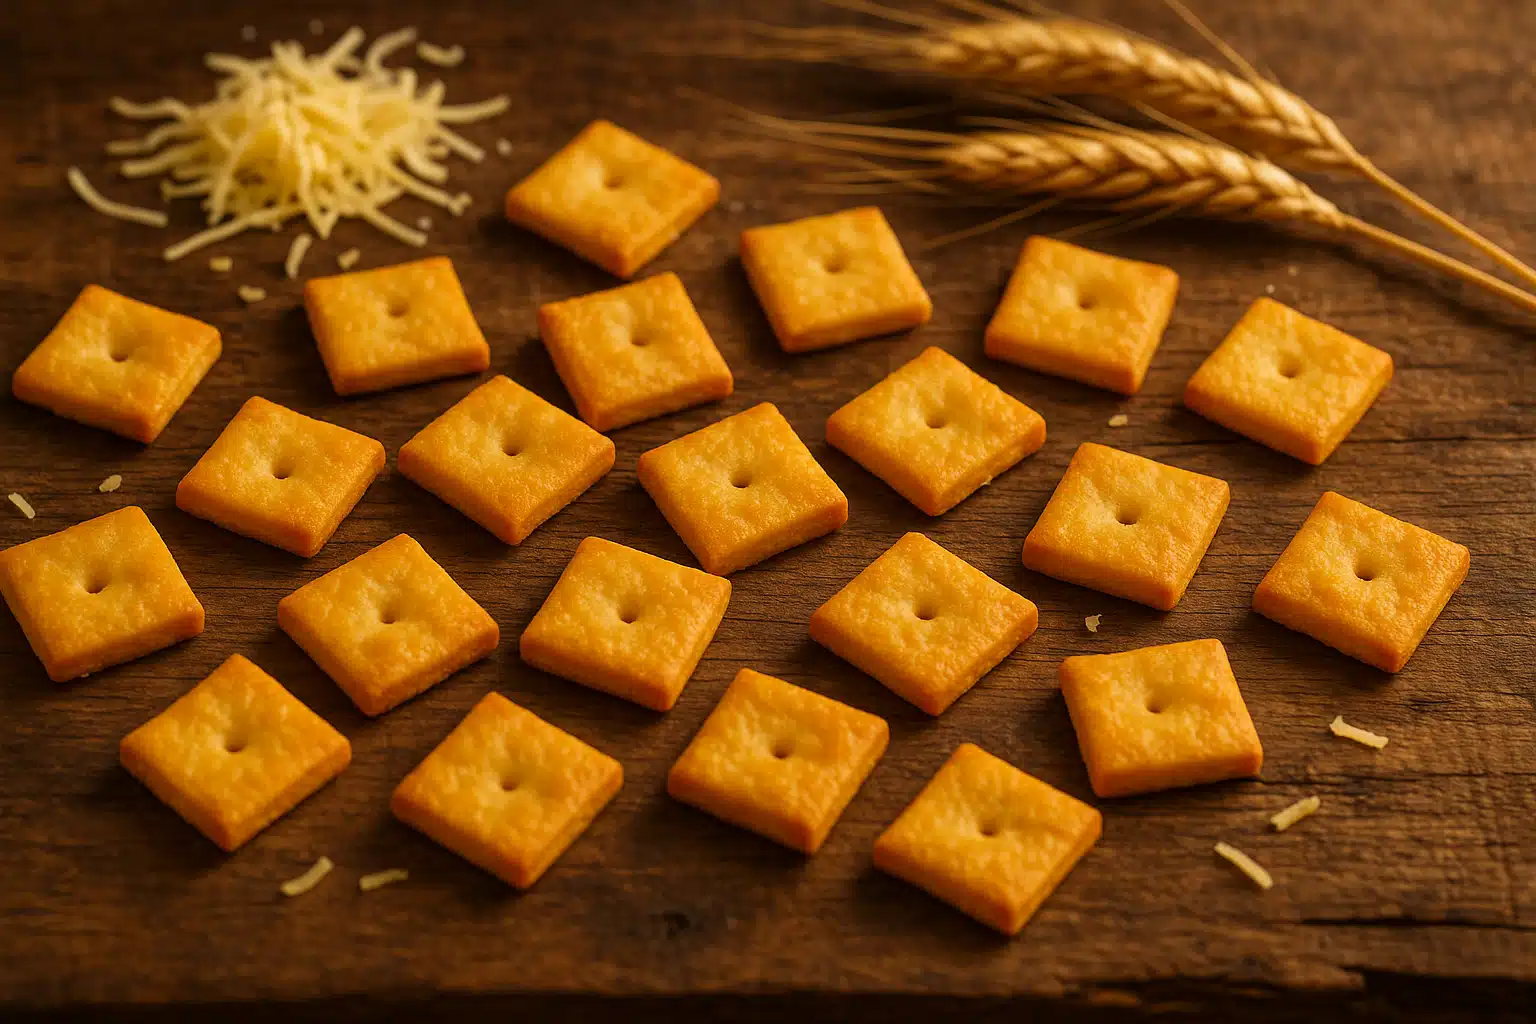
Why Make Homemade Cheese Crackers?
Creating cheese crackers at home offers numerous advantages over purchasing commercial alternatives. When you prepare these snacks in your own kitchen, you maintain complete control over every ingredient that goes into them. This means you can select high-quality, fresh components and avoid artificial preservatives, colorants, and flavor enhancers commonly found in mass-produced snacks.
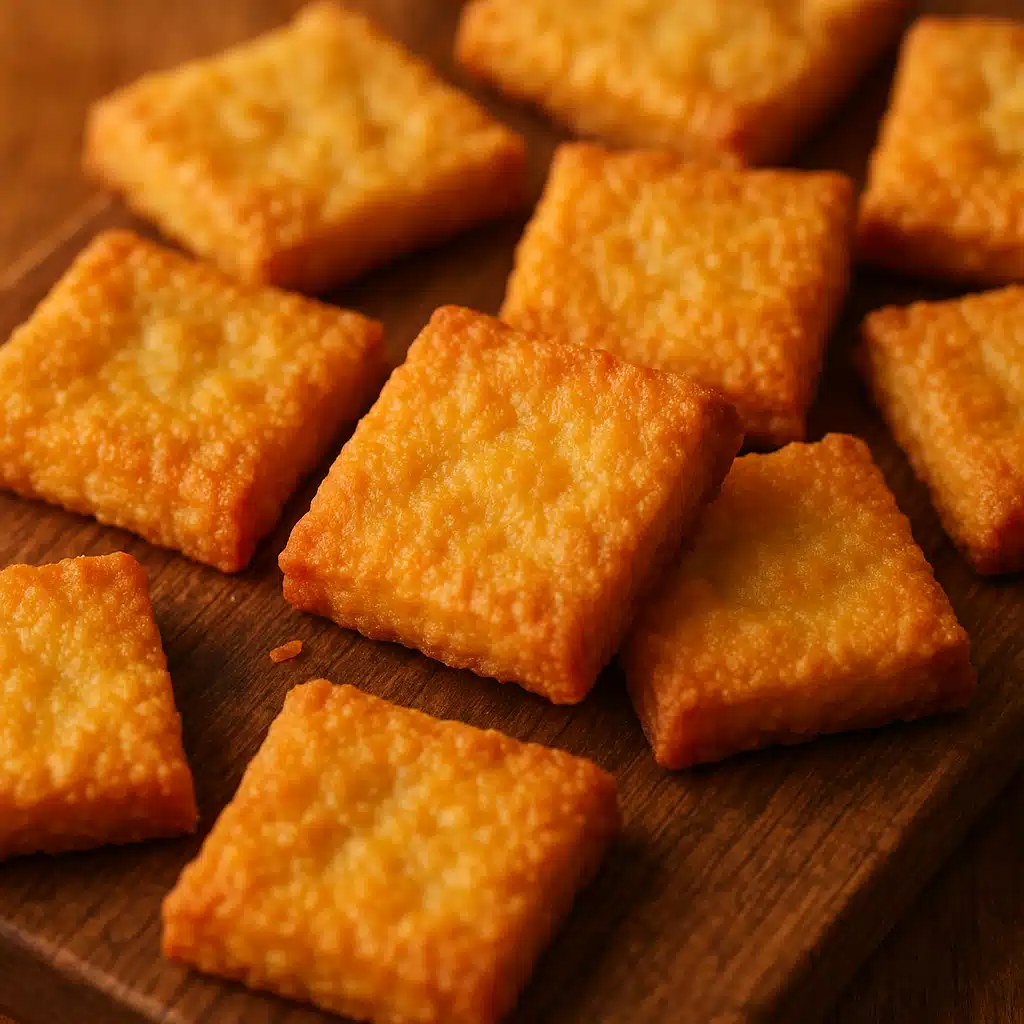
Homemade cheese crackers deliver an authentic, rich flavor that comes from using real cheese rather than processed cheese powders or flavorings. The texture is crispier, the taste is more pronounced, and the overall snacking experience becomes significantly more satisfying. Additionally, making these crackers can be an enjoyable culinary activity for individuals, families, or anyone who appreciates hands-on food preparation.
Whether you’re seeking a healthier snacking option, looking to accommodate dietary preferences, or simply want to experience the satisfaction of creating something delicious from scratch, homemade cheese crackers are an excellent choice that rewards your effort with exceptional taste and quality.
Essential Ingredients for Cheese Crackers
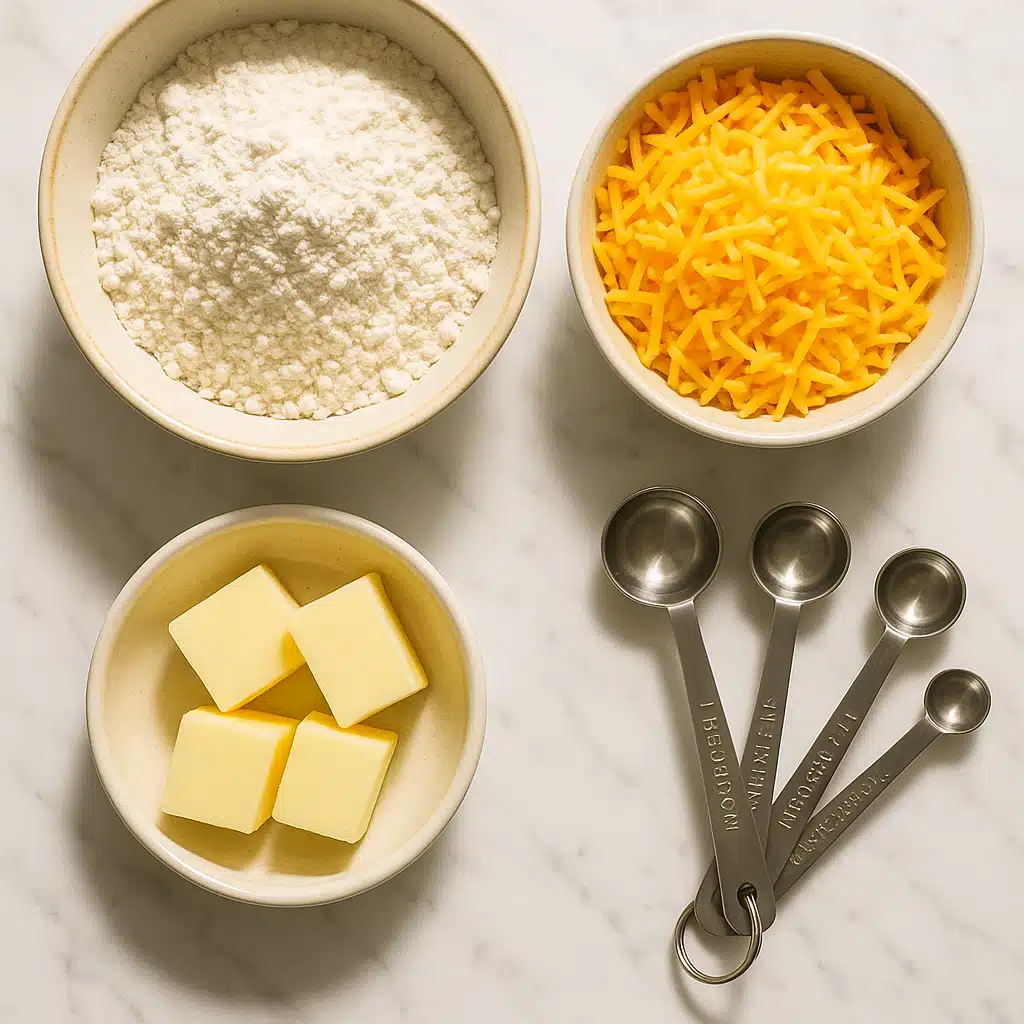
The beauty of homemade cheese crackers lies in their simplicity. You need only a handful of basic ingredients that are readily available in most kitchens or easily obtainable from any grocery store worldwide. Here’s what you’ll need to create your batch of delicious, crispy cheese crackers:
- All-purpose flour (1 cup / 120g): Forms the structural base of your crackers. You can substitute with whole wheat flour for added nutrition or gluten-free flour blends if needed.
- Salt (½ teaspoon): Enhances the overall flavor and balances the richness of the cheese.
- Garlic powder (½ teaspoon, optional): Adds depth and a subtle savory note to complement the cheese.
- Shredded cheese (½ cup / 50g): The star ingredient. Cheddar is classic, but any hard or semi-hard cheese works beautifully.
- Unsalted butter (2 tablespoons / 30g), softened: Contributes richness and helps create the perfect crumbly texture.
- Cold water or fermented starter (2-4 tablespoons): Brings the dough together. Using a fermented starter adds complexity and a subtle tangy flavor.
These ingredients combine to create a dough that’s easy to work with and bakes into perfectly crispy, flavorful crackers that rival any commercial product.
Step-by-Step Preparation Guide
Making cheese crackers from scratch is straightforward and doesn’t require advanced baking skills. Follow these detailed steps to achieve perfect results every time:
Step 1: Combine Your Dry Ingredients
In a medium-sized mixing bowl, whisk together the flour, salt, and garlic powder (if using). This ensures even distribution of the seasonings throughout your dough and prevents pockets of concentrated flavor.
Step 2: Incorporate Cheese and Butter
Add the shredded cheese and softened butter to your dry ingredients. Using your fingertips or a pastry cutter, work these ingredients together until the mixture resembles coarse breadcrumbs. The butter should be evenly distributed, and the cheese should be well incorporated throughout. This process typically takes 2-3 minutes of mixing.
Step 3: Add Liquid and Form the Dough
Gradually add your liquid—whether cold water or fermented starter—one tablespoon at a time. Mix with a fork or your hands until the dough comes together into a cohesive ball. The dough should be firm and slightly pliable, not sticky or dry. If it feels too dry, add a bit more liquid; if too wet, incorporate a small amount of additional flour.
Step 4: Roll Out the Dough
Lightly flour your work surface and rolling pin. Place your dough on the surface and roll it out to approximately 3-4mm (⅛ inch) thickness. For extra-crispy crackers, roll even thinner. The thinner you roll, the crispier your final product will be. Aim for uniform thickness to ensure even baking.
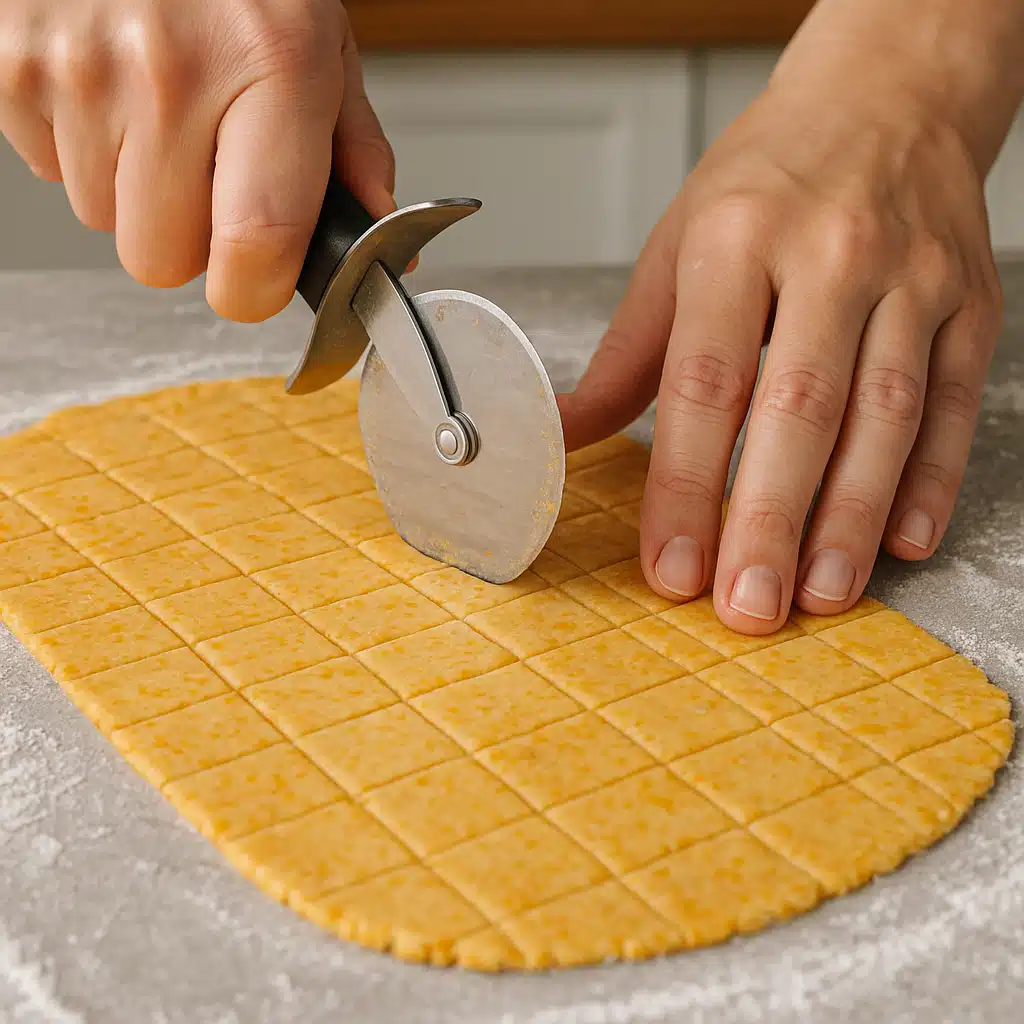
Step 5: Cut into Individual Crackers
Using a sharp knife, pizza cutter, or pastry wheel, cut the rolled dough into small squares, approximately 2.5cm (1 inch) on each side. You can also use small cookie cutters for fun shapes. For an authentic touch, use a toothpick or skewer to poke a small hole in the center of each cracker—this isn’t just decorative; it helps prevent excessive puffing during baking.
Step 6: Bake to Golden Perfection
Preheat your oven to 175°C (350°F). Line a baking sheet with parchment paper or a silicone baking mat. Arrange your cut crackers on the prepared sheet, leaving small spaces between them—they won’t spread much, so they can be relatively close. Bake for 15-20 minutes, checking frequently toward the end. The crackers are ready when they turn golden brown around the edges and feel firm to the touch.
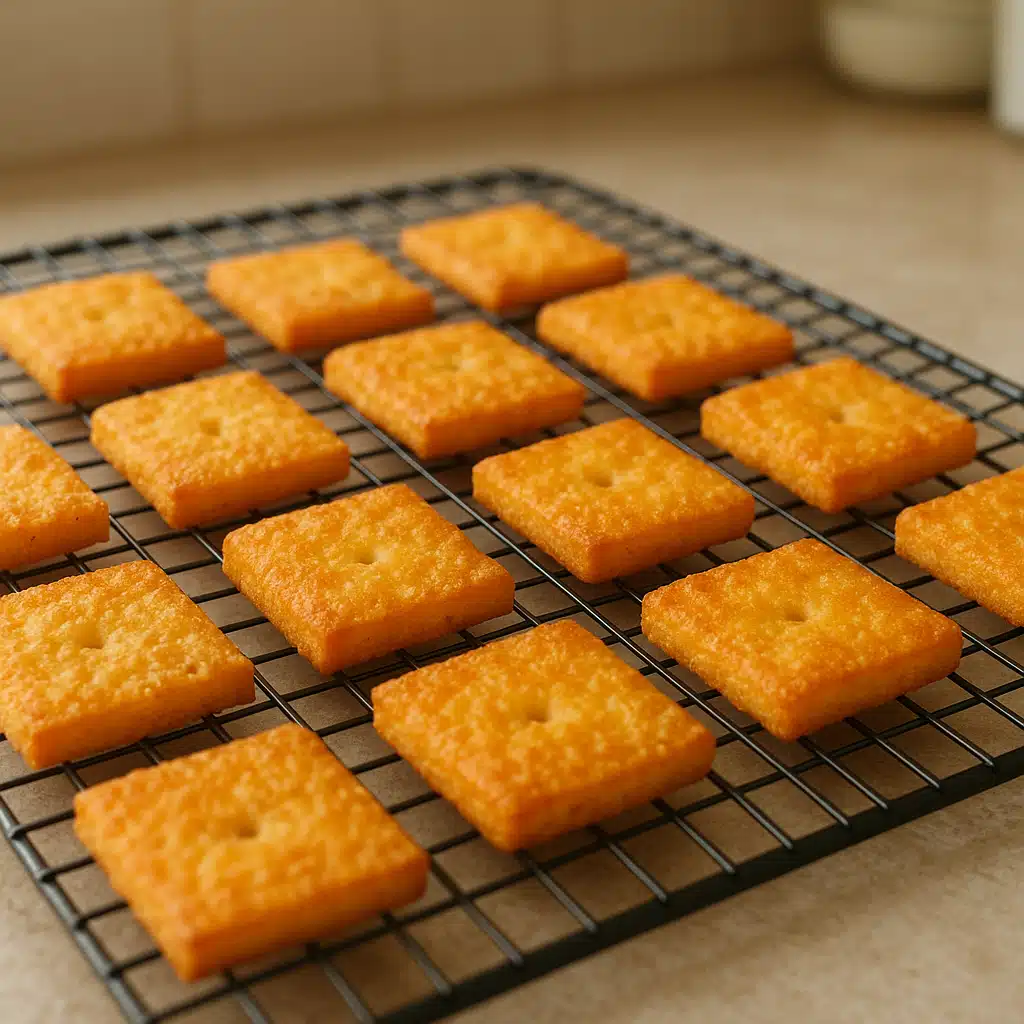
Step 7: Cool and Store
Remove the crackers from the oven and allow them to cool completely on the baking sheet or a wire rack. They will continue to crisp up as they cool. Once completely cool, transfer them to an airtight container where they’ll stay fresh and crunchy for up to two weeks.
Expert Tips for Perfect Cheese Crackers
Achieving bakery-quality cheese crackers at home becomes easier when you know a few insider tricks. Here are expert recommendations to elevate your cracker-making skills:
Experiment with Different Cheeses
While cheddar is traditional and delicious, the world of cheese offers endless possibilities. Aged parmesan creates intensely flavored, nutty crackers. Gruyere adds sophisticated complexity. Smoked cheeses introduce an intriguing dimension. You can even combine multiple cheeses for a custom flavor profile. Choose hard or semi-hard cheeses that grate easily and have relatively low moisture content for the best texture.
Monitor Baking Time Carefully
Ovens vary significantly in their actual temperature and heat distribution. What takes 15 minutes in one oven might require 20 in another. Start checking your crackers at the 12-minute mark, then every minute or two thereafter. Look for golden edges and a firm appearance. Remember that they’ll crisp further as they cool, so slightly underdone is better than overdone.
Proper Storage Maintains Crispness
The enemy of crispy crackers is moisture. Store your homemade cheese crackers in an airtight container at room temperature. Glass jars with tight-sealing lids, plastic containers with secure closures, or resealable bags all work well. Avoid refrigeration, which can introduce moisture and make crackers soft. If your crackers do lose their crunch, you can refresh them by placing them in a low oven (150°C/300°F) for 5-7 minutes.
Customize Your Seasoning
The basic recipe is just a starting point. Consider adding dried herbs like rosemary, thyme, or oregano. Smoked paprika creates a subtle smoky flavor. A pinch of cayenne pepper or red pepper flakes adds heat. Black pepper, onion powder, or dried mustard powder are all excellent additions. Start with small amounts and adjust to your taste preferences.
Achieve Uniform Thickness
For crackers that bake evenly, maintaining consistent dough thickness is crucial. Professional bakers use rolling pin guides—rubber bands or specialized rings that attach to the ends of the rolling pin to ensure uniform height. Alternatively, you can place rulers or wooden dowels of equal height on either side of your dough as guides.
Frequently Asked Questions
As you embark on your cheese cracker-making journey, you may encounter questions. Here are answers to the most common queries:
Can I Use Alternative Flours?
Absolutely. Whole wheat flour creates a nuttier, heartier cracker with added fiber. Almond flour produces a grain-free option with a slightly different texture—more tender and less crispy. Gluten-free flour blends work well, though you may need to adjust the liquid slightly as different flours absorb moisture differently. Rice flour creates an especially crispy result. Experiment to find your preferred combination.
What If I Don’t Have Fermented Starter?
Plain cold water works perfectly well and is the simplest option. If you’d like to approximate the tangy complexity that fermented starter provides, add a small amount of acid to your water—a teaspoon of apple cider vinegar, white vinegar, or fresh lemon juice mixed into your water creates a similar effect. Greek yogurt or buttermilk (thinned slightly with water) are also excellent alternatives.
How Can I Make Spicier Crackers?
For heat lovers, several options exist. Mix cayenne pepper or red pepper flakes directly into your dry ingredients—start with ¼ teaspoon and increase to taste. Hot paprika adds both color and heat. For an extra kick, brush your rolled dough with hot sauce before cutting and baking. You can also experiment with adding finely minced jalapeños or other fresh peppers to the dough, though this adds moisture and may require slightly longer baking time.
Can I Make the Dough in Advance?
Yes, this recipe is very convenient for advance preparation. Wrap your prepared dough tightly in plastic wrap and refrigerate for up to three days. The dough can also be frozen for up to three months—thaw it in the refrigerator overnight before using. Cold dough is actually easier to roll thin and cut cleanly, so making it ahead can be advantageous.
Why Did My Crackers Puff Up Instead of Staying Flat?
Excessive puffing usually occurs when steam builds up inside the dough during baking. This is why poking holes (called docking) in each cracker is recommended—it allows steam to escape. If you forgot this step or didn’t poke deep enough, your crackers may puff. While they’ll still taste delicious, they won’t have that classic flat cracker appearance. For your next batch, ensure you dock each piece thoroughly.
Nutritional Considerations and Dietary Adaptations
One of the greatest advantages of making cheese crackers at home is the ability to adapt the recipe to suit various dietary needs and nutritional goals. Understanding the basic nutritional profile and knowing how to modify it empowers you to create snacks that align with your specific requirements.
A typical serving of homemade cheese crackers (approximately 30g or a small handful) contains roughly 150-180 calories, 8-10g of fat, 15-17g of carbohydrates, and 5-6g of protein. These numbers vary based on the specific ingredients and proportions you use. Compared to many commercial snacks, homemade versions typically contain less sodium, no artificial additives, and higher quality fats from real butter and cheese.
Lower-Fat Variations
To reduce fat content, use reduced-fat cheese and replace some or all of the butter with Greek yogurt or unsweetened applesauce. While this changes the texture slightly—making crackers slightly less rich and crispy—the result is still delicious and significantly lower in calories and fat.
Higher-Protein Options
Boost protein by incorporating protein powder into your flour mixture (replace up to ¼ of the flour with unflavored or cheese-flavored protein powder) or by using high-protein cheeses like parmesan. Adding nutritional yeast also increases protein while contributing a cheesy, savory flavor.
Vegan Adaptations
Create plant-based cheese crackers using vegan cheese alternatives and replacing butter with plant-based margarine or coconut oil. Nutritional yeast is essential in vegan versions, providing cheesy flavor along with B vitamins. The texture and taste will differ from traditional cheese crackers but can be equally satisfying.
Low-Carb and Keto-Friendly Versions
For those following low-carbohydrate diets, replace the all-purpose flour with almond flour, coconut flour, or a combination of both. Increase the cheese ratio and add an egg to help bind the ingredients. These adaptations create crackers that fit within ketogenic macronutrient guidelines while maintaining satisfying crunch and flavor.
Serving Suggestions and Pairing Ideas
Homemade cheese crackers are incredibly versatile and can be enjoyed in numerous ways beyond simple snacking. Here are creative serving suggestions that will help you get the most enjoyment from your homemade creation:
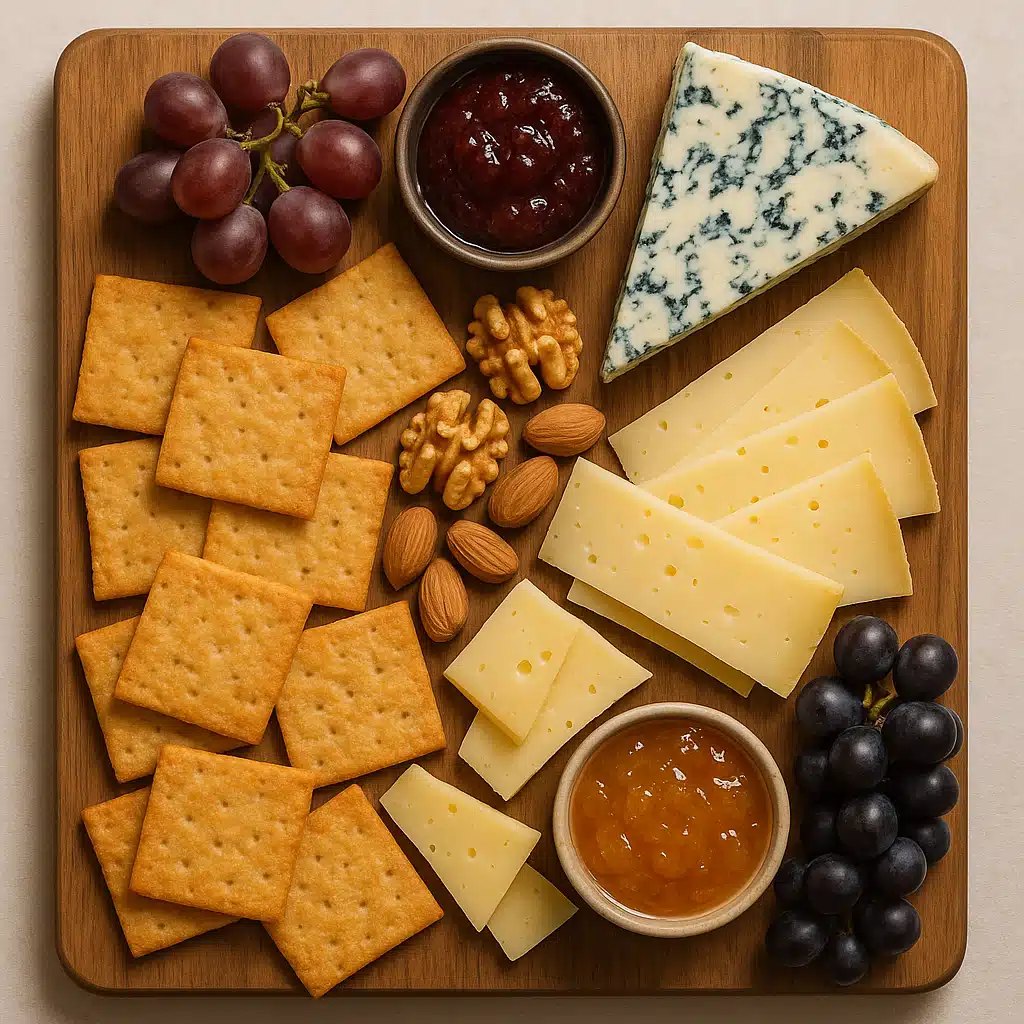
As Part of a Cheese Board
Arrange your crackers alongside various cheeses, fresh and dried fruits, nuts, olives, and preserves to create an impressive appetizer spread. The homemade crackers will be a conversation starter and complement both mild and strong cheeses beautifully.
With Dips and Spreads
Cheese crackers pair excellently with hummus, guacamole, salsa, cream cheese-based dips, bean dips, or vegetable spreads. Their sturdy texture makes them ideal vehicles for thicker dips that might break more delicate crackers.
In Soups and Salads
Crumble cheese crackers over soups as a flavorful, crunchy topping that adds texture and richness. They also work well as crouton alternatives in salads, particularly those with bold dressings that can stand up to the cheese flavor.
For Children’s Snacks and Lunchboxes
Homemade cheese crackers make excellent additions to packed lunches or after-school snacks. You can feel confident about the quality of ingredients while children enjoy a treat that tastes similar to commercial favorites. Consider cutting them into fun shapes to make them even more appealing to younger eaters.
As Gifts
Package your homemade crackers in decorative tins, jars, or cellophane bags tied with ribbon to create thoughtful, edible gifts. Include a card with the ingredients list and storage instructions. Homemade food gifts are always appreciated for their personal touch and quality.
Troubleshooting Common Issues
Even experienced bakers occasionally encounter challenges. Here’s how to address the most common problems that may arise when making cheese crackers:
Dough Is Too Crumbly and Won’t Come Together
This indicates insufficient liquid. Add water or your chosen liquid one teaspoon at a time, mixing thoroughly between additions until the dough forms a cohesive ball. Be patient—sometimes it just needs a bit more mixing for the moisture to distribute evenly.
Dough Is Too Sticky to Roll
Too much liquid is the culprit here. Incorporate additional flour, one tablespoon at a time, kneading it in until the dough reaches the right consistency. Alternatively, refrigerate the dough for 20-30 minutes—cold dough is firmer and easier to handle.
Crackers Are Soft Instead of Crispy
Several factors can cause this. The dough may have been rolled too thick—aim for thinner next time. The crackers might not have baked long enough—return them to the oven for a few more minutes. They could also have absorbed moisture from the air—ensure they’re completely cool before storing and use truly airtight containers.
Crackers Burned on the Edges But Are Undercooked in the Center
This suggests uneven thickness when rolling. Take extra care to roll the dough uniformly. It may also indicate your oven has hot spots—rotate the baking sheet halfway through baking time to promote even browning.
Crackers Have a Bland Flavor
Don’t be shy with seasonings. Salt is essential for bringing out the cheese flavor—you may need more than you think. Make sure your cheese is flavorful; mild or old cheese that has lost its punch won’t create tasty crackers. Consider adding additional seasonings like garlic powder, onion powder, or paprika.
The Environmental and Economic Benefits
Beyond taste and health considerations, making cheese crackers at home offers meaningful environmental and economic advantages worth considering.
Reduced Packaging Waste
Commercial crackers come in multiple layers of packaging—outer boxes, inner plastic sleeves, sometimes individual portion packs. By making your own, you eliminate all this single-use packaging. Store your crackers in reusable containers, significantly reducing your household waste footprint.
Cost Effectiveness
While the initial ingredient costs seem comparable to buying a box of crackers, the yield from homemade batches typically far exceeds what you’d get commercially for the same price. A single recipe using approximately two dollars worth of ingredients can produce the equivalent of three or four boxes of store-bought crackers, representing substantial savings over time.
Food Miles and Carbon Footprint
Commercial snacks often travel hundreds or thousands of miles from manufacturing facilities to distribution centers to stores before reaching your home. The ingredients you use to make crackers yourself—especially if you choose locally-sourced flour, butter, and cheese—have traveled much shorter distances, reducing the carbon footprint associated with your snack.
Supporting Local Producers
When you purchase ingredients from local farmers markets or regional producers, you support your local economy and agricultural community. This creates positive ripple effects that extend far beyond your kitchen.
Scaling Up Production
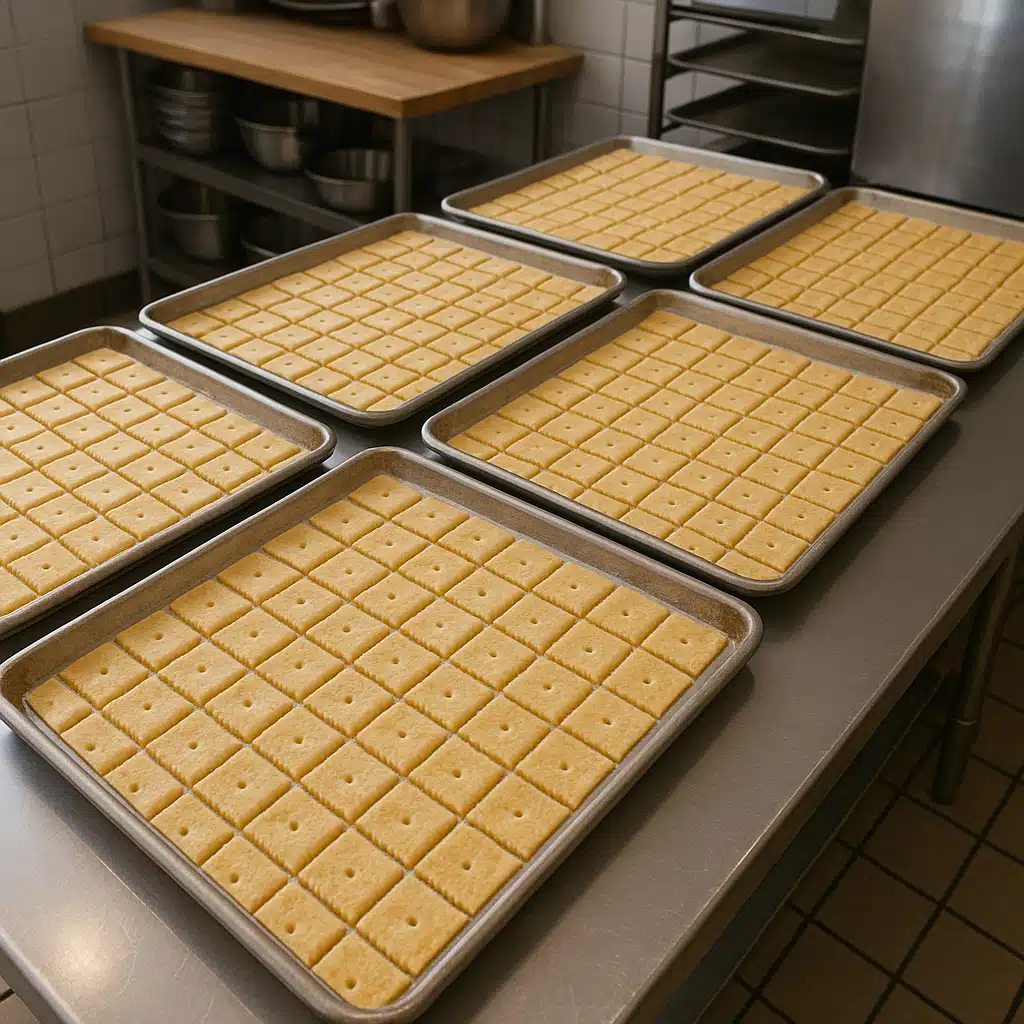
Once you’ve mastered the basic recipe, you might want to make larger batches—whether for parties, gifts, or simply to have plenty on hand. Here’s how to scale up successfully:
The recipe doubles and triples easily. Simply multiply all ingredients proportionally. When making multiple batches, consider preparing the dough in separate bowls rather than one enormous batch, which can be difficult to mix thoroughly and roll out evenly.
For very large quantities, a food processor makes the job significantly easier. Pulse the dry ingredients, cheese, and butter together until crumbly, then add liquid while pulsing until the dough just comes together. Be careful not to overprocess, which can make the dough tough.
When baking multiple sheets, rotate their positions in the oven (switching racks and turning front to back) halfway through baking to ensure even cooking. You may need to bake in multiple batches unless you have a large oven that can accommodate several sheets at once with adequate air circulation.
Properly stored homemade cheese crackers remain fresh for about two weeks, so you can comfortably make several batches over a weekend to have snacks available for an extended period.
Conclusion: The Joy of Homemade Snacks
Creating cheese crackers in your own kitchen transforms a simple snacking moment into something more meaningful. You gain control over ingredients, ensuring quality and freshness while avoiding unnecessary additives. You can customize flavors to match your preferences perfectly, experiment with different variations, and create something that truly can’t be purchased in any store.
The process itself offers satisfaction that extends beyond the eating—there’s genuine pleasure in working with dough, cutting perfect squares, watching them transform in the oven, and knowing you created something delicious entirely from scratch. Whether you’re an experienced baker or someone just beginning to explore homemade alternatives to commercial products, cheese crackers are an accessible, rewarding project with delicious results.
These crackers work for casual everyday snacking, elegant entertaining, thoughtful gift-giving, and everything in between. They accommodate dietary modifications, scale easily for larger needs, and cost less than commercial equivalents while delivering superior taste and quality.
So gather your ingredients, preheat your oven, and discover the simple pleasure of homemade cheese crackers. Your taste buds—and everyone you share them with—will appreciate the effort, and you’ll wonder why you ever settled for store-bought versions. Happy baking!