Build Your Own DIY Cheese Press for Home Cheese Making
Making artisanal cheese at home is a rewarding culinary journey that connects you with traditional food craftsmanship. One essential tool that can elevate your cheese-making experience is a cheese press. The good news? You don’t need to invest in expensive commercial equipment. With basic materials and minimal budget, you can build a functional “Dutch” or “Weight” style cheese press that delivers professional results. This comprehensive guide will walk you through everything you need to know about building and using your own cheese press, opening up a world of homemade cheese possibilities.
Understanding the Role of a Cheese Press
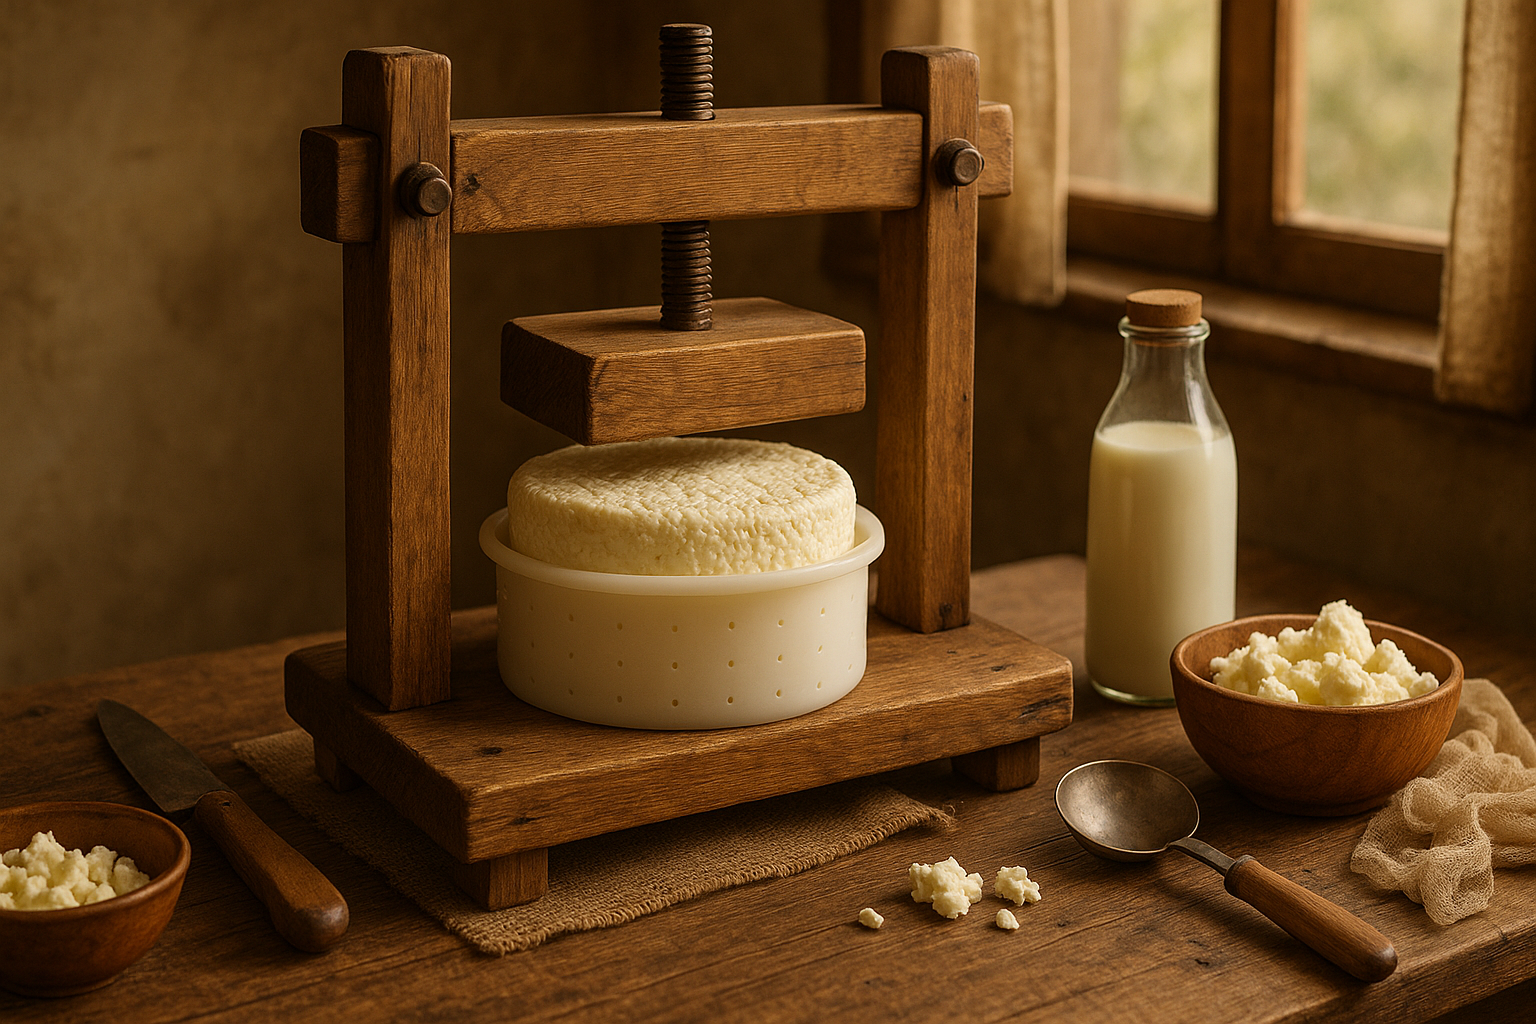
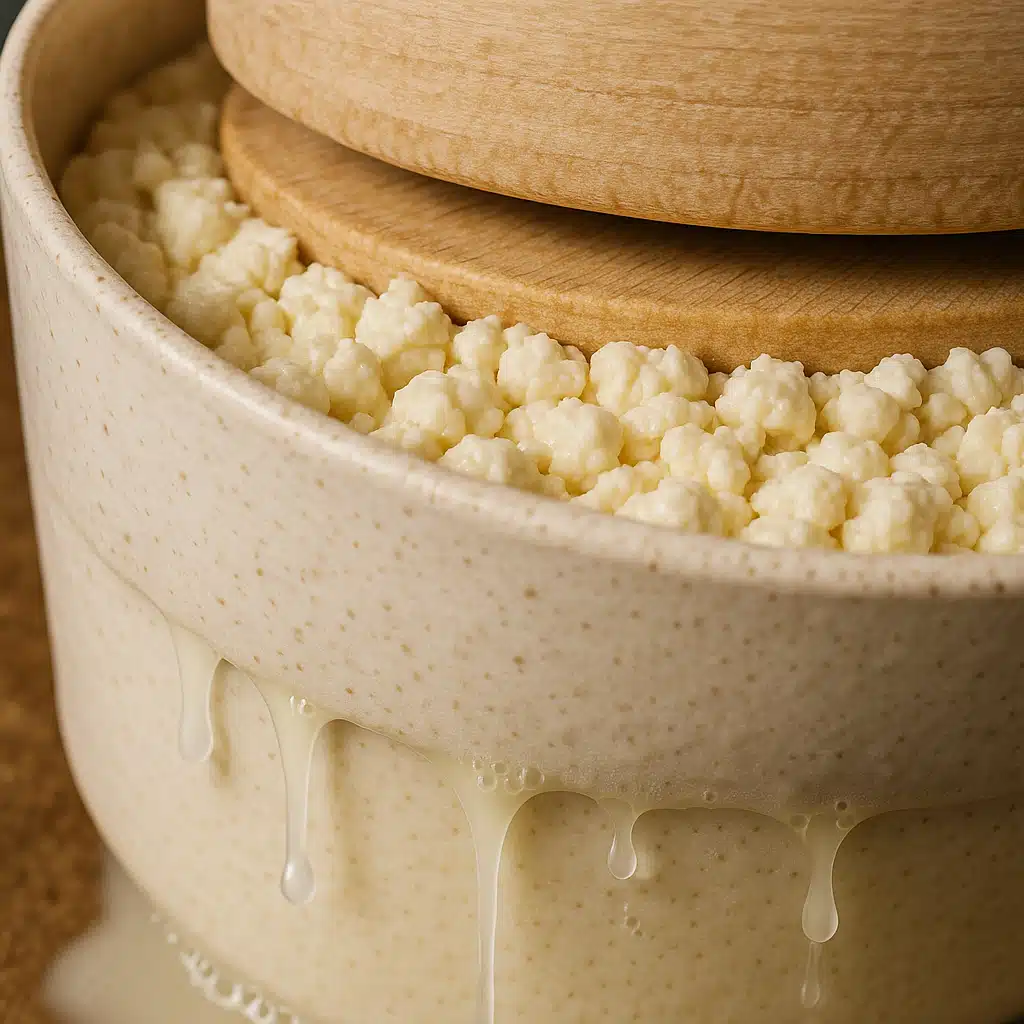
A cheese press is far more than a simple kitchen gadget—it’s a fundamental tool that transforms soft curds into firm, aged-worthy cheese. The pressing process serves multiple critical functions in cheese making. First, it expels excess whey (liquid) from the curds, which is essential for creating the proper moisture content. Second, it compresses the curds together, creating a solid mass with the desired texture and density. Third, it helps shape your cheese into uniform forms that age evenly and look professionally crafted.
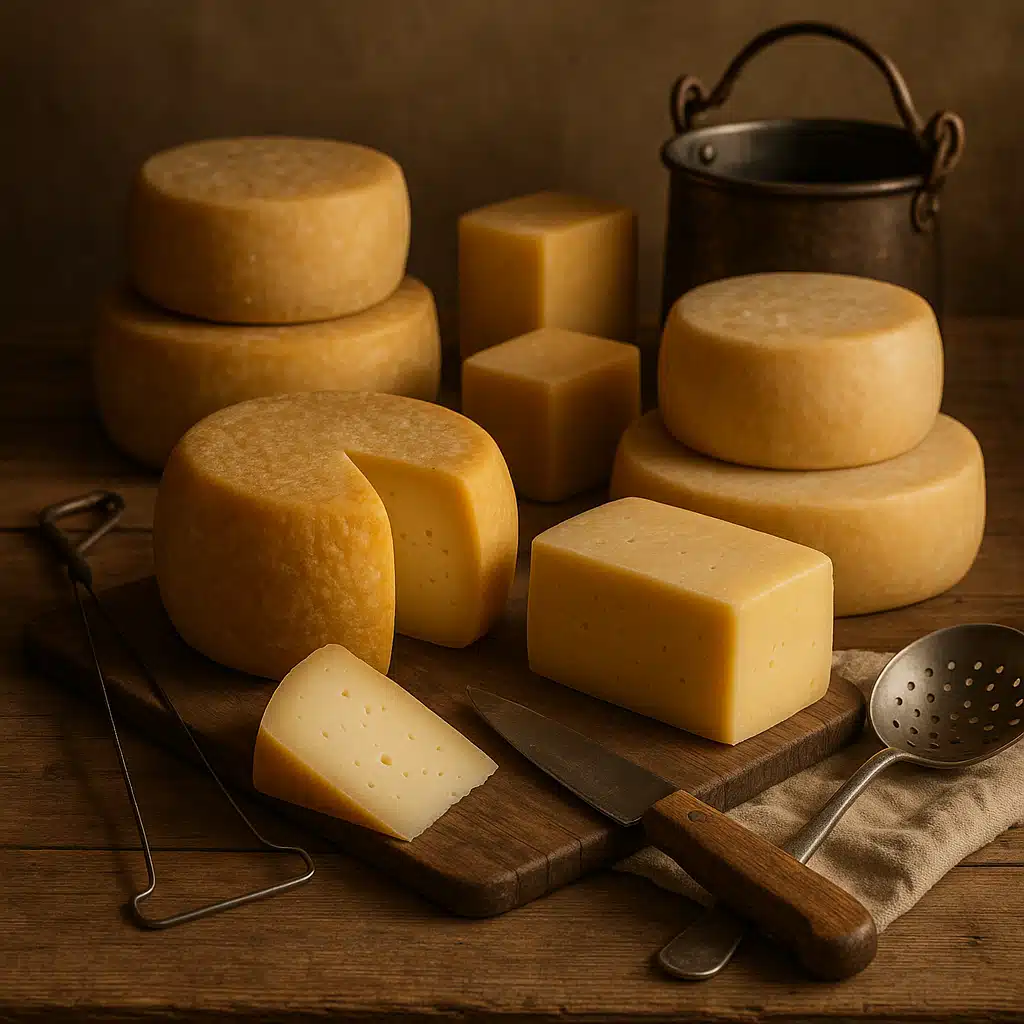
Different cheese varieties require different pressing pressures and durations. Soft cheeses like feta require minimal or no pressing, while semi-hard cheeses like Gouda need moderate pressure for several hours. Hard cheeses such as Cheddar or Parmesan require substantial pressure applied over extended periods, sometimes up to 24 hours or more. The pressing stage directly influences the final texture, aging potential, and flavor development of your cheese.
Without proper pressing equipment, achieving consistent results becomes extremely difficult. Improvised methods often result in unevenly pressed cheese with pockets of whey that can lead to texture problems and shortened shelf life. A well-designed press applies even, consistent pressure across the entire cheese surface, ensuring professional-quality results every time.
Materials and Tools Required
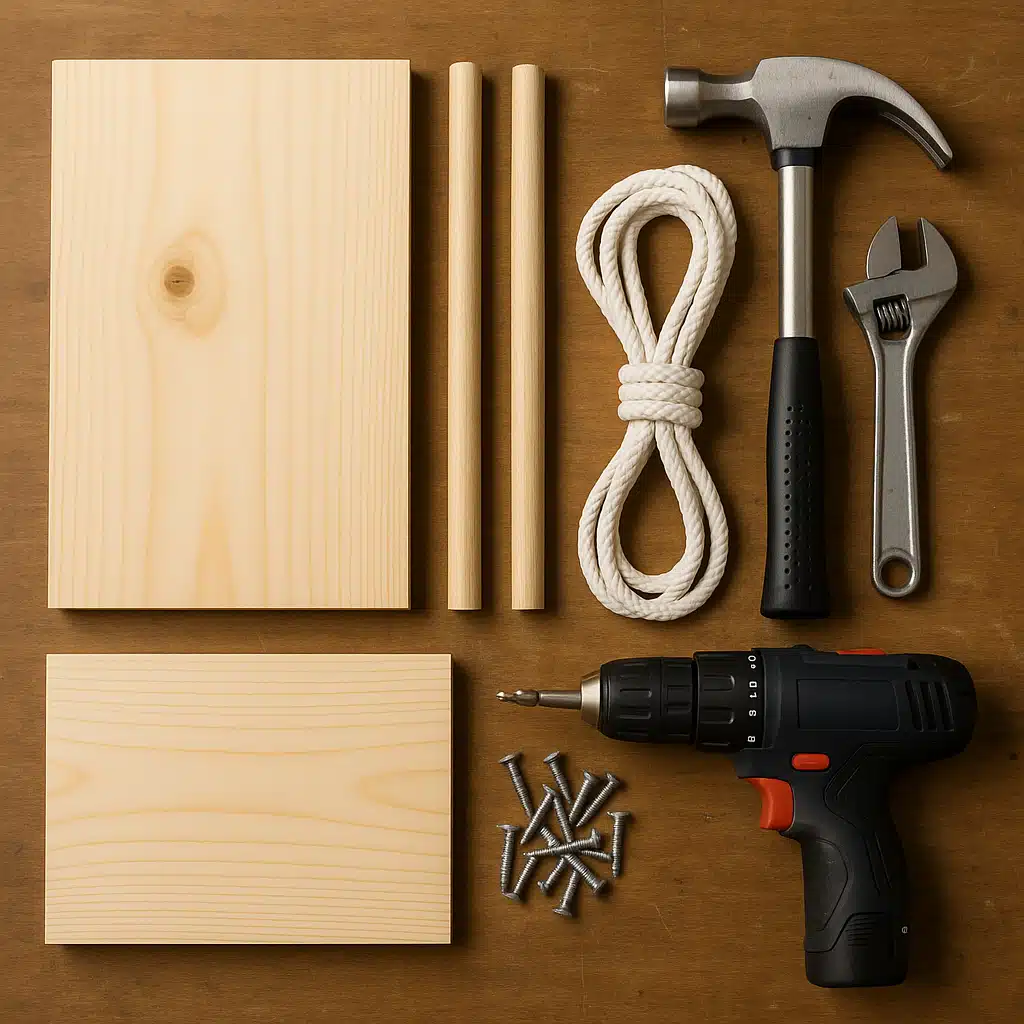
Building your own cheese press requires only a handful of readily available materials. The beauty of this DIY project is its simplicity and accessibility—most items can be found at local hardware stores or repurposed from materials you may already have at home. Here’s what you’ll need to gather before starting your project:
- Two wooden boards: Choose hardwood boards approximately 25-30 cm (10-12 inches) square and about 2.5 cm (1 inch) thick. Pine, oak, or maple work well. Ensure the wood is untreated and food-safe.
- Four rubber feet or bumpers: These attach to the bottom board to elevate the press, allow whey drainage, and protect your countertop surface.
- Weights: You’ll need various weights to achieve different pressing pressures. Options include heavy books, water-filled containers, dumbbells, or specially made weights totaling 2-10 kg (5-20 pounds) depending on your cheese recipes.
- Strong rope, cord, or straps: Use food-grade or easily cleanable materials that can withstand tension without stretching. Nylon rope or adjustable straps work excellently.
- Wood screws: Stainless steel screws are ideal as they won’t rust when exposed to moisture.
- Drill with bits: For creating rope holes and attaching rubber feet.
- Sandpaper: To smooth rough edges and create a clean, splinter-free finish.
- Food-safe finish (optional): Mineral oil or beeswax can protect the wood while maintaining food safety.
The total cost for these materials typically ranges from minimal to approximately 15-20 in most currencies, making this an extremely budget-friendly project. If you’re repurposing materials you already own, the cost can be even lower.
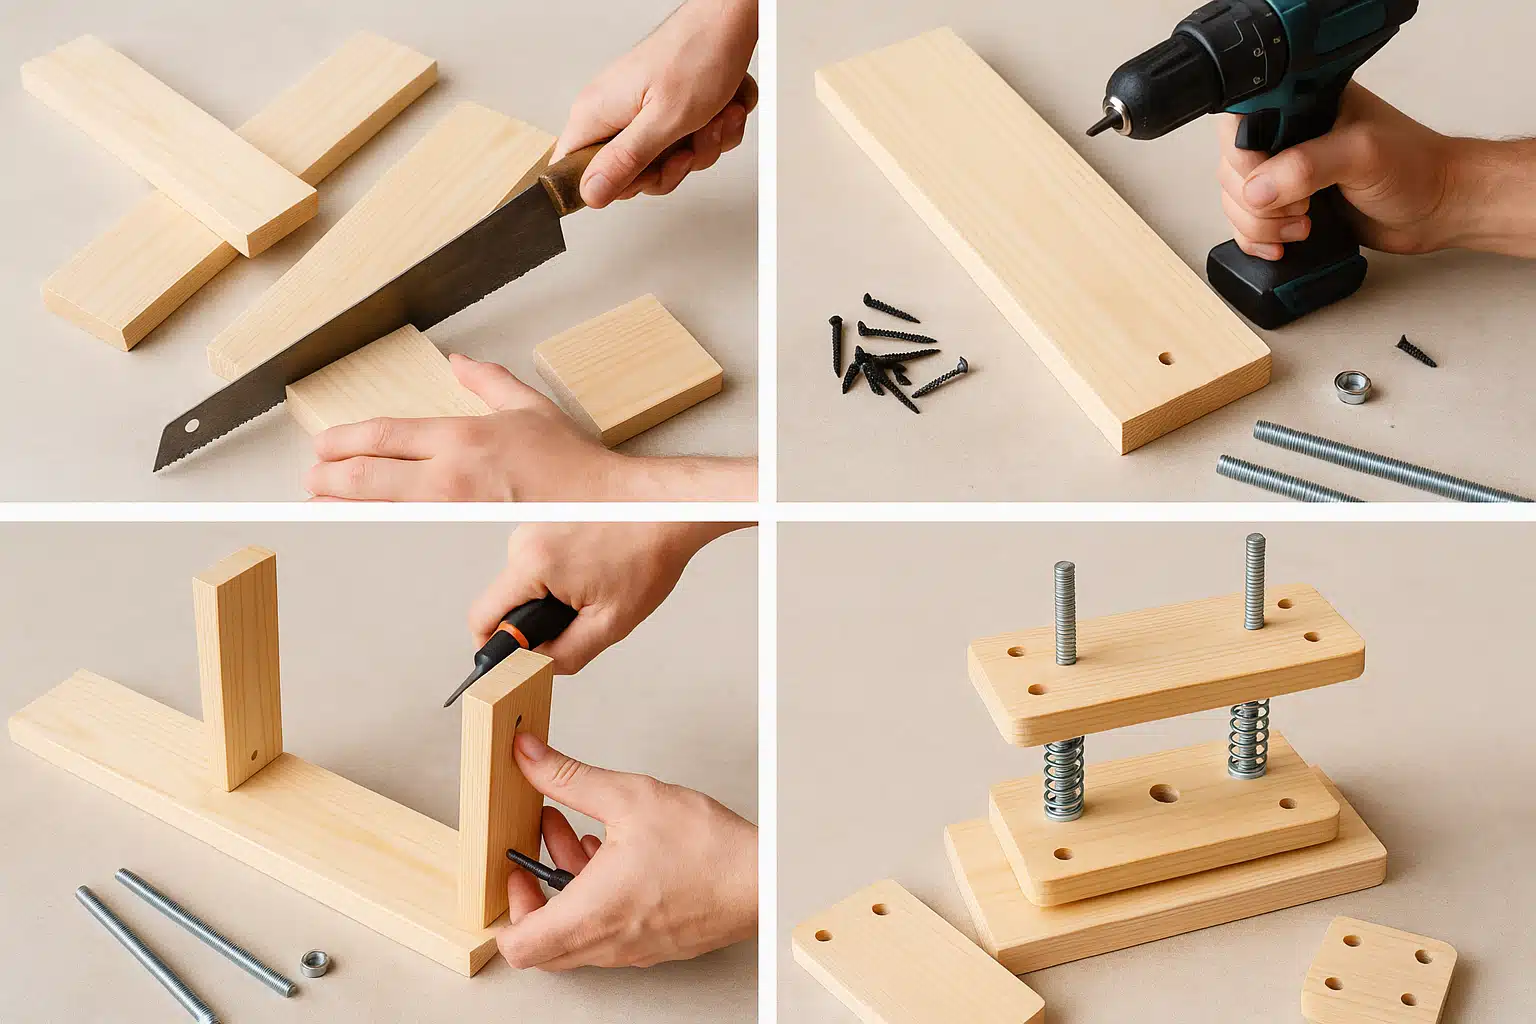
Step-by-Step Construction Guide
Building your cheese press is a straightforward process that requires no advanced carpentry skills. Follow these detailed steps to create a functional and durable press:
Step 1: Prepare Your Wooden Boards
Start by cutting your wooden boards to size if they aren’t already. Aim for approximately 25-30 cm (10-12 inches) square, though you can adjust based on the size of cheese molds you plan to use. Sand all surfaces thoroughly, paying special attention to edges and corners. Remove all splinters and rough spots to create smooth surfaces that are easy to clean and won’t harbor bacteria.
Step 2: Attach Rubber Feet
On what will be your bottom board, attach the four rubber feet at the corners on one side. Space them evenly, about 2-3 cm (1 inch) from each edge. These feet serve multiple purposes: they elevate the press to allow whey to drain freely, protect your work surface from moisture and scratches, and provide stability during the pressing process. Use screws appropriate for the size of your rubber feet, ensuring they’re firmly attached but not protruding through the other side of the board.
Step 3: Drill Rope Holes
On both boards, mark positions for rope holes. A common configuration uses four holes—one near each corner, positioned about 5 cm (2 inches) from the edges. Drill these holes completely through both boards, ensuring they align when the boards are stacked. The hole diameter should accommodate your rope or strap comfortably—typically 1-1.5 cm (0.5 inch) works well. Sand around the holes to remove any splintering.
Step 4: Assemble the Press
Thread your rope or straps through the holes in the bottom board (the one with rubber feet), then up through the corresponding holes in the top board. The rope should be long enough to tie securely while allowing adequate space between the boards for your cheese mold. Some builders prefer to tie permanent loops on the bottom board and use adjustable knots or buckles on the top to modify tension easily.
Step 5: Apply Food-Safe Finish
While optional, applying a food-safe finish like mineral oil helps protect the wood from moisture absorption and makes cleaning easier. Apply a generous coat to all wood surfaces, let it soak in for several hours, then wipe away any excess. Reapply periodically to maintain protection. Never use conventional wood stains or varnishes, as these aren’t food-safe.
Step 6: Test Your Press
Before using it with actual cheese, test your press with your cheese mold and weights. Ensure the boards remain parallel under pressure and that the rope or straps hold securely without slipping. Make any necessary adjustments to achieve even, stable pressure distribution.
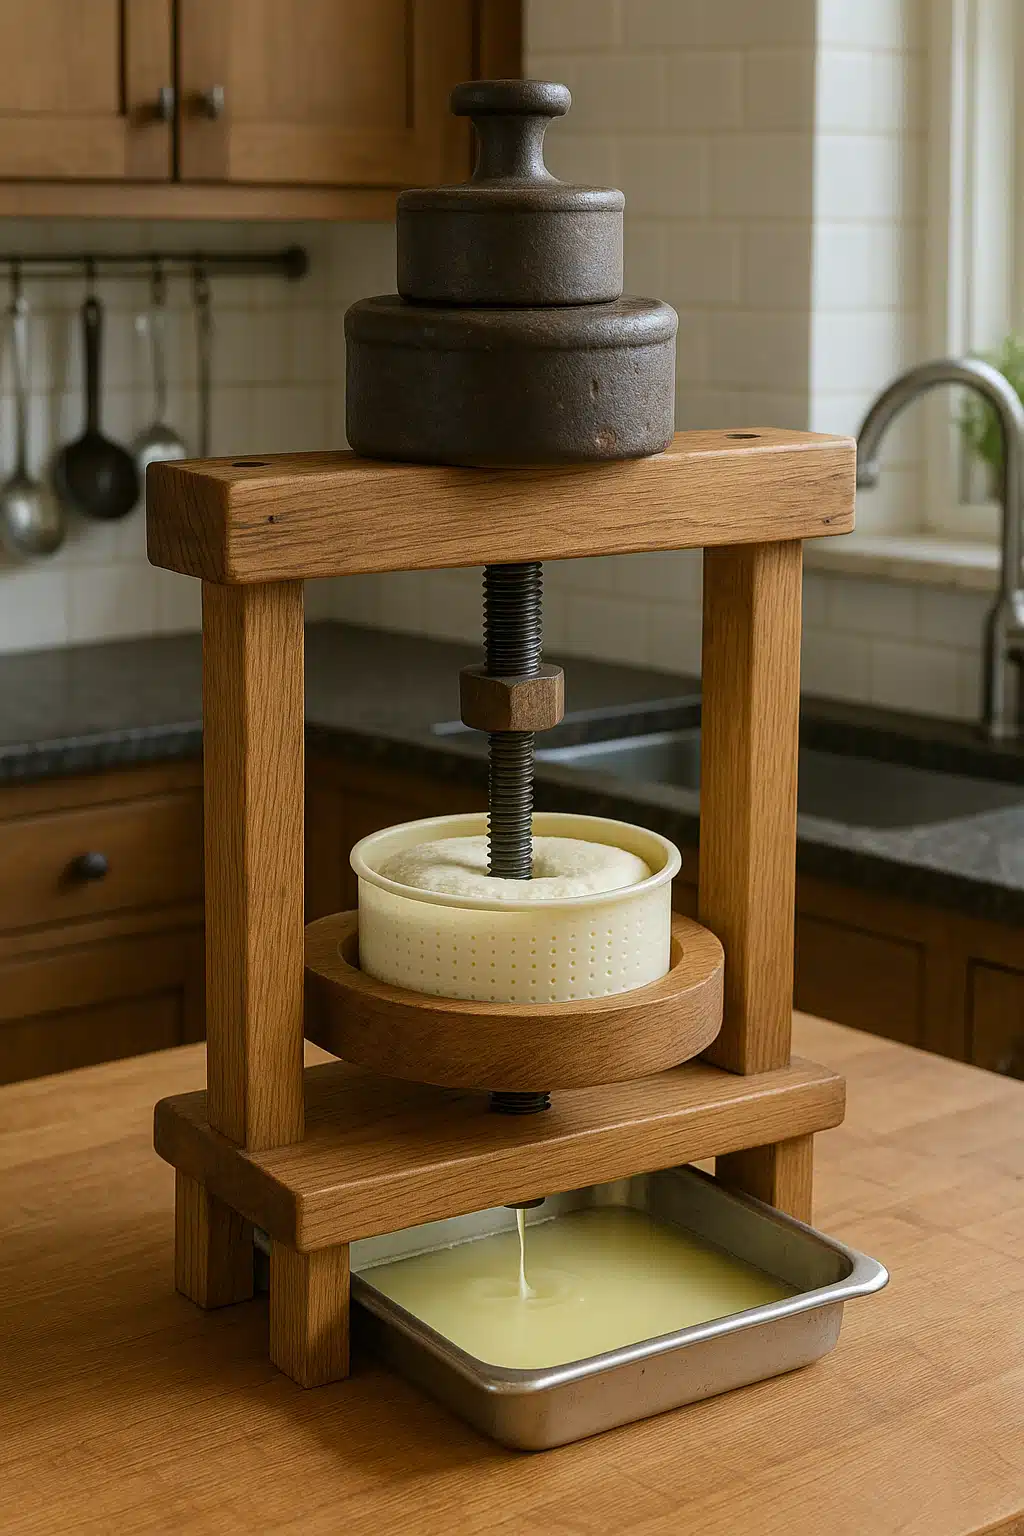
Using Your Cheese Press: Practical Guidelines
Once your press is built, learning to use it effectively is essential for successful cheese making. The pressing process varies significantly depending on the type of cheese you’re creating, but the basic principles remain consistent.
After you’ve prepared your cheese curds and placed them in a cheese mold (lined with cheesecloth), position the mold on the bottom board of your press. Place the top board directly on top of the mold, ensuring it’s centered and level. Add your weights gradually—starting with lighter pressure and increasing over time is generally recommended for most cheeses. This gradual approach allows whey to be expelled steadily without creating texture problems.
During pressing, whey will drain from the mold. Position a tray or container beneath your press to catch this liquid. For many cheeses, you’ll need to “flip” the cheese at intervals during pressing. This involves removing the cheese from the mold, unwrapping it, flipping it over, rewrapping it, returning it to the mold, and resuming pressing. This ensures even pressure distribution and helps create uniform texture throughout the cheese.
Pressing times range from as little as one hour for some soft cheeses to 24 hours or more for hard varieties. Temperature also matters—most pressing occurs at room temperature, though some recipes specify cooler environments. Always follow your specific cheese recipe for best results, as pressing requirements vary considerably between cheese styles.
Maintenance and Care
Proper maintenance of your cheese press ensures longevity and food safety. After each use, disassemble your press completely. Wipe down the wooden boards with a damp cloth and mild soap if needed, but avoid soaking the wood. Allow all components to air dry completely before storing to prevent mold or mildew growth. The rope or straps should be washed regularly, especially if they come in contact with whey or cheese. Periodically reapply food-safe mineral oil to the wooden boards to maintain their protective coating and prevent moisture damage.
Inspect your press regularly for signs of wear. Check that rope holes haven’t become enlarged or splintered, that rubber feet remain securely attached, and that the boards haven’t warped. With proper care, a well-built cheese press can serve you reliably for many years of cheese making.
Common Questions and Troubleshooting
Many beginning cheese makers have questions about using a cheese press effectively. One common concern is uneven pressing—if your cheese develops an uneven shape or texture, ensure your top board is level and that your mold is centered. Using a spirit level can help achieve proper alignment.
If whey isn’t draining properly, check that your mold has adequate drainage holes and that your cheesecloth isn’t too tightly woven. The rubber feet should provide sufficient clearance for whey to flow freely away from the cheese.
Some people worry that a simple weight-based press won’t provide enough pressure for hard cheeses. While it’s true that spring-loaded or screw-mechanism presses can achieve higher pressures more conveniently, a well-designed weight press can absolutely produce excellent hard cheeses. The key is using sufficient weight (sometimes 10 kg/20 pounds or more) and allowing adequate pressing time.
Regarding hygiene, wood is actually an excellent material for cheese making equipment. Research has shown that wood has natural antimicrobial properties. As long as you clean and dry your press properly after each use, it will remain perfectly food-safe.
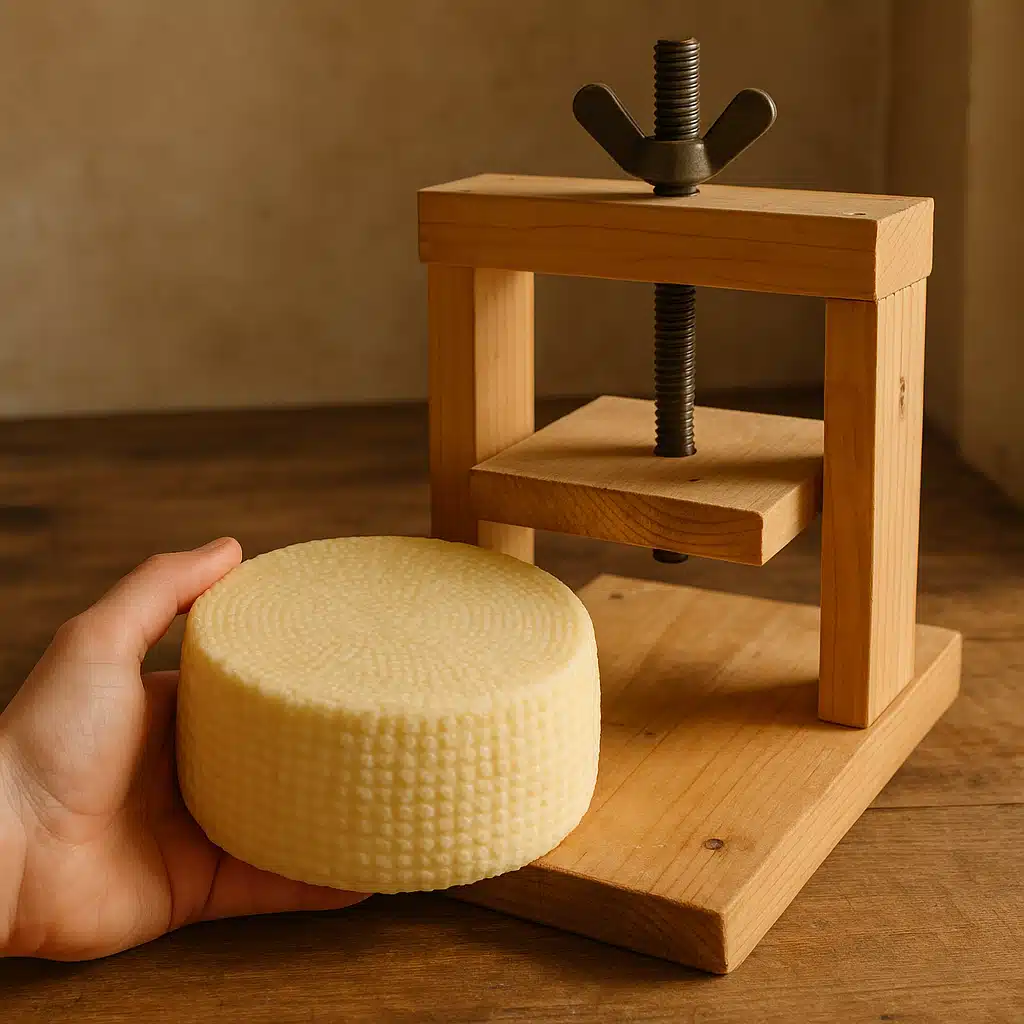
Expanding Your Cheese-Making Journey
Building your own cheese press is often the gateway to a deeper exploration of artisanal cheese making. Once you’ve mastered the basics with this simple press, you might consider expanding your equipment collection. Cheese molds in various sizes and shapes allow you to create different cheese formats. A dedicated cheese cave or aging space with controlled temperature and humidity takes your cheese making to the next level. Specialized ingredients like different bacterial cultures, molds for blue cheeses, and various coatings or waxes for aging open up an entire world of cheese varieties you can produce at home.
The satisfaction of crafting cheese from scratch—from fresh milk to aged wheel—is immense. Each batch teaches you something new about the delicate balance of temperature, time, cultures, and technique that transforms simple ingredients into complex, flavorful cheese. Your DIY press will be with you every step of this rewarding journey, proving that quality equipment doesn’t require significant investment, just thoughtful construction and proper use.
Conclusion: Empowering Your Homemade Cheese Production
Creating your own cheese press is an accessible, economical project that opens the door to serious home cheese making. With basic materials costing minimal amounts, a few simple tools, and a couple of hours of work, you can build equipment that rivals commercial alternatives in functionality. This DIY approach not only saves money but also provides the satisfaction of using tools you’ve crafted yourself to create delicious, artisanal cheese.
The cheese press you build today will serve as the foundation for countless batches of homemade cheese, from sharp Cheddars to creamy Goudas, from tangy Feta to aged Parmesan-style varieties. Each time you use it, you’ll appreciate the simplicity and effectiveness of this traditional design. Whether you’re a beginner taking your first steps into cheese making or an experienced home cheese maker looking for budget-friendly equipment, a DIY cheese press is an investment in culinary creativity and self-sufficiency.
Gather your materials, follow these straightforward instructions, and begin your cheese-making adventure. The world of artisanal cheese awaits, and with your homemade press, you have everything you need to explore it fully. Happy cheese making!