What Are Cheese Curds and Why Should You Try Making Them?
Cheese curds are a delightful culinary treasure that food lovers around the world are discovering. These fresh, young cheese pieces offer a unique squeaky texture and mild, creamy flavor that makes them irresistible as a snack or ingredient. Whether you enjoy them on their own, add them to loaded fries, or incorporate them into your favorite comfort foods, homemade cheese curds bring an authentic, artisanal touch to your kitchen. This comprehensive guide will walk you through everything you need to know about making fresh cheese curds at home, from understanding what they are to mastering the cheesemaking process.
Understanding Cheese Curds: The Fresh Face of Cheesemaking
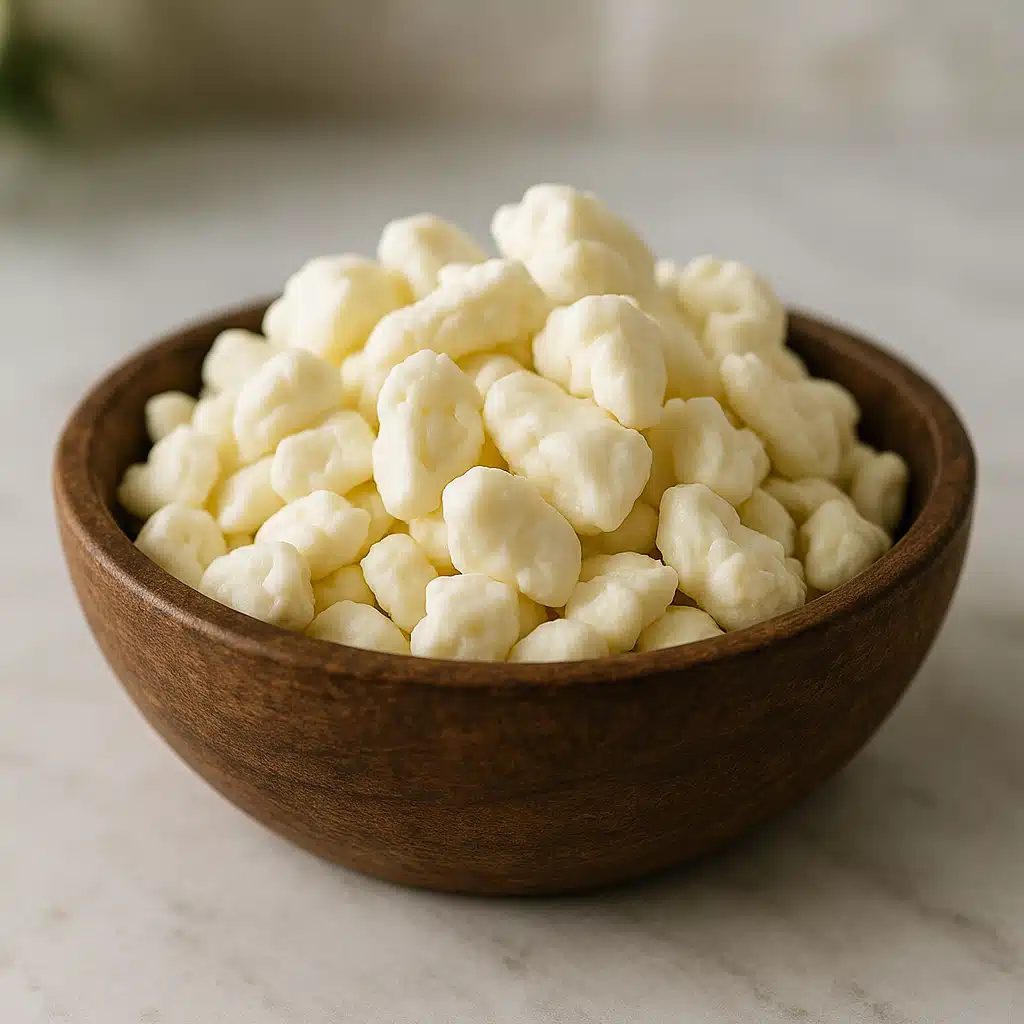
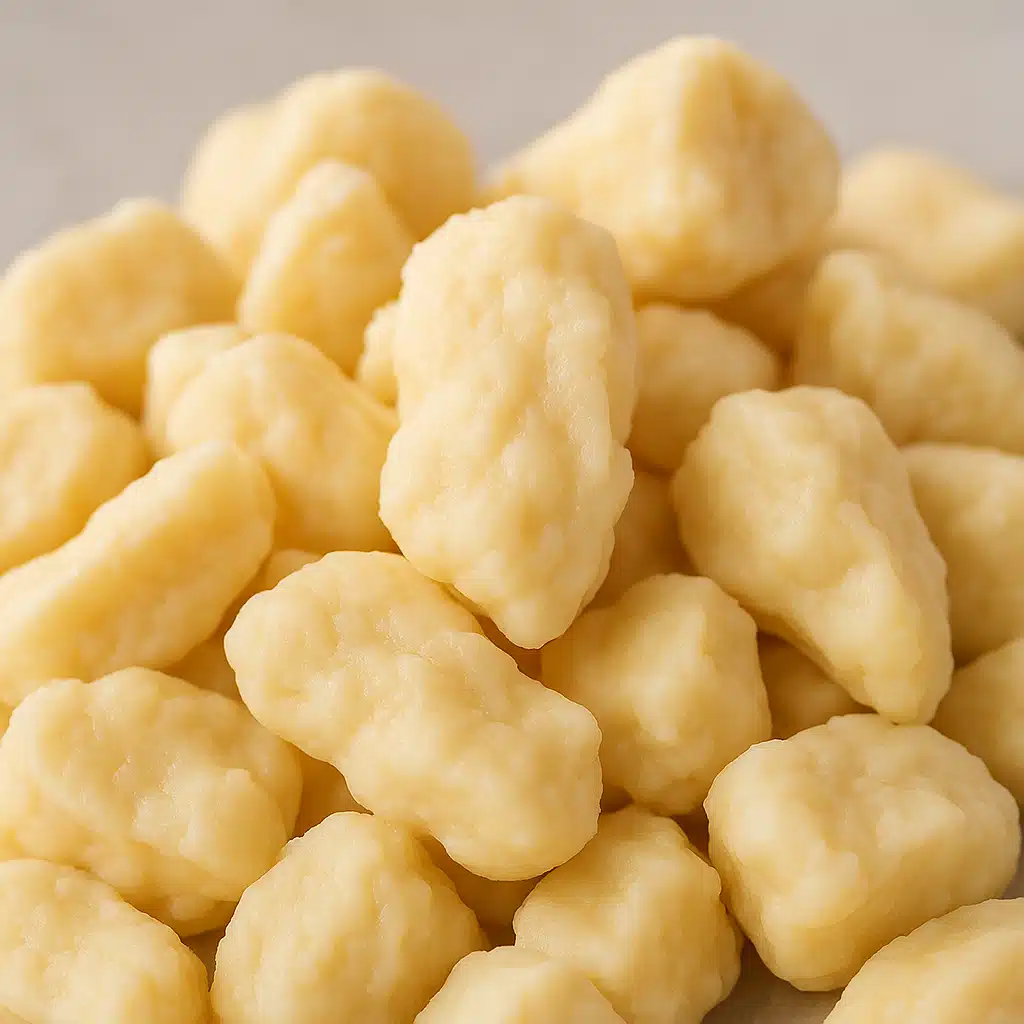
Cheese curds represent the earliest stage in the cheesemaking journey. They are the solid pieces that form when milk is curdled using specific enzymes and cultures. Unlike aged cheeses that undergo weeks or months of maturation, cheese curds are consumed fresh, typically within hours or days of production. This freshness is what gives them their characteristic “squeak” when you bite into them—a sound caused by the protein structure within the curds rubbing against tooth enamel.
The squeaky texture is actually an indicator of freshness and proper production technique. As curds age, they lose this quality, becoming softer and quieter. Fresh cheese curds have a mild, milky flavor with a slightly salty finish, making them incredibly versatile for various culinary applications. They can be enjoyed as a standalone snack, melted over dishes, fried for a crispy exterior, or used as a topping for comfort foods.
What makes homemade cheese curds special is the level of control you have over ingredients, freshness, and flavor. Store-bought options may not be available in all regions, and when they are, they’re often past their prime squeaky stage. By making them at home, you ensure maximum freshness and can customize them to your taste preferences.
Essential Ingredients for Making Cheese Curds
Creating authentic cheese curds at home requires just a few key ingredients, but quality matters significantly. Here’s what you’ll need and why each component is important:
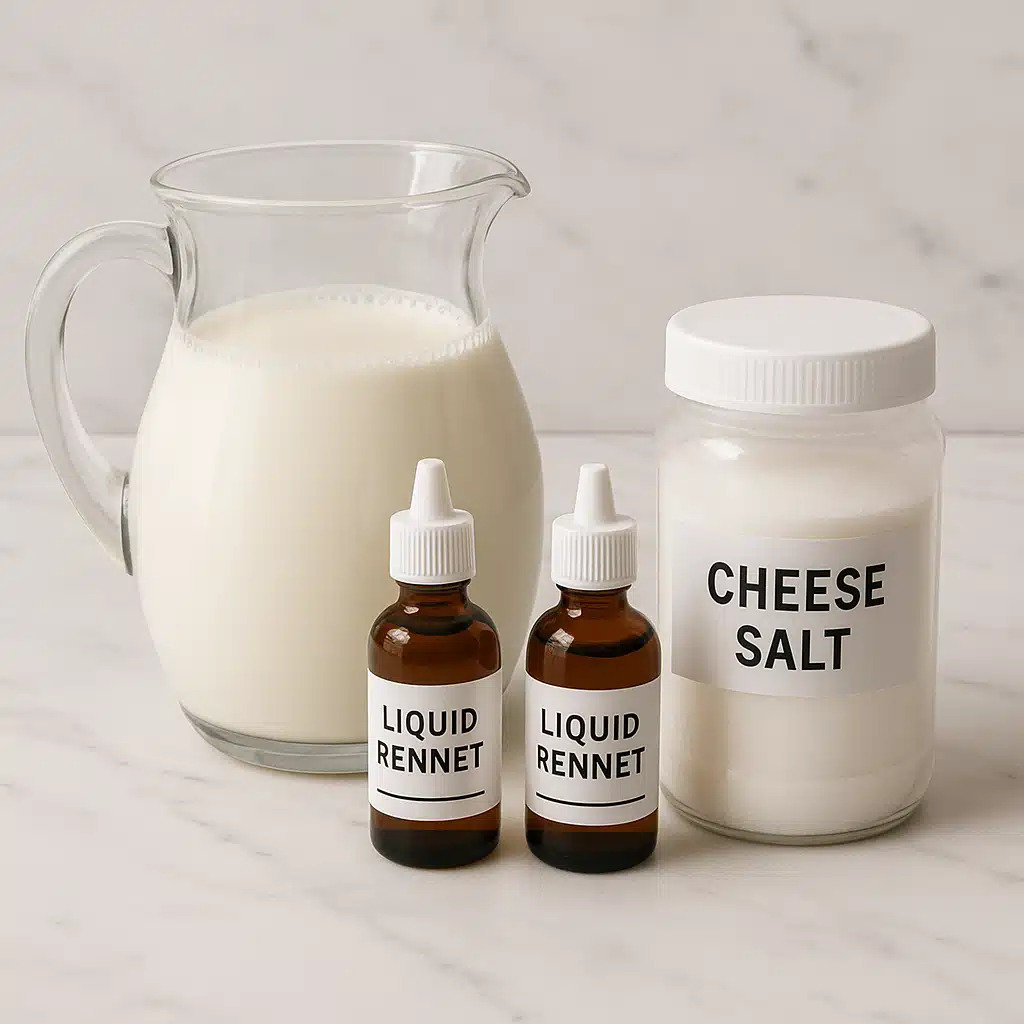
- Milk (approximately 4 liters/1 gallon): Whole milk is essential for creating rich, flavorful curds. The higher fat content contributes to better texture and taste. While ultra-pasteurized milk can technically work, non-homogenized or lightly pasteurized milk produces superior results. The proteins in ultra-pasteurized milk have been altered by high heat, which can affect curd formation.
- Rennet (1/4 teaspoon liquid or 1/2 tablet): This is the enzyme that causes milk to separate into curds and whey. Rennet comes in animal-based, vegetable-based, and microbial varieties. Each works slightly differently, but all are suitable for cheese curd production. Liquid rennet is often easier to measure and distribute evenly.
- Cheese salt or non-iodized salt (1/4 teaspoon, or to taste): Regular table salt contains iodine and anti-caking agents that can interfere with the cheesemaking process and create off-flavors. Cheese salt, flake salt, or kosher salt are better options as they dissolve evenly and don’t contain additives.
- Optional: Mesophilic starter culture: While not always necessary for basic cheese curds, adding a starter culture can improve flavor development and help achieve more consistent results. This introduces beneficial bacteria that contribute to the cheese’s taste profile.
- Optional: Heavy cream (approximately 125ml/1/2 cup): For those who prefer extra-rich, creamy curds, adding some cream to the milk creates a more luxurious texture and deeper flavor.
The beauty of this ingredient list is its simplicity. Unlike many specialized recipes, cheese curds don’t require exotic ingredients or hard-to-find items. However, sourcing quality versions of these basics will significantly impact your final product.
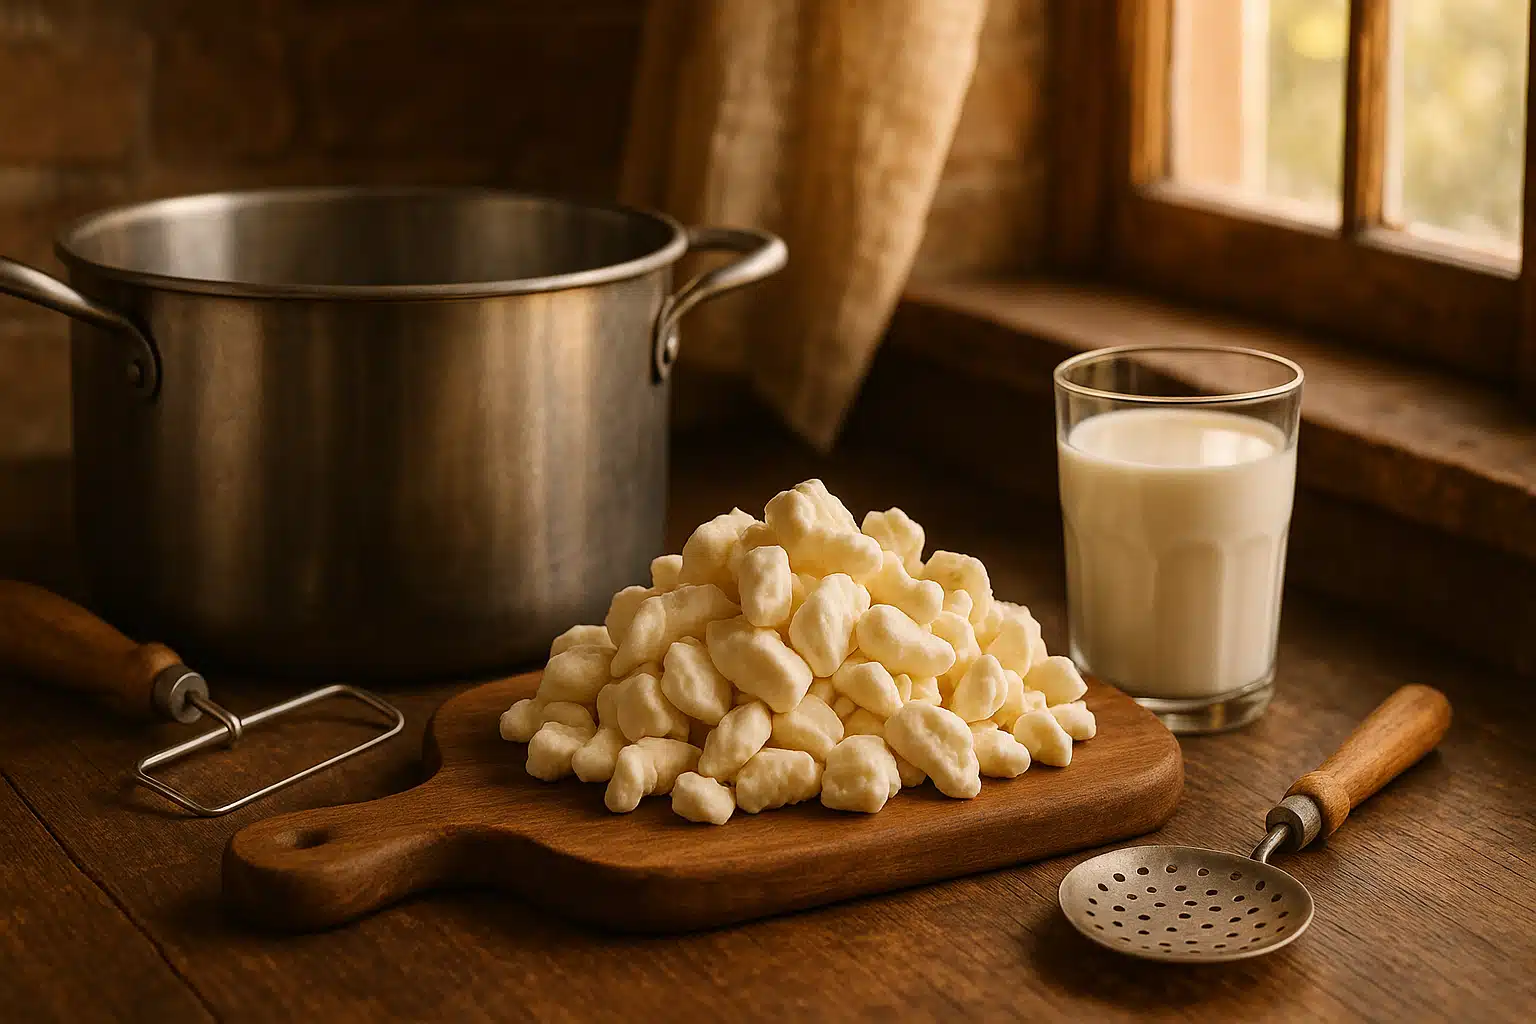
Equipment You’ll Need for Cheesemaking
Before beginning, gather the following equipment to ensure a smooth cheesemaking process:
- Large heavy-bottomed pot (at least 5-6 liters/quarts capacity): Stainless steel is ideal as it distributes heat evenly and won’t react with acidic ingredients. Avoid aluminum pots.
- Accurate cooking thermometer: Temperature control is critical in cheesemaking. A digital instant-read or clip-on thermometer that can measure between 20-110°C (70-230°F) is essential.
- Long knife or curd cutter: For cutting the formed curd into uniform pieces. A long, thin-bladed knife works well.
- Slotted spoon or skimmer: To gently stir curds and transfer them without breaking them apart.
- Cheesecloth or fine mesh strainer: For draining whey from the curds. Multiple layers of cheesecloth or a fine-mesh colander work best.
- Large bowl: To catch the whey during draining (don’t discard this—it has many uses!).
- Measuring spoons and cups: For accurate ingredient measurement.
Most of these items are standard kitchen equipment, so you likely already have them on hand. Investing in a quality thermometer is the most important consideration if you don’t already own one, as temperature precision determines success in cheesemaking.
Step-by-Step Guide: Making Perfect Cheese Curds at Home
Now that you understand the ingredients and have your equipment ready, follow this detailed process to create your own squeaky cheese curds:
Step 1: Prepare and Heat the Milk
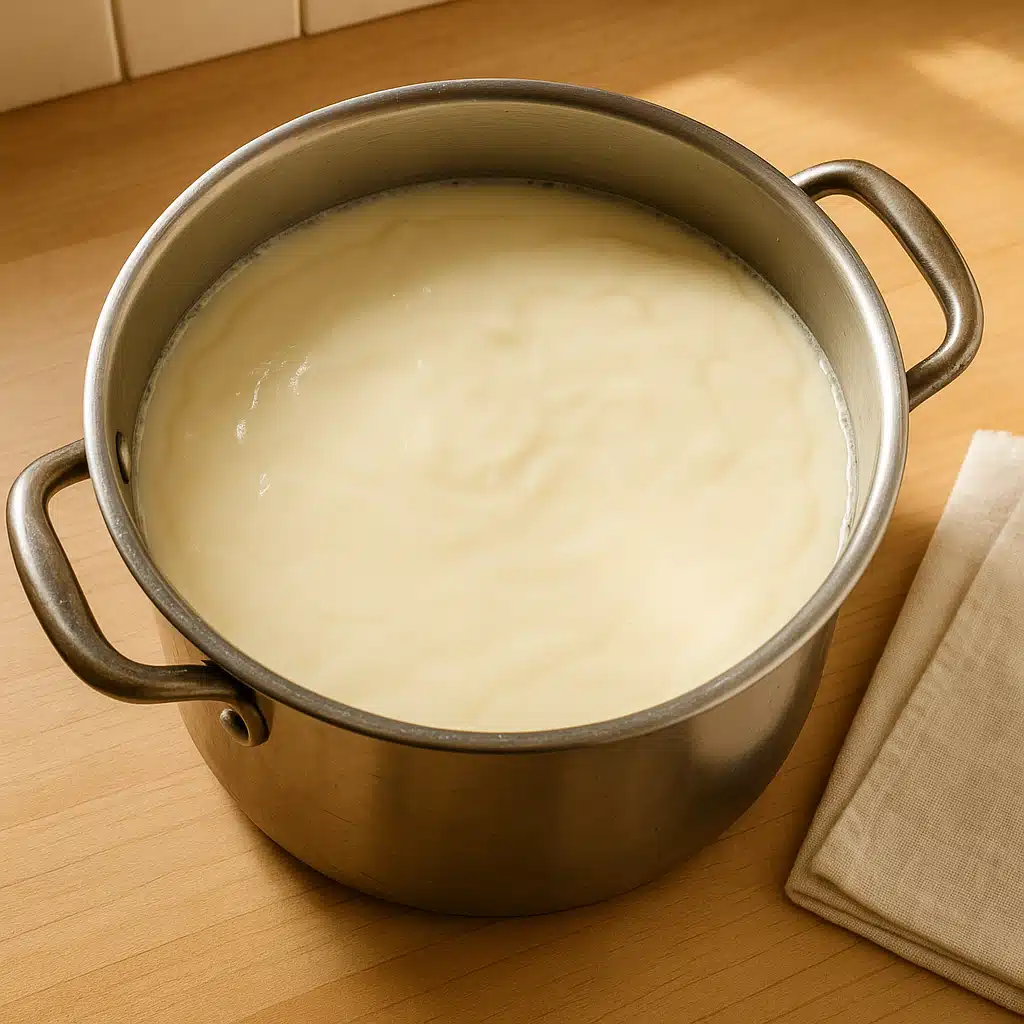
Pour your milk into the large pot and place it over medium-low heat. Slowly warm the milk to 29-32°C (85-90°F), stirring gently and occasionally to prevent scorching on the bottom. This process should take approximately 10-15 minutes. Slow heating is important—rushing this step can cause uneven temperatures and affect curd formation. If you’re adding cream for richer curds, incorporate it at this stage.
Use your thermometer regularly to monitor the temperature. When the milk reaches the target range, remove it from heat. At this temperature, the milk is warm enough to activate the rennet but not so hot that it will destroy the enzyme’s effectiveness.
Step 2: Add the Rennet
If using tablet rennet, dissolve it in 60ml (1/4 cup) of cool, non-chlorinated water first. If using liquid rennet, you can add it directly or dilute it in a small amount of water for easier distribution. Add the rennet to your warm milk and stir gently but thoroughly for 30-60 seconds using an up-and-down motion to distribute it evenly throughout the milk.
After stirring, stop all movement and allow the milk to sit completely undisturbed for 5-10 minutes. During this time, the rennet will cause the milk proteins to coagulate and form a gel-like mass. Cover the pot to maintain temperature. The longer you allow it to set (within reason), the firmer your curd will be.
Step 3: Test and Cut the Curd
To determine if the curd is ready, perform the “clean break” test. Insert a clean knife or finger into the curd at an angle and lift gently. If the curd breaks cleanly with a clear separation and releases clear, yellowish whey into the crack, it’s ready. If it’s still too soft and the break is messy, allow it to set for a few more minutes.
Once ready, cut the curd into uniform cubes approximately 1-2 cm (1/2-3/4 inch) in size. First, make parallel cuts in one direction across the entire pot, then make perpendicular cuts to create a grid pattern. Finally, hold your knife at an angle and make diagonal cuts to break up the curds at different depths. The goal is to create relatively uniform pieces that will release whey at the same rate.
After cutting, let the curds rest undisturbed for 5 minutes. You’ll notice whey beginning to separate and pool around the curds.
Step 4: Cook and Stir the Curds
Return the pot to low heat and slowly raise the temperature to 38-40°C (100-105°F) over the course of 30-40 minutes. This gradual heating is crucial—if you heat too quickly, the outside of the curds will firm up while the inside remains soft, resulting in uneven texture.
Stir gently every few minutes with a slotted spoon, using slow movements that slide under and lift the curds rather than aggressive stirring that would break them apart. As they heat, the curds will shrink and firm up, releasing more whey. By the end of this cooking period, the curds should feel slightly firm when pressed between your fingers and have reduced noticeably in size.
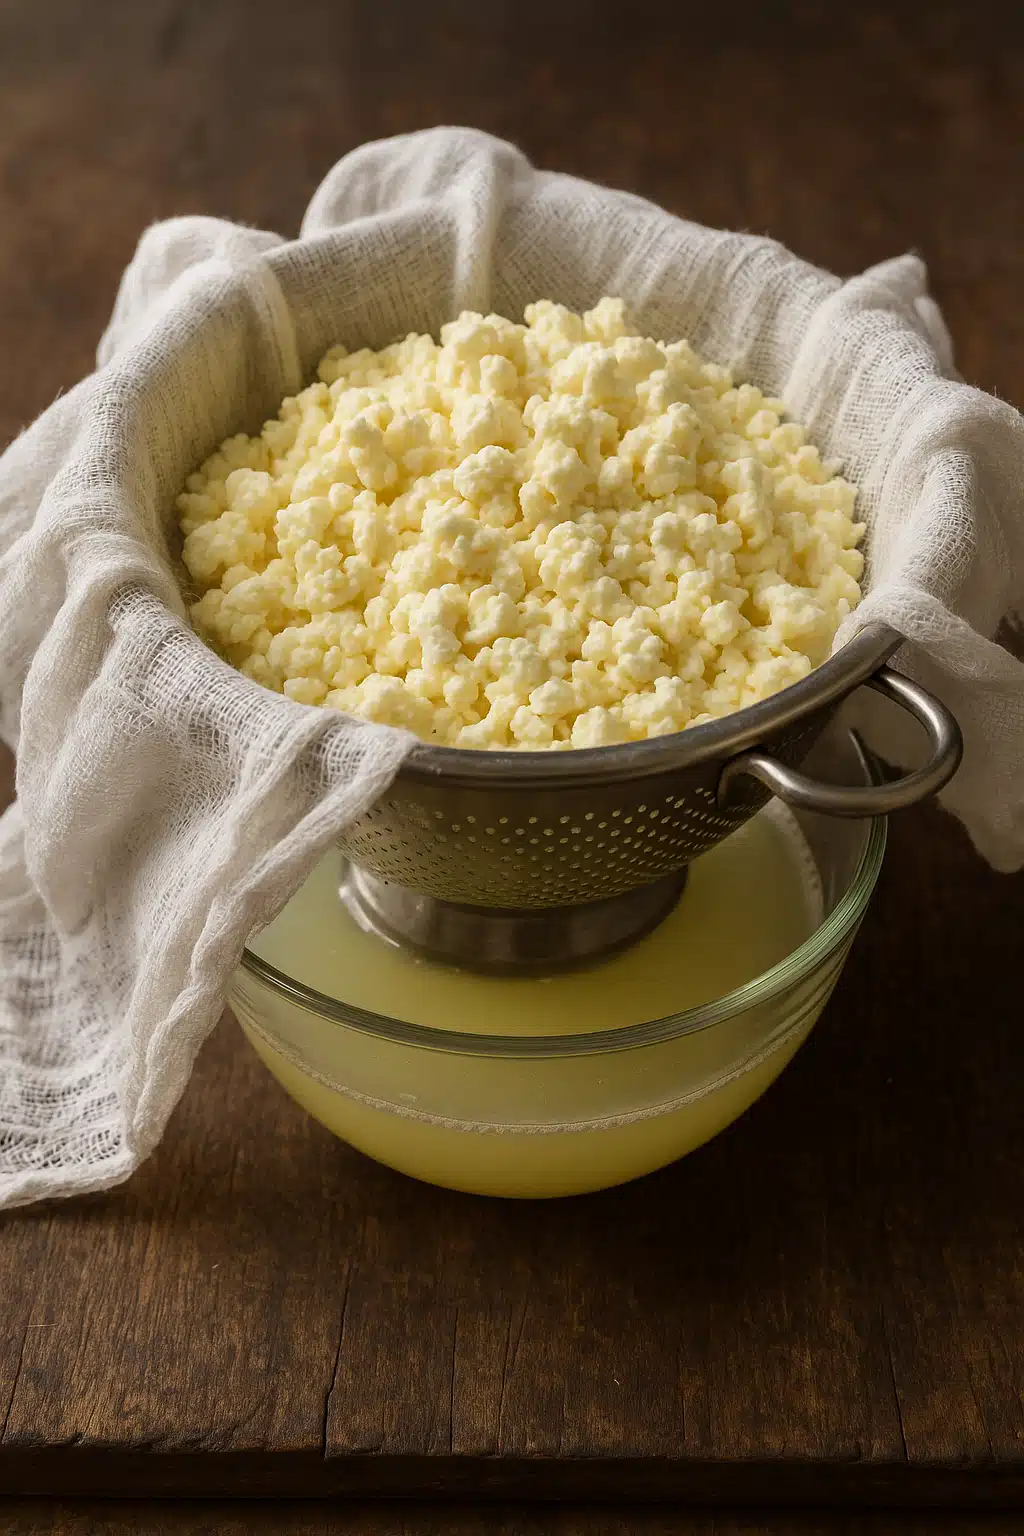
Step 5: Drain the Whey
Line your colander with several layers of cheesecloth and place it over a large bowl to catch the whey. Gently pour or ladle the curds into the cheesecloth. Allow them to drain for 2-3 minutes, then gather the corners of the cheesecloth and gently lift and squeeze to remove excess whey without crushing the curds.
Once most of the whey has drained, rinse the curds briefly with cold water while still in the cheesecloth. This step stops the cooking process and helps set the protein structure that creates the squeaky texture. The cold rinse also refreshes the curds and prevents them from matting together.
Step 6: Season and Finish
Transfer the drained curds to a clean bowl. While they’re still slightly warm, sprinkle the salt over them and gently toss to distribute evenly. The warmth helps the salt dissolve and penetrate the curds. Taste and adjust the seasoning as needed—you can always add more salt, but you can’t remove it.
At this stage, your cheese curds are technically ready to eat! For maximum squeakiness, enjoy them while they’re still slightly warm or at room temperature. If you prefer them cold, transfer to a covered container and refrigerate.
Step 7: Storage and Enjoyment
Fresh cheese curds are best consumed within 1-2 days of making them, as this is when their signature squeak is most pronounced. Store them in an airtight container in the refrigerator. The squeak will gradually diminish over the following days, but the curds will remain delicious and usable for up to a week when properly refrigerated.
If your curds lose their squeak, don’t worry—they’re still perfectly good to eat. The texture simply becomes softer and less springy. These are excellent for melting applications or eating as a mild, fresh cheese.
Troubleshooting Common Cheese Curd Challenges
Even experienced home cheesemakers encounter issues occasionally. Here are solutions to common problems:
The Milk Won’t Form Curds
This frustrating situation usually has one of several causes. First, check your rennet—it has a limited shelf life and loses potency over time, especially if not stored properly. Rennet should be kept refrigerated and used within the expiration date. Second, verify your milk choice. Ultra-pasteurized milk has been heated to such high temperatures that the protein structure is altered, making proper curd formation difficult or impossible. Third, ensure your milk wasn’t too hot or too cold when you added the rennet—the ideal temperature range is 29-32°C (85-90°F).
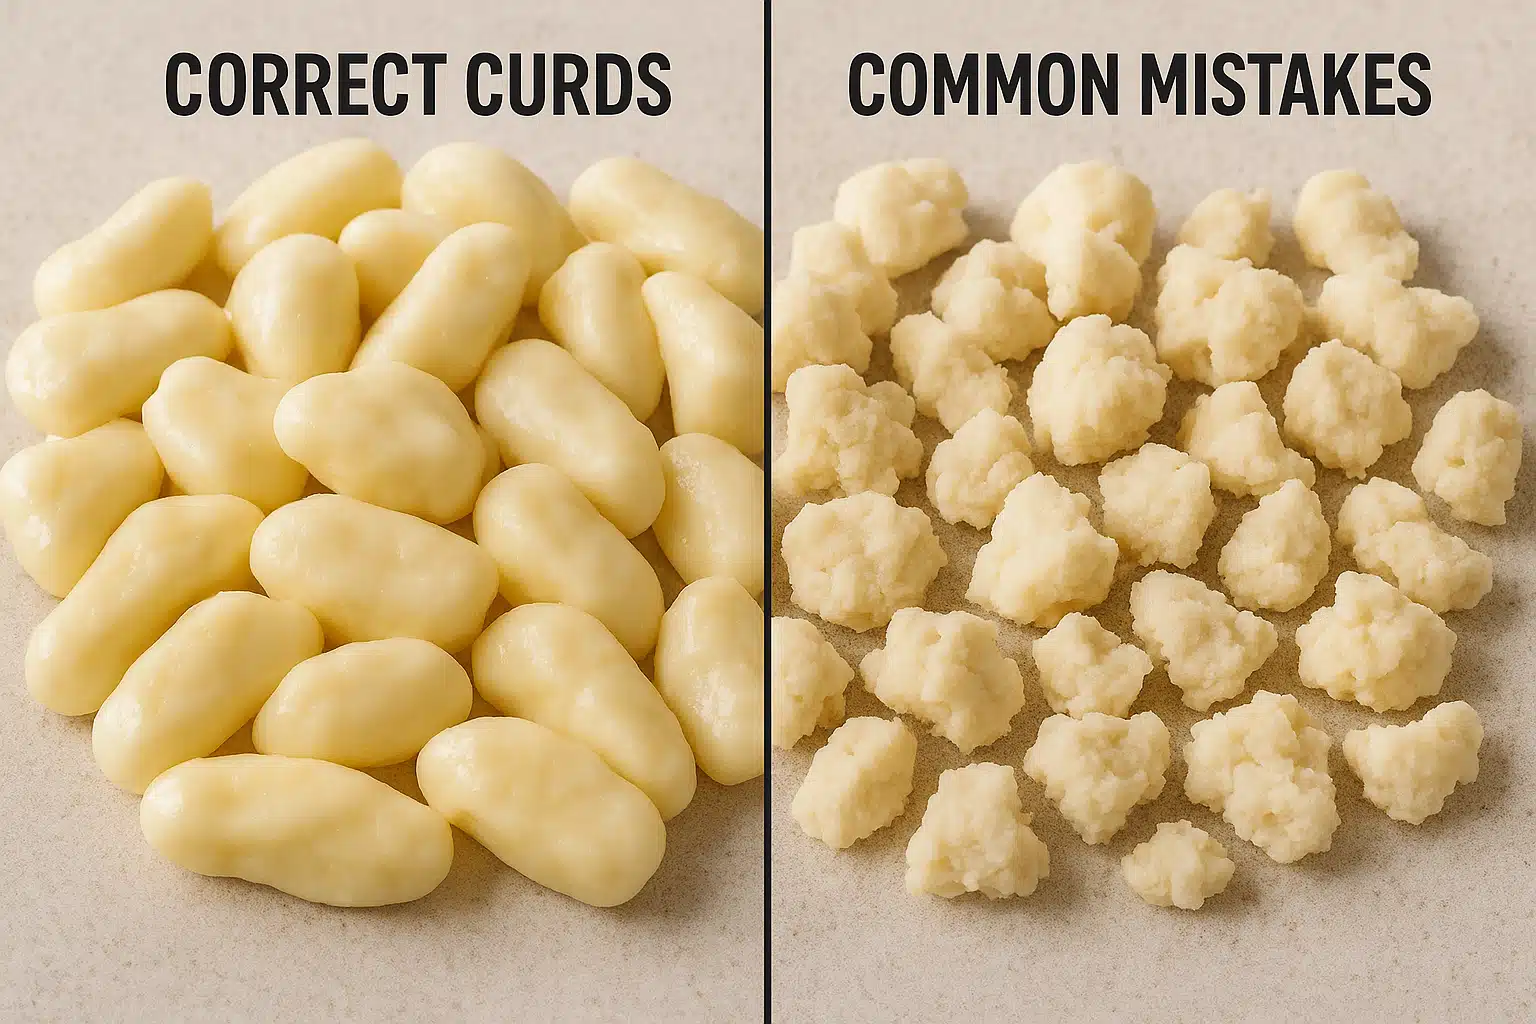
The Curds Are Too Soft or Mushy
Soft, weak curds that fall apart easily typically indicate that the curd wasn’t allowed to set long enough before cutting, or wasn’t heated sufficiently during the cooking stage. Next time, wait until you achieve a firm, clean break before cutting, and ensure you reach the target temperature of 38-40°C (100-105°F) during the cooking phase. Also, stir gently to avoid breaking up the curds mechanically.
The Curds Are Too Firm or Rubbery
Overly firm curds result from cooking at too high a temperature or for too long. The proteins tighten excessively, squeezing out too much moisture and creating a tough texture. Monitor your temperature carefully and heat gradually. If you’ve already made firm curds, they’re still usable—try them in cooked applications where they’ll melt or soften.
The Curds Don’t Squeak
The squeak comes from the specific protein structure in very fresh curds. If yours don’t squeak, they may have cooled down too much (try bringing them to room temperature), or too much time has passed since making them. The squeak naturally diminishes within 12-24 hours. Additionally, if the curds were rinsed with very hot water or not rinsed at all, this can affect the squeak factor.
The Flavor Is Off or Bland
Flavor issues usually relate to milk quality or seasoning. Start with the freshest, highest-quality milk you can find—the cheese will only be as good as your starting ingredient. If the flavor is bland rather than off, you likely need more salt. Remember that cheese needs adequate seasoning to bring out its natural flavors. If you detect sour or unpleasant flavors, your milk may have been past its prime, or contamination occurred during the process.
Creative Ways to Use and Flavor Your Cheese Curds
While plain, squeaky cheese curds are delightful on their own, there are numerous ways to customize and use them:
Flavored Variations
- Herb-infused curds: Toss with fresh or dried herbs like dill, chives, parsley, or thyme immediately after salting
- Spicy curds: Add crushed red pepper flakes, cayenne pepper, or finely minced fresh chilies
- Garlic curds: Mix in roasted garlic powder or finely minced fresh garlic
- Smoked curds: Use a stovetop smoker or smoking gun to add smoky flavor after formation
- Everything bagel curds: Coat with everything bagel seasoning for a savory, crunchy exterior
Culinary Applications
- Loaded fries topping: The classic application—pile fresh curds over crispy fries and top with hot gravy for an indulgent dish
- Fried cheese curds: Coat in seasoned flour or breadcrumbs and deep-fry until golden for a popular appetizer
- Salad addition: Add to green salads for a protein boost and interesting texture contrast
- Melted on burgers: Top burgers with curds during the final minute of cooking for a gooey, delicious finish
- Snacking: Simply eat them as-is for a satisfying, protein-rich snack
- Baked into bread: Fold curds into bread or biscuit dough before baking for pockets of melted cheese
- Breakfast applications: Add to omelets, scrambled eggs, or breakfast burritos
The mild flavor of fresh cheese curds makes them incredibly versatile. They won’t overpower other ingredients but add wonderful texture and richness to countless dishes.

The Science Behind the Squeak
Understanding why cheese curds squeak helps you create the best possible product. The squeak is caused by the protein structure within fresh curds. When milk proteins (primarily casein) coagulate during cheesemaking, they form long, elastic strands. In very fresh curds, these protein strands are tightly organized and maintain their elasticity.
When you bite into a fresh curd, these protein strands rub against your tooth enamel, creating vibrations that produce the characteristic squeaky sound. As cheese curds age, even just over a day or two, the protein structure gradually breaks down and the curds lose moisture. This makes them softer and less elastic, eliminating the squeak.
Temperature also affects squeakiness. Cold curds straight from the refrigerator won’t squeak as much as room-temperature curds because the proteins are less elastic when cold. For maximum squeak, let your refrigerated curds sit at room temperature for 15-20 minutes before eating.
The pH level of the curds also plays a role. Proper acid development during cheesemaking contributes to the ideal protein structure. This is why some cheesemakers add a small amount of starter culture even for quick cheese curds—it helps develop the right acidity for optimal texture.
Nutritional Benefits of Cheese Curds
Beyond their delicious taste and fun texture, cheese curds offer nutritional value. As a fresh dairy product, they’re an excellent source of high-quality protein, providing all essential amino acids your body needs. A typical serving (approximately 30g or 1 ounce) contains around 7-8 grams of protein.
Cheese curds are also rich in calcium, crucial for bone health, dental health, and various metabolic functions. They provide significant amounts of phosphorus, which works alongside calcium for bone formation. Additionally, they contain vitamin B12, important for nerve function and red blood cell formation, as well as other B vitamins that support energy metabolism.
Like all cheese products, curds do contain saturated fat and should be enjoyed in moderation as part of a balanced diet. However, the fats in cheese also help with the absorption of fat-soluble vitamins and contribute to satiety, helping you feel satisfied after eating.
For those concerned about lactose, fresh cheese curds contain less lactose than fluid milk since much of the lactose remains in the whey that’s drained away. While not lactose-free, some people with mild lactose sensitivity can tolerate cheese curds better than drinking milk.
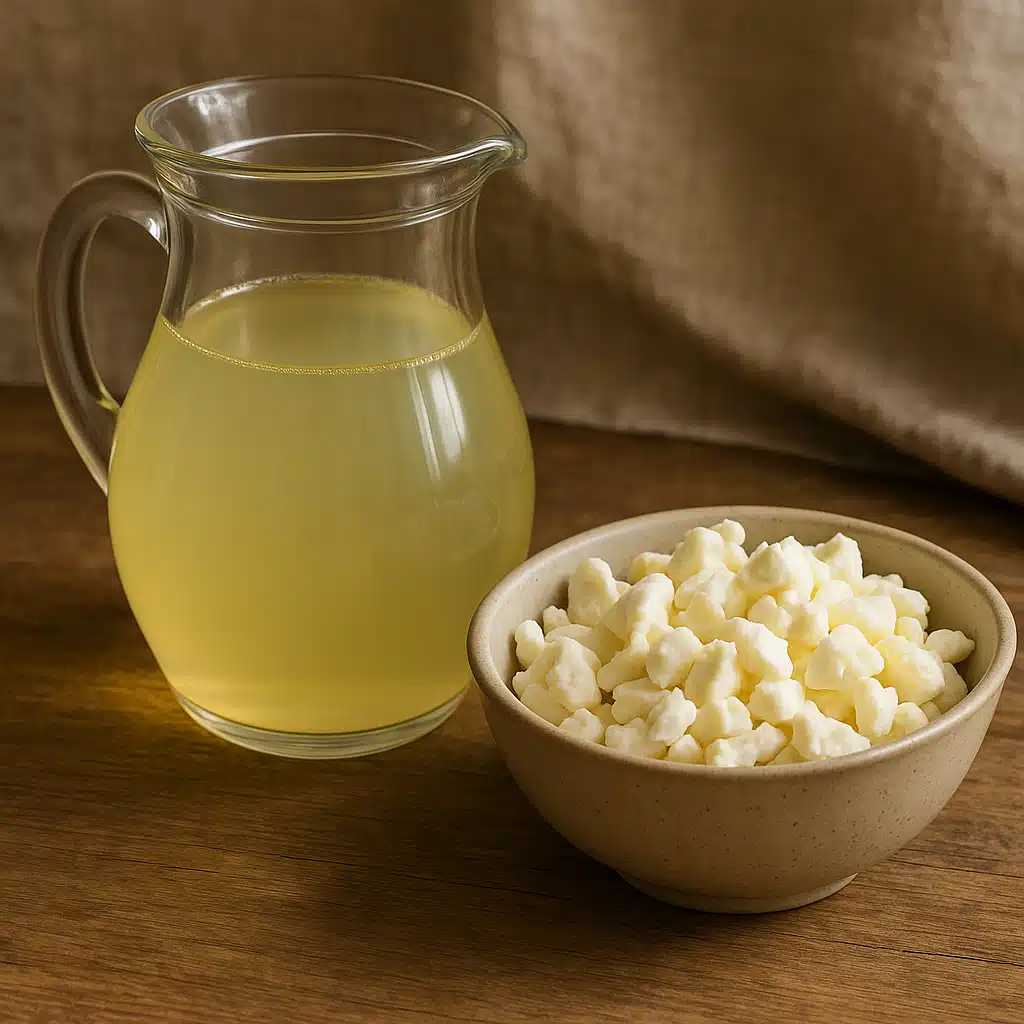
Don’t Waste the Whey: Creative Uses
When you make cheese curds, you’ll be left with a substantial amount of whey—the yellowish liquid that drains from the curds. This nutrient-rich byproduct shouldn’t be discarded! Whey contains protein, vitamins, minerals, and lactose, making it valuable in many applications:
- Baking liquid: Substitute whey for water or milk in bread, pancake, and waffle recipes for added nutrition and a subtle tangy flavor
- Soup and stock base: Use instead of water when making soups, stews, or cooking grains like rice and quinoa
- Protein smoothies: Add to smoothies for a protein boost without using powder supplements
- Plant fertilizer: Dilute with water and use to water plants—the nutrients benefit soil and plant growth
- Animal feed: Many pets and farm animals can benefit from whey added to their diet (consult with a veterinarian first)
- Lacto-fermentation: Use as the liquid in fermented vegetable preparations
- Ricotta cheese: Heat whey to near-boiling and add an acid (lemon juice or vinegar) to create simple ricotta cheese from the remaining proteins
Refrigerate unused whey in an airtight container for up to a week, or freeze it in portions for longer storage.
Taking Your Cheesemaking Further
Once you’ve mastered basic cheese curds, you might want to explore more advanced cheesemaking. Cheese curds are actually the foundation for many other cheese varieties. With different techniques, cultures, aging processes, and handling methods, these same basic curds can become cheddar, colby, monterey jack, and numerous other cheese styles.
Consider experimenting with different types of milk—goat’s milk creates tangier, more distinctive curds, while sheep’s milk produces incredibly rich, creamy results. You can also explore adding different starter cultures to develop more complex flavors, or try variations in cooking temperatures and times to achieve different textures.
The fundamentals you learn making cheese curds—temperature control, recognizing proper curd formation, gentle handling techniques, and understanding how proteins behave—apply to virtually all cheesemaking endeavors. Many home cheesemakers find that starting with simple cheese curds builds confidence and skills that translate to more complex projects.
Final Thoughts: The Joy of Homemade Cheese Curds
Making cheese curds at home is a rewarding culinary adventure that connects you with traditional food preservation techniques while producing something delicious and unique. The process is more forgiving than you might expect, and the results are far superior to anything you can purchase. That first satisfying squeak when you bite into your homemade curds makes all the effort worthwhile.
Beyond the practical aspects, there’s something deeply satisfying about transforming simple milk into cheese through your own efforts. It’s a form of kitchen alchemy that has sustained cultures around the world for thousands of years. In our modern age of convenience foods, taking the time to make cheese curds from scratch represents a connection to culinary heritage and self-sufficiency.
Don’t be discouraged if your first batch isn’t perfect. Cheesemaking is as much art as science, and each attempt teaches you something about how ingredients behave and how small adjustments affect the final product. Keep notes on your process—temperatures, timing, milk sources, and results—so you can refine your technique with each batch.
Whether you enjoy your curds fresh from the pot, fried to golden perfection, or melted over your favorite comfort foods, homemade cheese curds bring authentic, artisanal quality to your table. So gather your ingredients, set aside an afternoon, and discover the simple pleasure of creating your own squeaky, delicious cheese curds. Your kitchen will smell amazing, you’ll learn valuable skills, and you’ll have a delightful homemade treat to enjoy and share.