Getting Started with Macro Photography
Macro photography opens up a fascinating world of intricate details that usually escape the naked eye. This photographic technique focuses on capturing extreme close-ups of small subjects, revealing textures, patterns, and features that transform ordinary objects into extraordinary visual subjects. Whether you’re photographing minerals, plants, insects, or everyday items, macro photography allows you to see the world from an entirely new perspective.
The wonderful news for aspiring macro photographers is that you don’t need expensive professional equipment to get started. Modern smartphones have increasingly sophisticated camera systems that make macro photography accessible to everyone, regardless of budget or experience level. With the right techniques and understanding of fundamental principles, you can create stunning close-up images that rival those taken with dedicated camera equipment.

Why Macro Photography Matters
- Reveal Hidden Beauty: Macro photography unveils the extraordinary complexity and beauty hidden within ordinary objects. Surfaces that appear smooth to the eye reveal fascinating textures and patterns when viewed up close.
- Creative Expression: This photographic style provides endless opportunities for artistic interpretation. You control composition, lighting, and perspective to create unique visual stories from the smallest subjects.
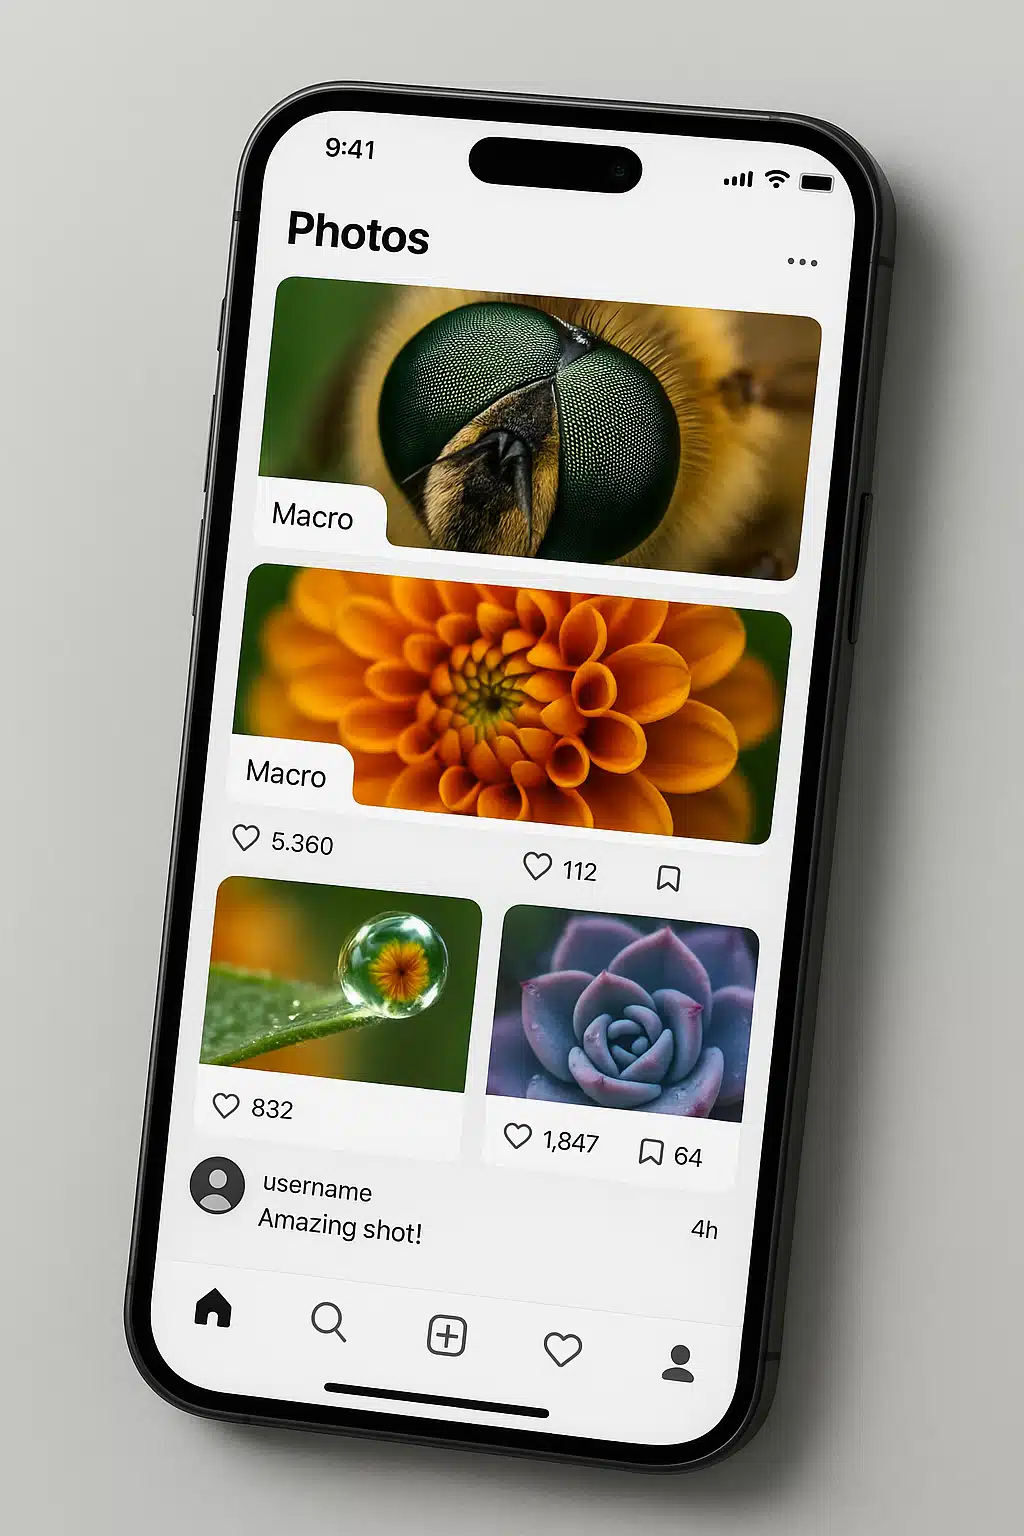
- Social Media Impact: High-quality macro photographs stand out in crowded social media feeds, generating engagement, shares, and appreciation from viewers who are captivated by perspectives they’ve never seen before.
- Mindfulness and Observation: Practicing macro photography encourages you to slow down, observe carefully, and appreciate the intricate details in your environment that are so often overlooked in daily life.
- Universal Appeal: Unlike some photography genres that require specific locations or subjects, macro photography can be practiced anywhere—your backyard, local park, or even indoors with household objects.
Essential Lighting Techniques for Macro Photography
Lighting is arguably the most critical factor in creating compelling macro photographs. Because you’re working at such close distances and often with shallow depth of field, the quality, direction, and intensity of light directly impact your final image. Understanding how to work with different lighting conditions will dramatically improve your macro photography results.

Natural Light Strategies
- Golden Hour Photography: The period shortly after sunrise or before sunset provides soft, warm light that enhances textures and colors without creating harsh shadows. This lighting condition is ideal for outdoor macro photography and creates a professional look with minimal effort.
- Overcast Conditions: Cloudy days provide naturally diffused light that acts like a giant softbox, creating even illumination across your subject. This is excellent for capturing true colors and fine details without dealing with strong shadows.
- Shade and Indirect Light: When shooting in bright conditions, position your subject in open shade where it receives indirect light rather than direct sunlight. This prevents overexposure and harsh contrast while maintaining adequate illumination.
- Backlighting for Translucent Subjects: When photographing semi-transparent materials or objects with interesting edges, position your light source behind the subject to create a glowing effect that highlights structure and texture.
Controlling and Modifying Light
- DIY Diffusers: Create soft, even lighting by placing translucent white material between your light source and subject. Options include thin white fabric, parchment paper, or commercially available diffusion panels.
- Reflectors for Fill Light: Use white cards, aluminum foil, or small mirrors to bounce light into shadow areas, reducing contrast and revealing detail in darker portions of your subject.
- Blocking Unwanted Light: Sometimes you need to prevent light from certain directions to create definition and depth. Use dark cards or your own shadow to block light and shape the illumination on your subject.
- Indoor Lighting Control: When shooting indoors, position your subject near windows for natural light, or use desk lamps with adjustable positions to create directional lighting that highlights texture and form.
Mastering Focus in Macro Photography
Achieving sharp focus is one of the biggest challenges in macro photography. When working at extremely close distances, the depth of field—the area that appears sharp in your image—becomes remarkably shallow, sometimes measuring just millimeters. This means precision focusing is essential, but it also provides creative opportunities to isolate specific details and create beautiful background blur.
Smartphone Focus Techniques
- Tap-to-Focus Precision: Most smartphone cameras allow you to select your focus point by tapping the screen. Take advantage of this feature by carefully selecting the most important detail in your composition—this becomes your focal point that draws the viewer’s eye.
- Focus Lock Feature: After tapping to focus, many phones allow you to lock that focus by holding your finger on the screen until you see an “AE/AF Lock” indicator. This prevents the camera from refocusing when you slightly adjust your composition.
- Manual Focus Mode: Many camera apps offer manual focus control, allowing you to fine-tune focus with precision. This is especially useful when your camera struggles to autofocus on small subjects or in low-contrast situations.
- Focus Stacking for Extended Depth: Some advanced camera apps support focus stacking—taking multiple images focused at different distances and combining them to create a final image with greater depth of field than possible in a single shot.
Working with Shallow Depth of Field
- Intentional Focus Placement: With limited depth of field, you must be deliberate about what you want sharp. Generally, focus on the nearest interesting detail, prominent texture, or the element that tells your visual story.
- Parallel Plane Technique: To maximize the appearance of sharpness, try to keep your smartphone’s sensor parallel to the most important features of your subject. This places more of the subject within the shallow depth of field.
- Embrace Creative Blur: Don’t fight against shallow depth of field—use it creatively. Beautiful background blur (bokeh) isolates your subject and creates professional-looking images with visual depth and dimension.
- Critical Focus Check: After capturing an image, zoom in on your phone’s screen to verify that your intended focus point is truly sharp. What looks focused at normal viewing size may reveal focus issues when examined closely.
Camera Stability and Sharpness
Even the slightest movement during exposure can result in blurry images when shooting macro photography. At close focusing distances, any camera shake is magnified, making stabilization crucial for sharp results. Additionally, subject movement—even from gentle breezes when shooting outdoors—can cause blur that ruins an otherwise perfect shot.
Stabilization Strategies
- Tripod Use: A stable tripod is the gold standard for macro photography. It eliminates camera shake, allows for precise composition adjustments, and enables you to wait for perfect moments without fatigue.
- Improvised Support: When a tripod isn’t available, rest your phone or hands on stable surfaces like rocks, walls, or tables. Even minimal additional support significantly reduces camera shake.
- Proper Holding Technique: When shooting handheld, tuck your elbows against your body, use both hands to hold your phone, and exhale slowly while pressing the shutter to minimize movement.
- Timer or Remote Shutter: Use your camera’s self-timer or a remote shutter button (including volume buttons on headphones) to avoid the shake caused by physically touching your phone when taking the photo.
- Burst Mode Shooting: Take multiple shots in rapid succession using burst mode. This increases your chances of capturing at least one perfectly sharp image, especially with subjects that move slightly.
Composition Techniques for Compelling Macro Images
Technical excellence in lighting and focus means nothing without strong composition. How you arrange elements within your frame determines whether your macro photograph simply documents a subject or creates an engaging image that captures attention and imagination. Applying compositional principles helps transform close-up shots into compelling visual stories.
Compositional Guidelines
- Rule of Thirds: Rather than centering your subject, position key elements along the lines that divide your frame into thirds, or at the points where these lines intersect. This creates more dynamic, visually interesting compositions.
- Negative Space: Don’t fill every part of your frame. Leaving empty space around your subject creates breathing room, draws attention to the main element, and can evoke specific moods or feelings.
- Leading Lines and Patterns: Look for natural lines, textures, or repeating patterns in your subject that guide the viewer’s eye through the image or create visual rhythm and interest.
- Perspective and Angle: Experiment with different shooting angles. Getting low, shooting from above, or positioning yourself at unconventional angles can reveal perspectives that viewers have never seen before.
- Background Awareness: Even when blurred, your background contributes to the overall image. Choose backgrounds that complement your subject through color harmony or tonal contrast rather than creating visual confusion.
- Fill the Frame: In macro photography, don’t be afraid to get close and fill your frame with your subject. This eliminates distractions and creates bold, impactful images.
Practical Workflow for Capturing Macro Photos
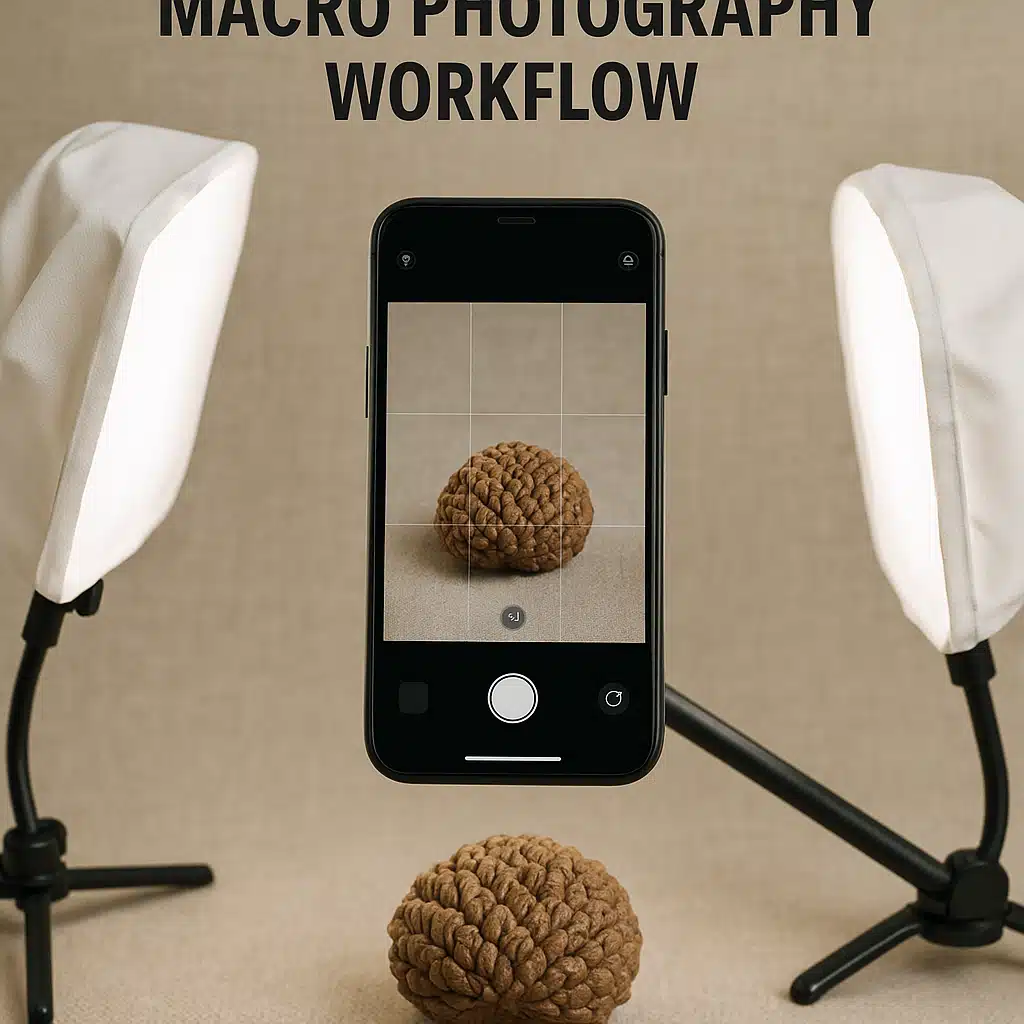
Developing a consistent workflow helps ensure you don’t miss important steps and increases your success rate. Here’s a step-by-step process for capturing high-quality macro photographs with your smartphone.
Step-by-Step Process
- Select and Prepare Your Subject: Choose an object with interesting textures, colors, or patterns. Clean any dust or debris that might distract from the main features. For portable objects, consider bringing them to locations with better lighting rather than shooting where you found them.
- Assess and Optimize Lighting: Evaluate the available light and determine if it’s suitable or needs modification. Position your subject in relation to the light source, and add diffusers or reflectors as needed to create the lighting quality you want.
- Set Up Stabilization: Mount your phone on a tripod or find stable support. Even when shooting handheld, brace yourself against something solid or use proper holding techniques to minimize shake.
- Compose Your Shot: Consider your background, apply compositional principles, and frame your subject thoughtfully. Take time to refine your composition—small adjustments at this stage make significant differences in the final image.
- Configure Camera Settings: If your camera app offers manual controls, set appropriate ISO (keep it low to minimize noise), adjust exposure compensation if needed, and select the highest quality capture settings available.
- Focus Precisely: Use tap-to-focus on the most important detail, verify focus by zooming in on your screen preview, and lock focus if your subject or camera might move slightly.
- Capture Multiple Shots: Take several images with slight variations in focus point, composition, or angle. This provides options during editing and ensures you capture at least one perfect shot.
- Review and Verify: Immediately check your images at full zoom to confirm focus accuracy and sharpness. If anything is off, adjust and reshoot while everything is still set up.
Common Mistakes and How to Avoid Them
Understanding common pitfalls helps you avoid frustration and accelerate your progress in macro photography. Many beginners make the same mistakes, but recognizing and correcting these issues quickly improves your results.
Frequent Errors and Solutions
- Mistake: Using Digital Zoom
Digital zoom degrades image quality by cropping and enlarging pixels rather than truly magnifying the image. Instead, physically move closer to your subject or use optical accessories like macro lens attachments for genuine magnification without quality loss. - Mistake: Shooting Only in Auto Mode
While auto mode is convenient, it often makes decisions that don’t serve macro photography well. Learn to use manual or semi-manual controls to maintain consistent exposure and prevent the camera from focusing on the wrong element. - Mistake: Ignoring the Background
Busy, distracting, or inappropriately colored backgrounds can ruin otherwise excellent macro shots. Always consider what’s behind your subject and adjust your position, angle, or the subject’s location to achieve a clean, complementary background. - Mistake: Insufficient Light
Low light forces your camera to use high ISO (creating noise) or slow shutter speeds (risking blur). Rather than accepting poor lighting, add light sources, use reflectors, or move your subject to better-lit locations. - Mistake: Not Cleaning the Lens
Fingerprints, dust, and smudges on your phone’s camera lens create haze, reduce contrast, and degrade sharpness. Make it a habit to gently clean your lens before every macro photography session using a microfiber cloth. - Mistake: Giving Up Too Quickly
Macro photography has a learning curve, and your first attempts may not meet your expectations. Persistence and practice are essential—each session teaches you something new about technique, lighting, and composition.
Post-Processing for Enhanced Macro Images
Capturing the image is only part of the creative process. Thoughtful post-processing can enhance your macro photographs by optimizing exposure, increasing sharpness, and refining colors while maintaining a natural appearance. Modern editing apps provide powerful tools that were once available only in professional desktop software.
Essential Editing Adjustments
- Exposure and Contrast: Fine-tune overall brightness and adjust contrast to make your subject stand out. In macro photography, slightly increased contrast often helps emphasize textures and details.
- Sharpening: Apply appropriate sharpening to enhance edge definition and texture detail, but avoid over-sharpening which creates unnatural-looking halos and emphasizes noise.
- Color Correction: Adjust white balance to ensure accurate colors, then refine individual color channels to make your subject’s colors vibrant and true-to-life without appearing oversaturated.
- Highlight and Shadow Recovery: Bring out details in bright areas that might appear washed out, and lift shadow areas to reveal hidden details while maintaining overall image depth.
- Noise Reduction: If you shot in less-than-ideal lighting conditions, apply noise reduction to smooth grainy areas, but be conservative to avoid losing fine detail texture.
- Cropping and Straightening: Refine composition by cropping to remove distractions or improve balance, and straighten horizons or align prominent lines for a more polished appearance.
Finding and Selecting Compelling Subjects
One of the joys of macro photography is discovering that potential subjects are everywhere once you train your eye to see them. You don’t need to travel to exotic locations—extraordinary macro subjects exist in your immediate environment, waiting to be noticed and photographed.
Subject Categories and Ideas
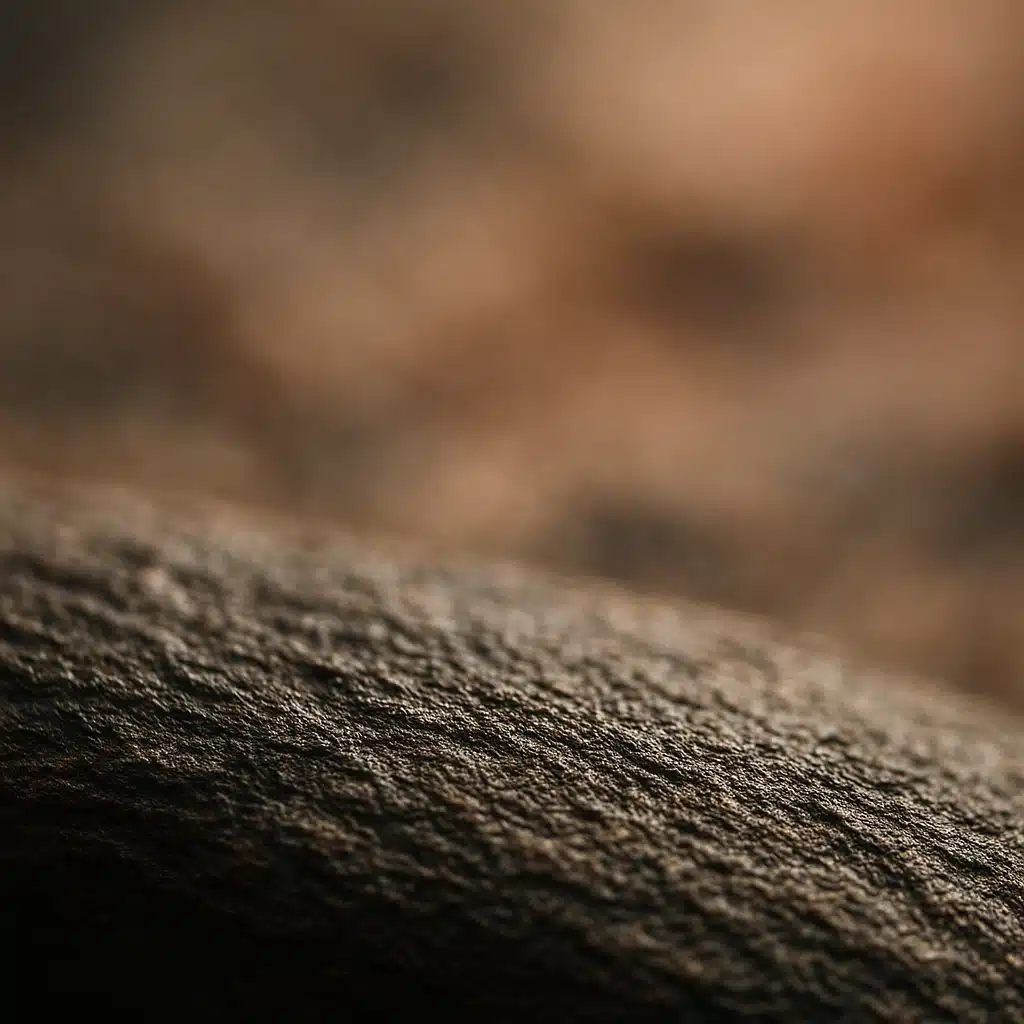
- Natural Minerals and Stones: Rocks, pebbles, and mineral specimens display fascinating textures, crystal formations, color variations, and geological patterns that become abstract artworks when photographed up close.
- Plant Details: Flower petals, leaf veins, seeds, bark texture, and plant structures offer infinite variety in form, pattern, and color. Morning dew adds an extra dimension of beauty to plant macro photography.
- Everyday Objects: Fabric weaves, food textures, water droplets, paper fibers, rust patterns, peeling paint, and countless household items reveal unexpected beauty and complexity when viewed macroscopically.
- Natural Patterns: Repetitive structures in nature—honeycomb patterns, spiral formations, symmetrical arrangements, and fractal-like designs—create visually satisfying compositions that appeal to our aesthetic sensibilities.
- Textural Contrasts: Combining smooth and rough, shiny and matte, or hard and soft textures within a single composition creates visual interest and tactile appeal that engages viewers.
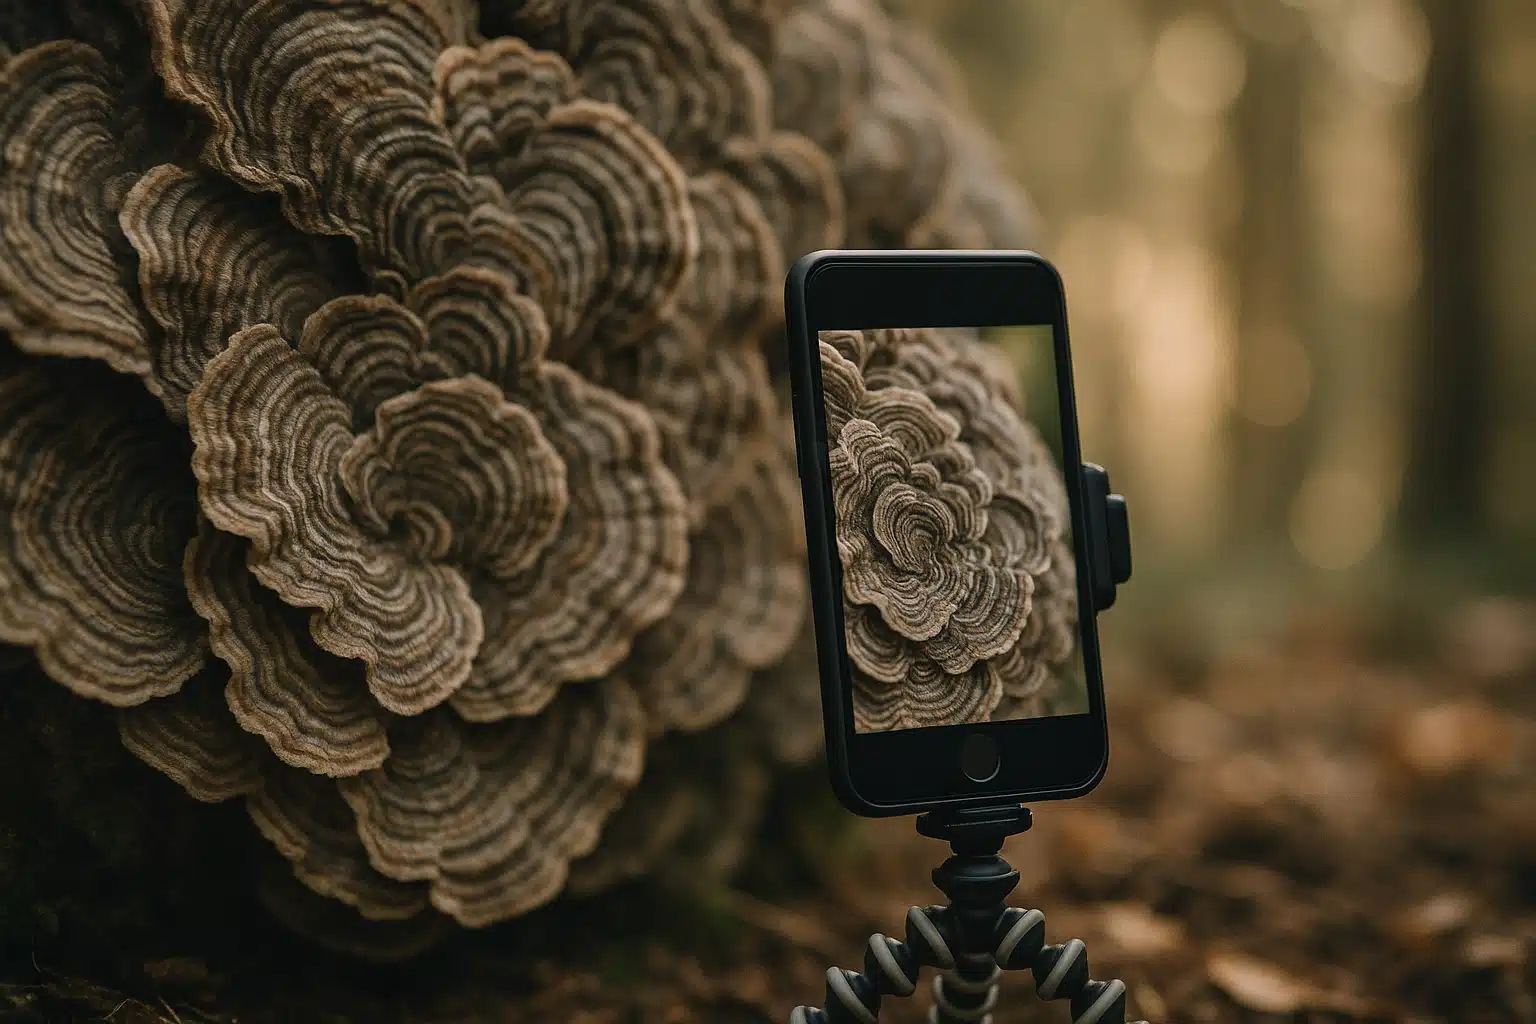
- Seasonal Opportunities: Different seasons offer unique macro subjects: ice crystals and frost in winter, fresh blooms in spring, insects in summer, and changing leaves or fungi in autumn.

Building Your Macro Photography Skills
Like any creative skill, macro photography improves with dedicated practice and intentional learning. Rather than randomly shooting, approach your development systematically by focusing on specific techniques, analyzing your results, and continuously challenging yourself with new subjects and situations.
Practice and Development Strategies
- Daily or Weekly Projects: Commit to capturing macro images regularly, even if just for a few minutes. Consistent practice accelerates learning more effectively than occasional intensive sessions.
- Technique Focus Sessions: Dedicate individual practice sessions to mastering specific skills—one day focusing solely on lighting, another on composition, and another on achieving perfect focus.
- Subject Series: Photograph the same subject repeatedly under different conditions, times of day, or with varying techniques. This teaches you how different factors affect your results.
- Study and Analyze: Examine macro photographs by skilled photographers, noting their lighting choices, compositional decisions, and technical approaches. Then attempt to recreate effects you admire.
- Experiment Fearlessly: Try unconventional angles, unusual subjects, creative lighting setups, or non-traditional compositions. Some experiments fail, but others lead to breakthrough images and new stylistic directions.
- Seek Constructive Feedback: Share your work in photography communities and genuinely consider feedback. Outside perspectives often identify strengths and weaknesses you might not notice yourself.
Sharing and Showcasing Your Macro Photography
Creating compelling images is rewarding in itself, but sharing your macro photography amplifies that satisfaction by allowing others to experience the miniature worlds you’ve discovered. Strategic sharing also helps you build an audience, receive feedback, and connect with other photography enthusiasts who share your interests.
Effective Sharing Strategies
- Social Media Optimization: Different platforms favor different image formats and presentation styles. Understand each platform’s specifications and audience preferences to maximize impact and engagement.
- Compelling Captions: Accompany your images with informative or engaging text that provides context, explains your process, shares interesting facts about your subject, or tells the story behind the image.
- Consistent Posting Schedule: Regular sharing keeps your audience engaged and helps you build a following. Consistency matters more than frequency—whether daily or weekly, maintain a predictable rhythm.
- Appropriate Hashtags: Research and use relevant hashtags that help interested viewers discover your work. Combine popular general tags with specific niche tags to reach both broad and targeted audiences.
- Engage with Communities: Join photography groups, participate in challenges, comment thoughtfully on others’ work, and build genuine connections rather than simply broadcasting your own images.
- Create Collections or Themes: Organize your images into coherent series or themes that tell larger stories or showcase specific subjects, techniques, or aesthetic approaches.
Expanding Your Macro Photography Capabilities
While you can achieve impressive results with just your smartphone, certain accessories and tools expand your creative possibilities and help you capture images that would be difficult or impossible with the phone alone. These enhancements range from simple and affordable to more advanced investments.
Useful Accessories and Equipment
- Macro Lens Attachments: Clip-on macro lenses provide greater magnification than your phone’s native capabilities, allowing you to photograph smaller subjects and capture finer details with improved optical quality.
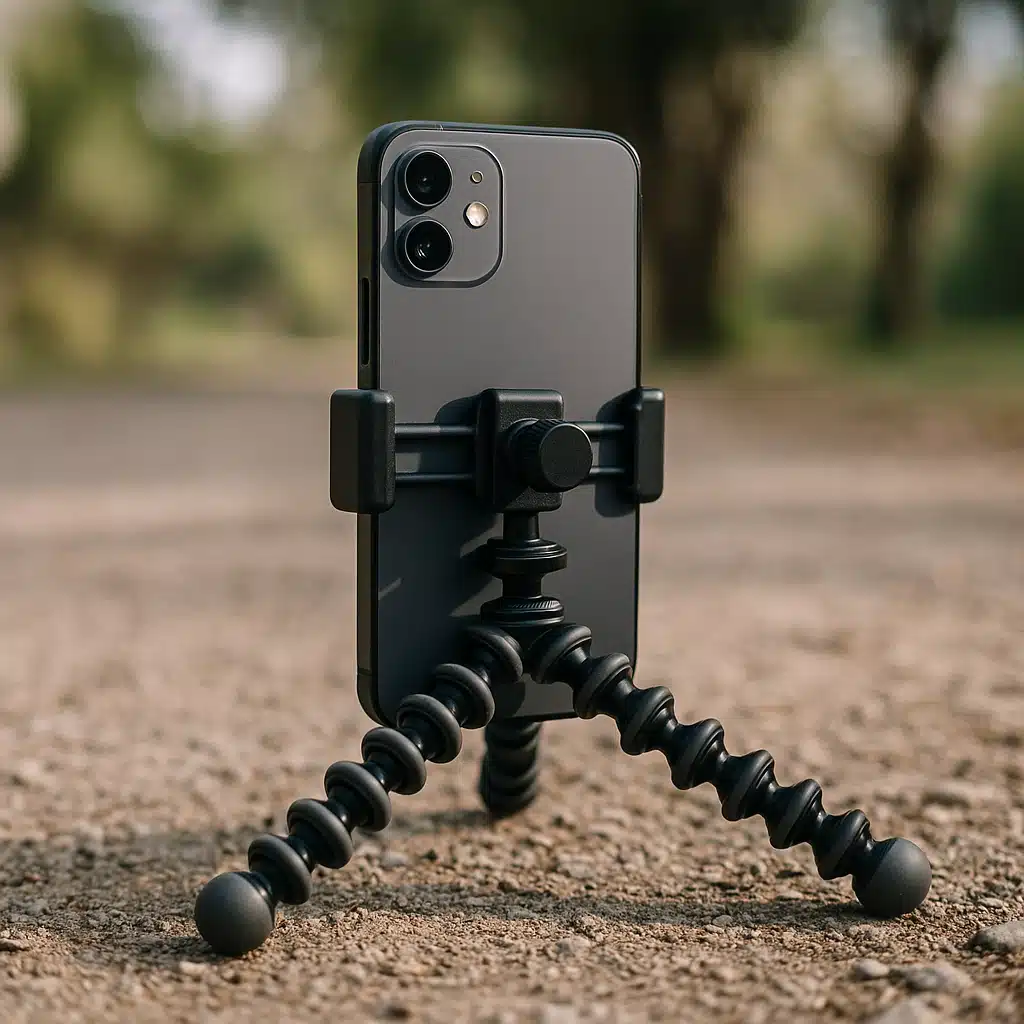
- Flexible Tripods: Small tripods with bendable legs can conform to uneven surfaces, wrap around objects, and position your phone at angles that would be impossible with traditional tripods.
- Portable Lighting: Compact LED panels with adjustable brightness and color temperature give you lighting control in any environment, allowing you to shoot in conditions that would otherwise be too dark or poorly lit.
- Reflectors and Diffusers: Professional or DIY light modifiers help you shape and control natural or artificial light, creating the exact lighting quality your vision requires.
- Remote Shutter Controls: Bluetooth remote shutters or smartwatch controls eliminate the camera shake that comes from touching your phone, especially important in macro photography where stability is critical.
- Portable Backgrounds: Small colored cards or textured materials provide clean, controlled backgrounds when natural backgrounds are unsuitable, giving you complete creative control over your compositions.
Conclusion
Macro photography transforms the way you see and interact with the world around you. By revealing the extraordinary details hidden within ordinary objects, this photographic approach opens up endless creative possibilities that require nothing more than your smartphone, curiosity, and willingness to look closely at the overlooked.
The techniques covered in this guide—mastering lighting, achieving precise focus, ensuring stability, composing thoughtfully, and processing effectively—provide a solid foundation for creating compelling macro images that captivate viewers and showcase the miniature wonders that surround us all. Remember that technical excellence develops through practice, experimentation, and learning from both successes and failures.
Start your macro photography journey today by finding an interesting object nearby and applying the principles you’ve learned. Whether photographing minerals, plants, everyday objects, or any other small subject, approach each image as an opportunity to discover something new and share a perspective that others might never have considered. With patience, practice, and attention to the fundamentals of light and focus, you’ll soon create macro photographs that inspire wonder and demonstrate that extraordinary beauty exists everywhere, waiting only for someone to notice and capture it.