Understanding Mineral Hardness: A Practical Guide to Testing Rocks and Minerals
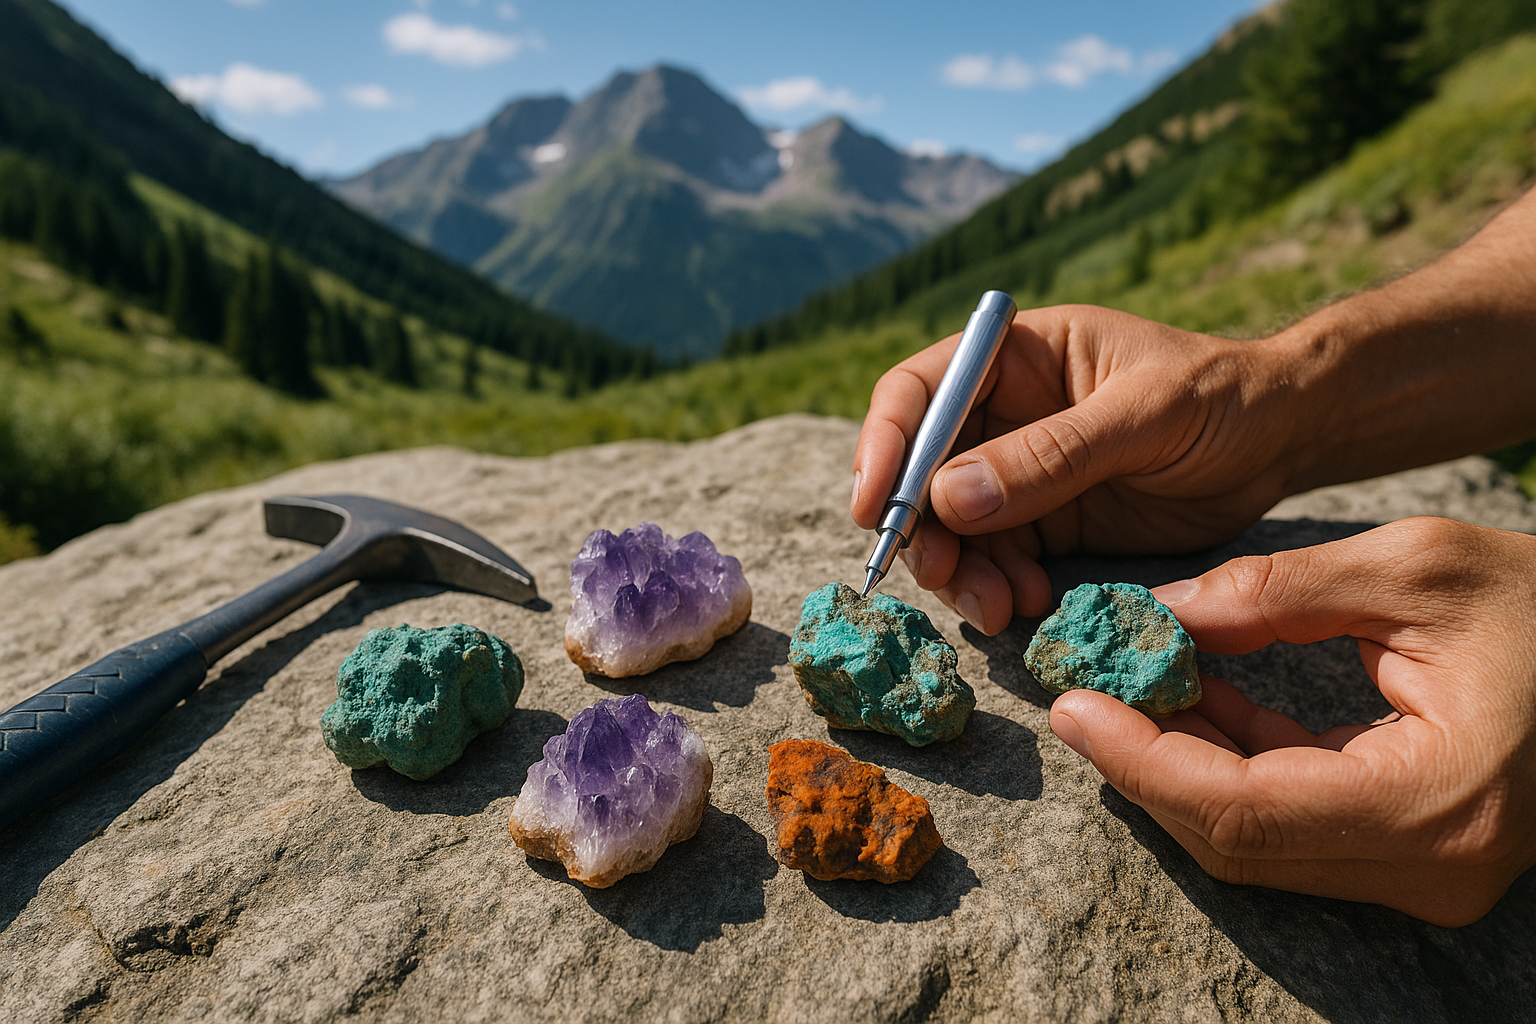
Have you ever discovered an interesting stone during a nature walk and wondered about its properties? Whether you’re exploring natural landscapes, collecting specimens, or simply curious about the geological world around you, understanding mineral hardness can transform how you interact with rocks and minerals. This comprehensive guide introduces you to the Mohs Hardness Scale and demonstrates how simple everyday objects can help you identify and classify minerals wherever you are in the world.
What is the Mohs Hardness Scale?
The Mohs Hardness Scale is a standardized reference system used globally by geologists, mineralogists, and enthusiasts to measure the scratch resistance of minerals. Developed by German geologist Friedrich Mohs in 1812, this scale remains one of the most practical and widely used tools in mineralogy. The concept is elegantly simple: minerals are ranked from 1 to 10 based on their ability to scratch or be scratched by other minerals.
This relative scale doesn’t measure absolute hardness but rather provides a comparative framework that anyone can use without specialized equipment. The beauty of the Mohs scale lies in its accessibility—you don’t need laboratory instruments to apply its principles in real-world situations.
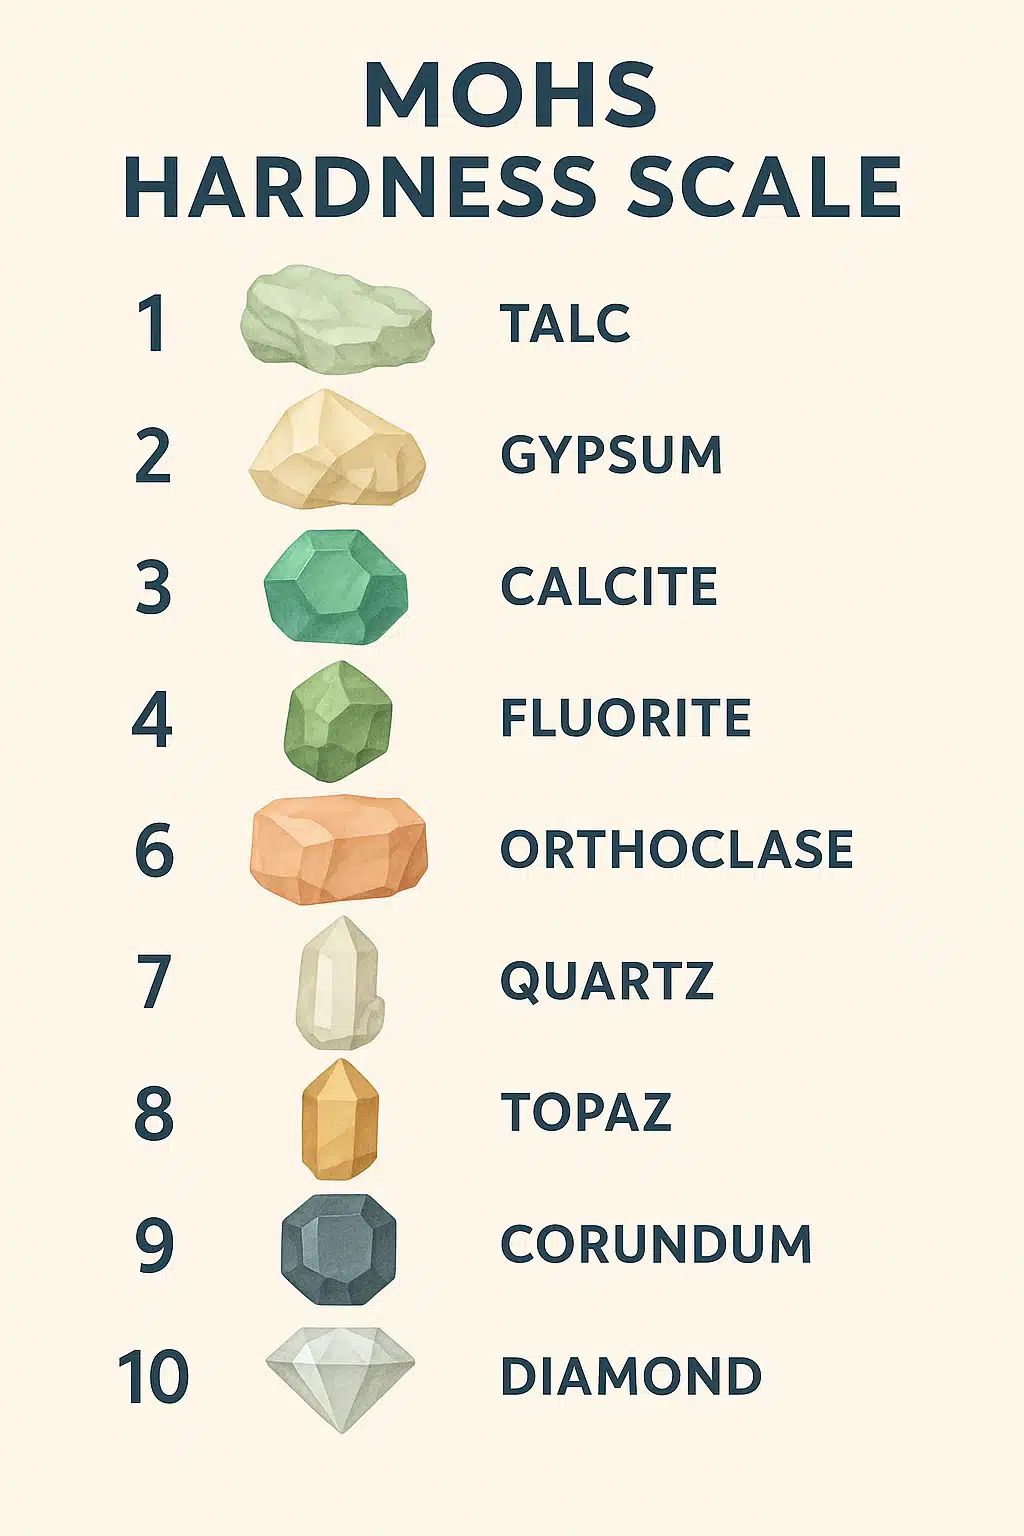
The Complete Mohs Hardness Scale Explained
- Talc (1): The softest mineral on the scale, easily scratched with a fingernail. Talc feels greasy or soapy to the touch and crumbles with minimal pressure.
- Gypsum (2): Slightly harder than talc, it can still be scratched by a fingernail but requires more effort. Common in sedimentary formations worldwide.
- Calcite (3): Marks the threshold where fingernails no longer work effectively. A copper coin can scratch calcite, making it a useful field testing point.
- Fluorite (4): Harder than calcite but still scratchable with steel tools. Often displays beautiful colors and fluorescence under ultraviolet light.
- Apatite (5): Represents the midpoint of the scale. Steel tools can scratch it, but it resists softer materials effectively.
- Orthoclase Feldspar (6): Can scratch glass and steel, marking the beginning of truly hard minerals. Common in igneous rocks.
- Quartz (7): One of the most abundant minerals on Earth, quartz easily scratches glass and most common materials. Found in countless geological environments.
- Topaz (8): Significantly harder than quartz, topaz is valued in jewelry and industrial applications for its durability.
- Corundum (9): Includes precious gemstones like sapphires and rubies. Only diamond can scratch corundum naturally.
- Diamond (10): The hardest naturally occurring mineral, capable of scratching all other materials on the scale.
Why Testing Mineral Hardness Matters
Understanding mineral hardness serves multiple practical and educational purposes. For geology enthusiasts and students, hardness testing provides immediate, hands-on insights into mineral identification. When combined with other properties like color, luster, and crystal structure, hardness becomes a powerful diagnostic tool.
Beyond identification, hardness testing helps you understand a mineral’s potential uses and value. Harder minerals typically have greater commercial and industrial applications, from construction materials to gemstones. For collectors, knowing hardness helps with proper storage and handling—softer minerals require more careful protection from scratching and damage.
Educators and parents find hardness testing an excellent gateway to earth sciences, as it combines theoretical knowledge with tactile, memorable experiences. The immediate feedback from scratch testing makes geological concepts tangible and engaging for learners of all ages.
Field Testing with Common Objects
One of the most practical aspects of the Mohs scale is that you don’t need specialized equipment to apply it. Common objects serve as excellent reference points for hardness testing in the field. Here’s what makes this approach so valuable for mineral enthusiasts worldwide.

Essential Testing Tools and Their Hardness Values
- Fingernail: Hardness approximately 2-2.5. Can scratch talc and gypsum.
- Copper coin: Hardness approximately 3-3.5. Useful for testing calcite and softer minerals.
- Steel nail or knife blade: Hardness approximately 5-5.5. Scratches apatite and softer minerals but won’t scratch orthoclase or harder materials.
- Glass plate or window: Hardness approximately 5.5. Another reference point between apatite and orthoclase.
- Steel file: Hardness approximately 6.5. Can test minerals harder than common steel.
- Quartz specimen: Hardness 7. If you have a known quartz sample, it becomes an excellent field reference.
Step-by-Step Hardness Testing Method
Proper technique ensures accurate results and prevents damage to valuable specimens. Follow this systematic approach for reliable hardness testing.
Preparation and Safety
Before beginning any hardness test, ensure you’re working in adequate lighting and have a stable surface. If testing valuable specimens, consider working over a soft cloth to prevent damage from accidental drops. Always test on the least conspicuous area of a specimen when possible, as scratch testing is slightly destructive by nature.
Wear safety glasses if testing harder minerals with steel tools, as small fragments can occasionally chip off during testing. Keep your testing tools clean and free from debris that might create misleading scratch marks.
The Testing Process
- Select a fresh surface: Choose an area of the mineral that appears unweathered and clean. Weathered surfaces can give false readings as they’re often softer than the mineral’s interior.
- Start with softer tools: Begin testing with your fingernail or the softest tool available. This prevents unnecessary damage to softer specimens.
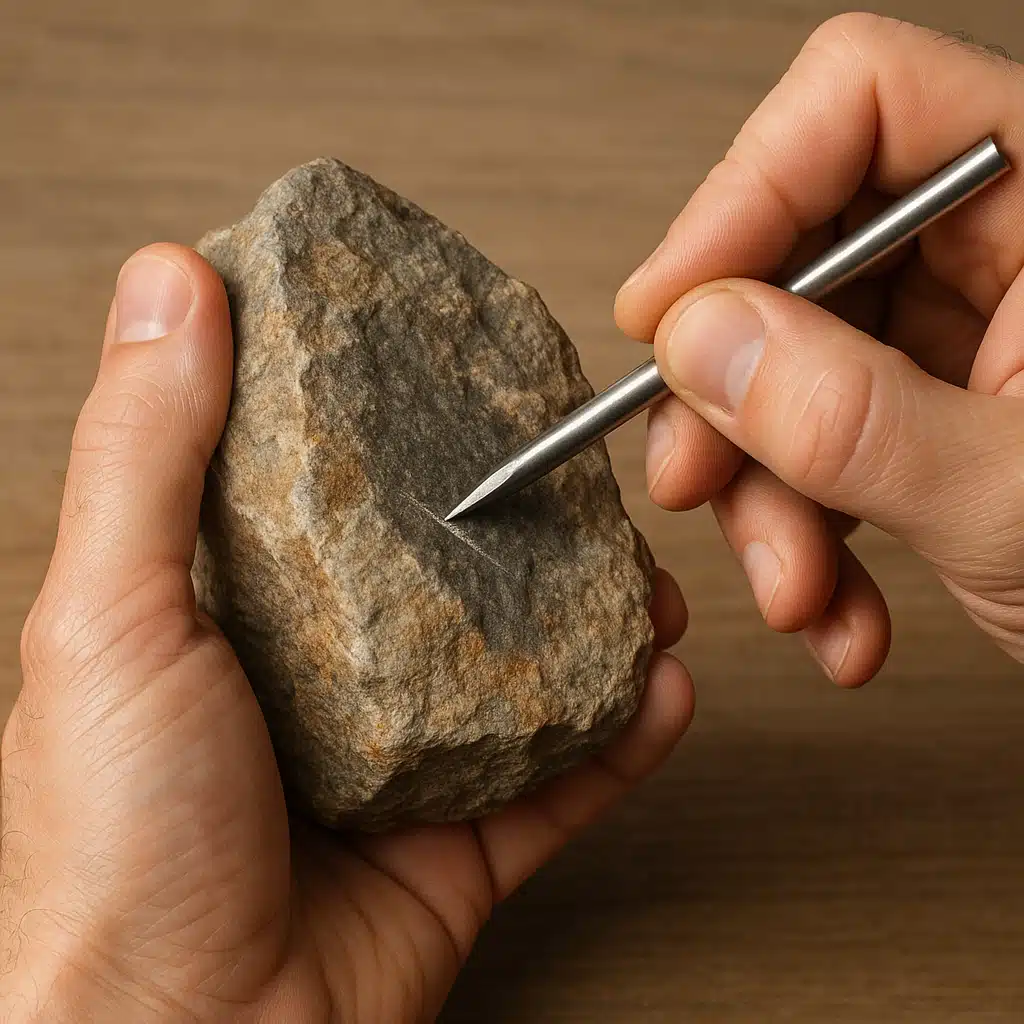
- Apply firm, consistent pressure: Use moderate pressure—enough to create a scratch if the tool is harder, but not so much that you’re crushing the mineral. Draw the tool across the surface in a deliberate stroke.
- Examine the result carefully: This is crucial. Look for an actual scratch—a groove in the mineral’s surface. Sometimes material from your testing tool will leave a mark that wipes away. A true scratch remains after wiping with your finger.
- Test the reverse: For confirmation, try scratching your testing tool with the mineral. This bidirectional testing provides more confidence in your results.
- Progress systematically: If the first tool doesn’t scratch the mineral, move to the next harder tool. Continue until you find which tools can and cannot scratch your specimen.
- Record observations: Note which tools scratched the mineral and which didn’t. This brackets the hardness value.
Interpreting Your Results
If a copper coin scratches your mineral but a fingernail doesn’t, you know the hardness falls between 2.5 and 3.5—likely indicating calcite or a similar mineral. If a steel nail scratches it but a copper coin doesn’t, the hardness is between 3.5 and 5.5. By using multiple reference tools, you can narrow down the hardness range considerably.
Remember that the Mohs scale is relative, not linear. The difference in absolute hardness between corundum (9) and diamond (10) is much greater than the difference between talc (1) and gypsum (2). This is why comparative testing with known references works better than trying to assign precise numerical values.
Common Challenges and Solutions
Even experienced mineral collectors encounter situations where hardness testing becomes tricky. Understanding these challenges helps you achieve more accurate results.
Distinguishing Real Scratches from False Marks
The most common mistake in hardness testing is confusing a scratch with a streak mark. When a softer material (like a copper coin) is dragged across a harder surface (like quartz), it may leave a metallic streak that resembles a scratch. This mark will wipe away with your finger or a cloth, while a true scratch remains permanent because it represents actual removal of material from the mineral’s surface.
Always clean the test area after each attempt and examine it under good light. Run your fingernail across the mark—if you feel a groove, it’s a genuine scratch. If the surface feels smooth, it was likely just a streak mark.
Testing Very Hard Minerals
When your mineral resists scratching from all common tools, including steel files, you’re dealing with something harder than 6.5. At this point, you’ll need known mineral samples for comparison. A quartz specimen (hardness 7) becomes invaluable—if your unknown mineral scratches quartz, it’s harder than 7. If quartz scratches your specimen, it’s softer.
For minerals suspected to be in the 7-10 range, specialized hardness testing pencils with precise hardness values become necessary for accurate identification. These tools are available through geological supply retailers and provide reliable reference points for harder minerals.
Dealing with Weathered or Impure Samples
Weathering alters the surface properties of minerals, often making them softer than their true hardness value. Surface oxidation, chemical alteration, and mechanical weathering can all create misleading results. Whenever possible, test on a freshly broken surface or an area that appears unaltered.
Similarly, mineral specimens aren’t always pure. Rock samples may contain multiple minerals with different hardness values. What appears to be one mineral might actually be an aggregate. If you get inconsistent results across different areas of the same specimen, you may be testing different minerals. Close examination with a hand lens can help identify compositional variations.
Pressure Application Inconsistencies
Applying too much or too little pressure creates unreliable results. Too much force can fracture brittle minerals regardless of hardness, while too little pressure might fail to create a scratch even when the testing tool is harder. Developing a consistent technique takes practice.
A good rule of thumb is to use about the same pressure you’d apply when writing with a pencil on paper—firm enough to make a clear mark but not so hard that you’re bearing down with all your strength. With experience, you’ll develop an intuitive feel for appropriate testing pressure.
Practical Applications Beyond Identification
Understanding mineral hardness extends far beyond simple identification. This knowledge has practical implications for collectors, jewelers, craftspeople, and anyone working with geological materials.
Specimen Storage and Display
Knowing the hardness of your minerals helps you store them properly. Softer minerals should be wrapped individually or separated from harder specimens to prevent scratching. When displaying minerals together, arrange them so that harder specimens don’t contact softer ones during handling or if vibrations occur.
For very soft minerals like talc, gypsum, or calcite, consider display cases with individual compartments or cushioned bases that minimize movement. Harder minerals like quartz and topaz can tolerate more casual storage but still benefit from protective measures.
Jewelry and Gemstone Considerations
For those interested in gemstones and jewelry, hardness determines appropriate uses. Gems with hardness below 7 scratch relatively easily through everyday contact with dust (which contains quartz particles with hardness 7). This is why softer gemstones like opal, pearl, or turquoise require more careful handling and are often used in protected settings like pendants rather than rings.
Harder gemstones—sapphire, ruby, and diamond—resist scratching better and work well for rings and bracelets that endure more contact and abrasion. Understanding hardness helps you make informed decisions about gemstone jewelry purchases and care.
Rock Tumbling and Polishing
If you’re interested in rock tumbling or polishing, hardness becomes critically important. You can only tumble minerals of similar hardness together. Mixing hard and soft minerals results in the softer materials being ground down while harder ones remain barely affected. Successful tumbling requires batches of materials within roughly one point on the Mohs scale.
Additionally, polishing compounds are selected based on the hardness of materials being worked. Understanding these relationships produces better results and prevents wasted effort on incompatible combinations.
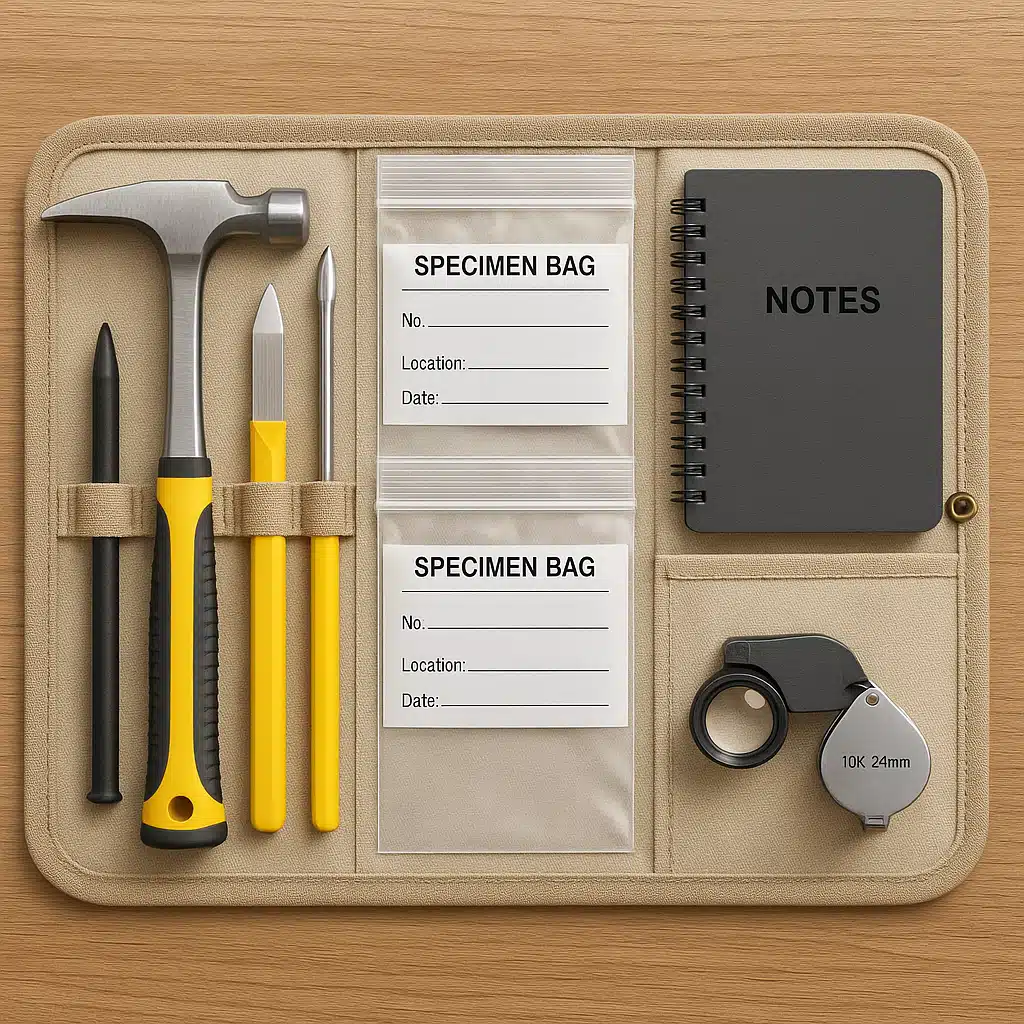
Building Your Field Testing Kit
Creating a portable hardness testing kit enables mineral identification wherever your explorations take you. A well-designed field kit combines effectiveness with portability, containing just what you need without unnecessary weight.
Essential Components
- Copper coins: Provides a hardness reference around 3-3.5
- Steel pocket knife or nail: Offers a reference point at 5-5.5
- Small glass plate or tile: Represents hardness around 5.5
- Steel file: Tests minerals in the 6-6.5 range
- Quartz specimen: Known reference at hardness 7
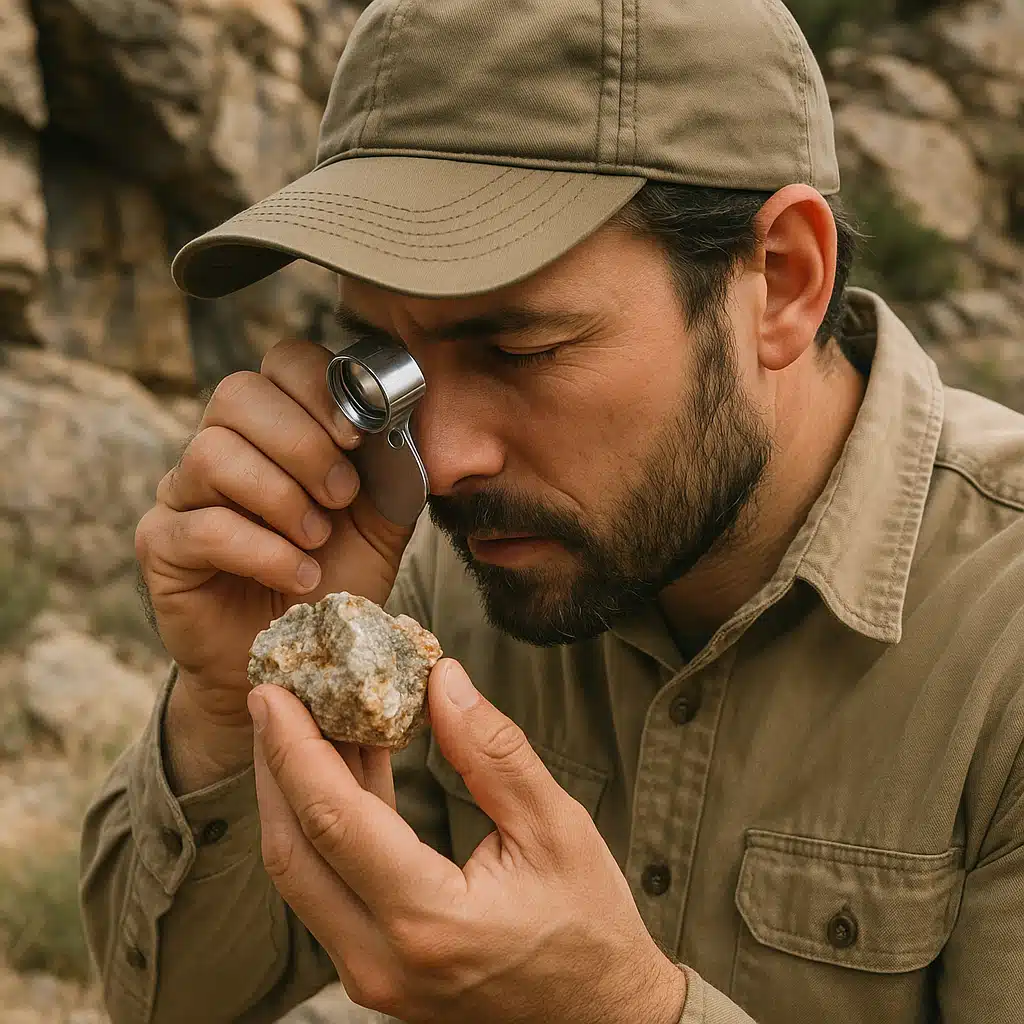
- Hand lens or magnifier: Essential for examining scratch results closely
- Small notebook and pencil: Recording observations in the field
- Soft cloth: Cleaning test areas to distinguish scratches from streaks
- Small brush: Removing dust and debris before testing
Optional Advanced Items
For more serious mineral identification, consider adding specialized hardness picks or pencils with calibrated points representing specific hardness values. These tools provide more precise testing than everyday objects and are particularly valuable when working with minerals harder than common steel.
A streak plate—unglazed porcelain tile—complements hardness testing by revealing powder color, another important identification characteristic. Combining multiple testing methods produces more confident identifications.
Educational Value and Learning Opportunities
Hardness testing offers exceptional educational value for learners of all ages. The hands-on, experimental nature makes abstract geological concepts concrete and memorable. Students develop scientific thinking skills through hypothesis formation, testing, observation, and conclusion.
Parents and educators can use hardness testing as an accessible entry point to earth sciences, requiring minimal equipment investment while delivering engaging, interactive learning experiences. The immediate feedback—does it scratch or not?—makes the scientific method tangible even for young learners.
Building a collection of reference minerals at different hardness levels creates an ongoing learning resource. As learners encounter new specimens, they can compare them against known references, reinforcing both the scale itself and broader mineral identification skills.
Advanced Techniques and Considerations
As you become more experienced with hardness testing, you’ll encounter situations requiring more nuanced approaches. Understanding these advanced concepts helps you handle challenging specimens and unusual situations.
Directional Hardness Variations
Some minerals exhibit different hardness values depending on the direction of testing relative to their crystal structure. Kyanite, for example, shows hardness of approximately 4.5-5 parallel to its length but 6.5-7 perpendicular to it. This directional variation, called anisotropism, means you might get different results testing different crystal faces of the same mineral.
When working with well-formed crystals, try testing multiple faces and orientations. Consistent results across all directions suggest isotropic hardness, while varying results might indicate directional hardness differences that actually aid in identification.
Microhardness Considerations
Traditional scratch testing assesses relative hardness at a macro scale, but professional mineralogists sometimes need microhardness measurements for tiny crystals or thin sections. These specialized techniques use calibrated indenters under controlled conditions, producing numerical hardness values beyond the scope of field testing but important in research and advanced applications.
For field purposes, understanding that microhardness testing exists helps explain why laboratory identifications sometimes differ from field observations. Surface conditions, crystal orientation, and testing method all influence results.
Relationship to Other Physical Properties
Hardness correlates with other physical properties but doesn’t determine them completely. Hard minerals aren’t necessarily tough—diamond is extremely hard but can fracture with a sharp blow along cleavage planes. Conversely, some softer minerals exhibit exceptional toughness, resisting breaking or chipping.
Understanding these distinctions helps you handle specimens appropriately. Hardness measures scratch resistance, toughness measures fracture resistance, and brittleness describes how readily material breaks. All three properties inform proper specimen care and use.
Connecting Hardness to Mineral Chemistry and Structure
While you don’t need to understand chemistry to use the Mohs scale, recognizing the connection between hardness and atomic structure enriches your geological knowledge. Hardness fundamentally reflects how strongly atoms bond within a mineral’s crystal lattice.
Diamond’s exceptional hardness results from carbon atoms bonded in an extremely strong three-dimensional network. Talc’s softness comes from sheet-like structures with strong bonds within layers but weak bonds between them, allowing layers to slide past each other easily.
This connection explains why certain mineral families share similar hardness ranges. Feldspars generally fall around 6, quartz family minerals around 7, and so forth. Understanding these patterns helps you develop intuition about likely hardness values even before testing.
Resources for Continued Learning
Developing expertise in mineral identification requires ongoing learning and practice. Numerous resources support your journey from beginner to accomplished mineral identifier.
Field guides specific to mineral identification provide comprehensive information on hardness alongside other diagnostic properties. These references typically organize minerals by properties, making identification systematic rather than random. Digital apps now offer portable identification assistance, though nothing replaces hands-on experience with actual specimens.
Joining mineral and geology clubs connects you with experienced collectors who can share insights, identify challenging specimens, and guide your developing skills. Many communities have local earth science organizations that sponsor field trips, workshops, and shows where you can examine diverse minerals and expand your reference knowledge.
Online forums and social media groups dedicated to mineralogy provide platforms for asking questions, sharing finds, and learning from global communities of enthusiasts. These digital resources complement hands-on practice with theoretical knowledge and collective experience.
Responsible Collecting and Environmental Awareness
As you develop your mineral identification skills and explore natural environments, practice responsible collecting ethics. Always obtain permission before collecting on private property, and research regulations governing collection on public lands—rules vary significantly by location and jurisdiction.
Leave collecting sites better than you found them. Remove all trash, avoid disturbing vegetation unnecessarily, and never damage rock formations beyond what’s needed for ethical specimen collection. Many locations prohibit collection entirely to preserve geological features for future generations—respect these protections.
Consider observational study as an alternative to physical collection in sensitive or protected areas. Photography, detailed notes, and non-destructive testing can document finds without removing specimens. This approach preserves natural sites while still supporting your learning and enjoyment.
Conclusion: Your Journey in Mineral Identification
Understanding and applying the Mohs Hardness Scale transforms how you interact with the geological world. What once appeared as undifferentiated rock becomes a diverse collection of identifiable minerals, each with distinct properties and characteristics. The simple act of testing hardness with everyday objects opens doors to deeper geological understanding and appreciation.
Whether you’re exploring natural landscapes, building a mineral collection, studying earth sciences, or simply curious about the materials forming our planet, hardness testing provides an accessible, practical tool for discovery. The skills you develop through practice become increasingly intuitive, allowing you to make confident field identifications and appreciate the diversity of Earth’s geological treasures.
Start with the simple tools and techniques outlined in this guide. Gather a few common reference objects, find some interesting rocks or minerals, and begin testing. With each specimen examined, your skills and confidence will grow. The geological world awaits your exploration—equipped with knowledge of the Mohs Hardness Scale, you’re ready to discover and identify the minerals all around you.